


Difficulté
Très facile
Étapes
6
Temps nécessaire
00:05:00
- Changement ampoule arrière mini II 6 étapes

Ce tutoriel a été créé par la communauté
User contributed
Outils
Non tools spécifié.
Pièces
-
-
Pour commencer , ouvrez votre coffre pour accéder à la trappe où se trouve les ampoules
-
-
-
Juste ici ( également de l'autre coté ) ce trouve la trappe qui renferme les ampoules.
-
-
-
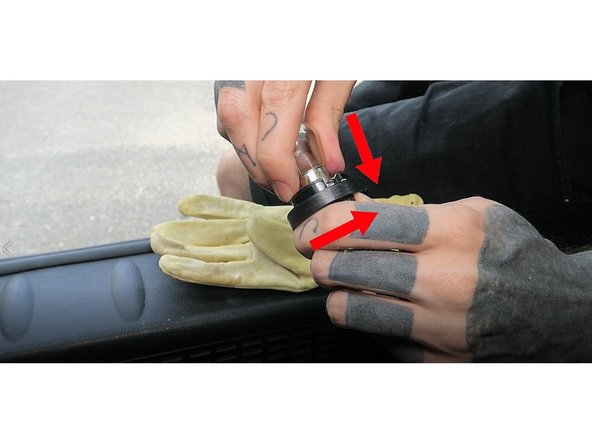
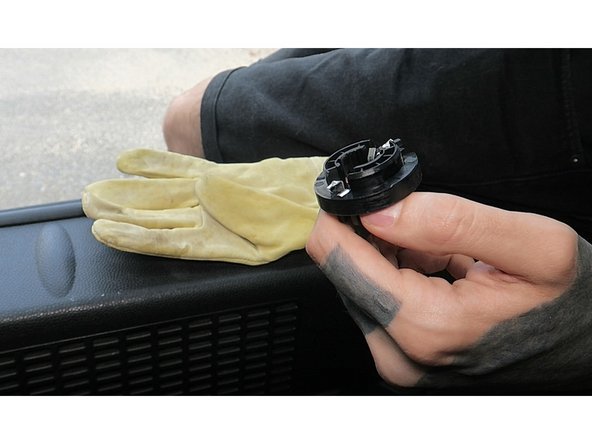
Maintenant il faut repérer votre ampoule, pour moi c'est celle du feu stop haut ( mais l'opération est la même pour toute les ampoules ) Faite tourner le socle de droite a gauche.
-
voici l'ordre des ampoules de haut en bas : 1: Feu stop haut, 2: clignotant, 3: feu stop bas, 4: feu de recul.
-
-
-
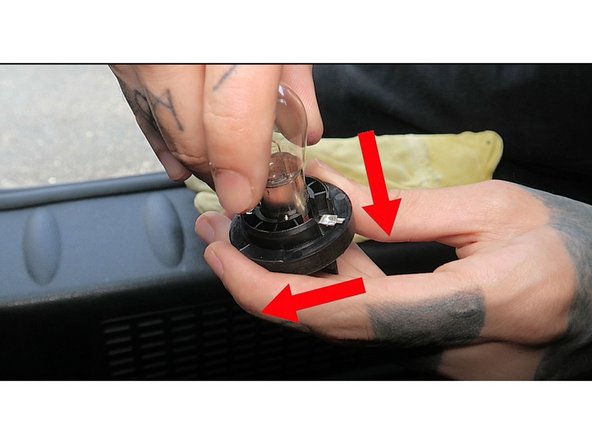
Pour retirer l'ampoule pousser la vers le bas puis tourner la de gauche a droite
-
Répéter l'action pour insérer la nouvelle ampoule
-
-
-
Insérez l'ampoule neuve en la poussant dans le socle et pour la verrouillez tourner vers la droite
-
-
-
Remettre l'ampoule dans sont emplacement initial et tourner le socle de gauche à droite
-
Voilà votre ampoule est prête a fonctionner
-


Annulation : je n'ai pas terminé ce tutoriel.
2 autres ont terminé cette réparation.
2 commentaires
Si si, y'a bien une trappe !
Pas facile, il faut débloquer la capote avec les 2 manettes prévues pour, la bloquer en position haute avec une latte de bois, puis enlever les caches trappes supérieurs.
Le mieux est quand-même de déposer carrément le feu, c'est plus rapide au final.
Dans mon cas, la platine a légèrement fondu sur l'ampoule du haut et donc plus de contact. Un peu de soudure plastique au fer à souder et hop c'est reparti..😁