


Difficulté
Facile
Étapes
11
Temps nécessaire
00:15:00

En cours
Ce tutoriel est en cours de création. Revenez de temps en temps pour voir les modifications.

Ce tutoriel a été créé par la communauté
User contributed
-
-
Commencez par lever votre essuie-glace avant
-
-
-
-
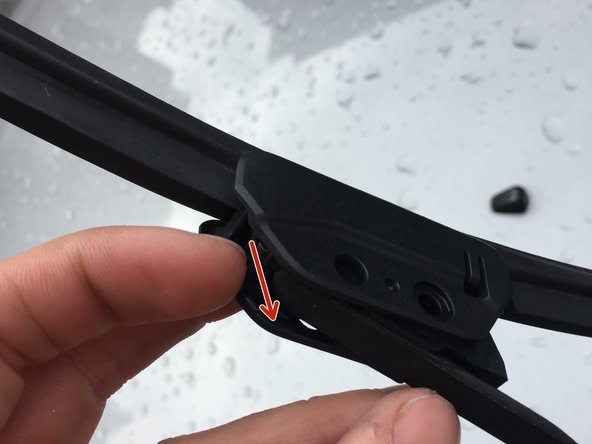
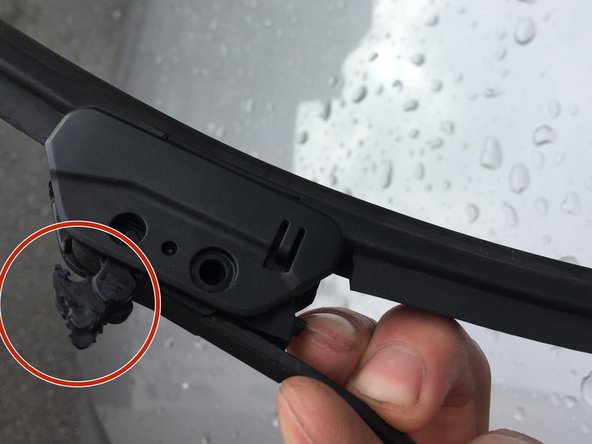
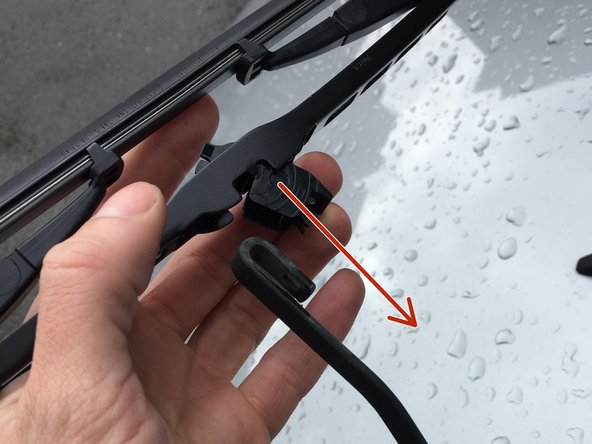
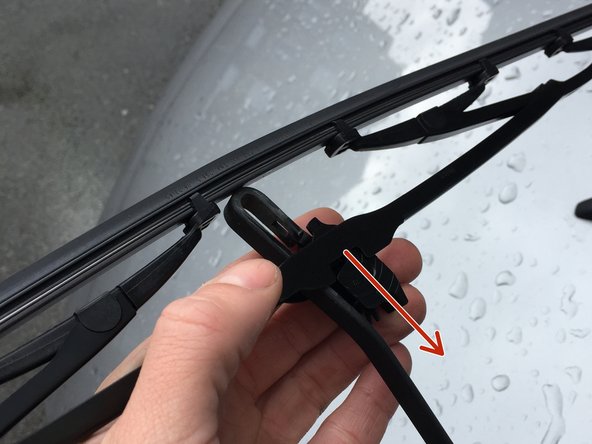
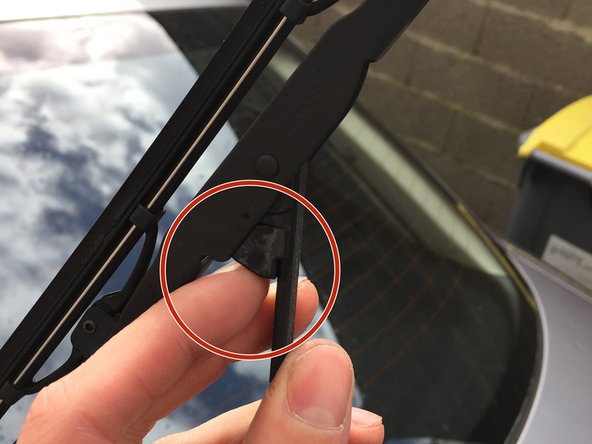
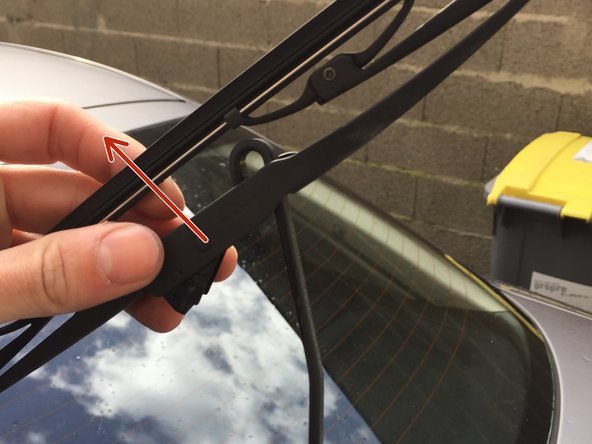
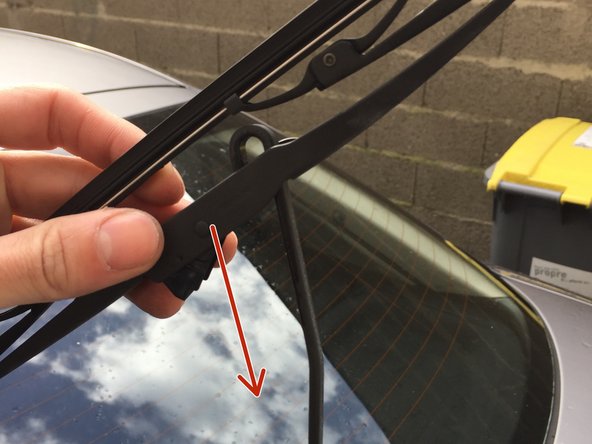
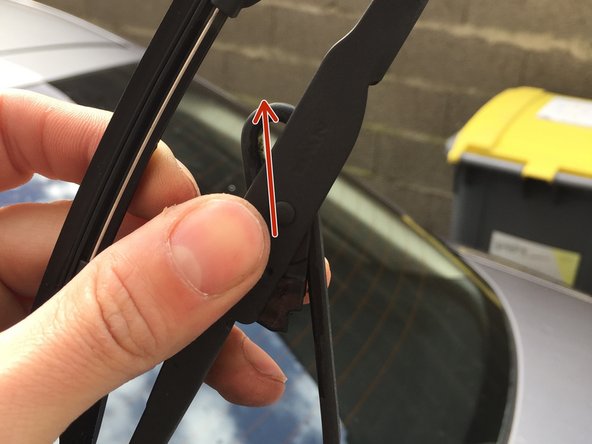
Placez le support à 90°C du balais
-
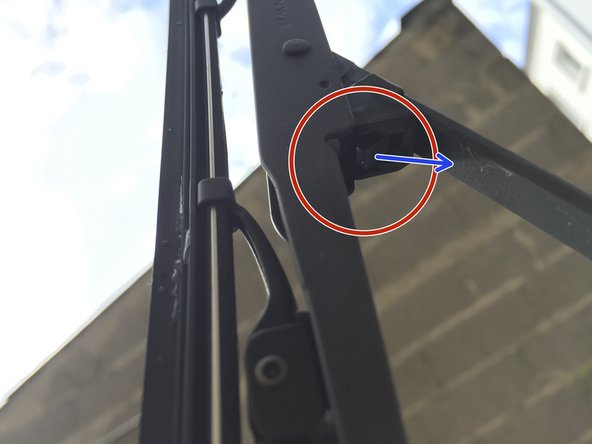
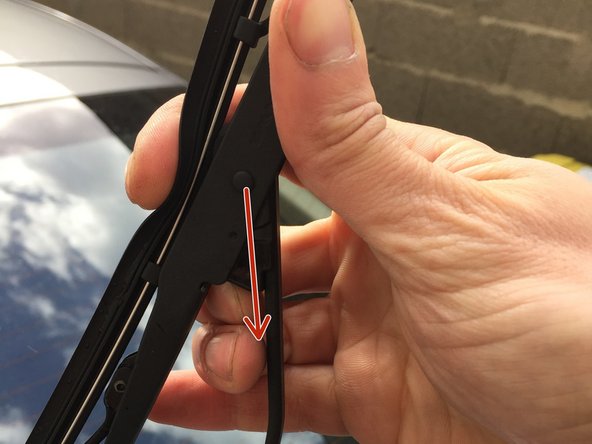
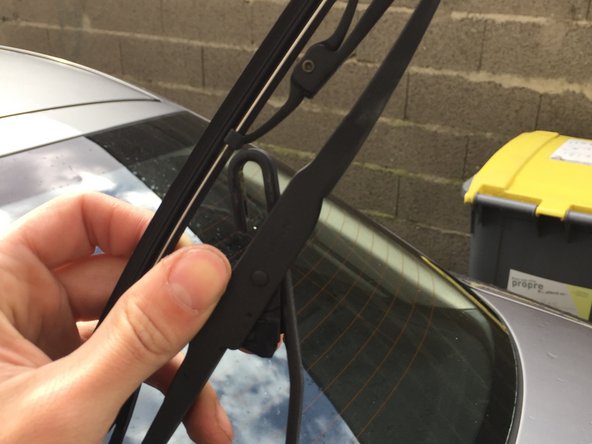
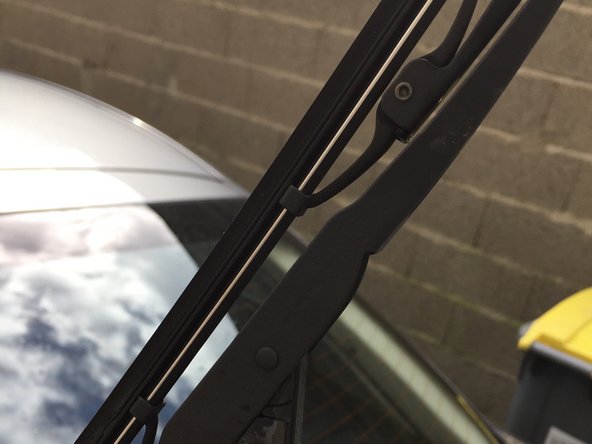
Faites le passer à coté l'accroche en U, et descendez le le long de la tige (photo 2 et 3)
-
-
-
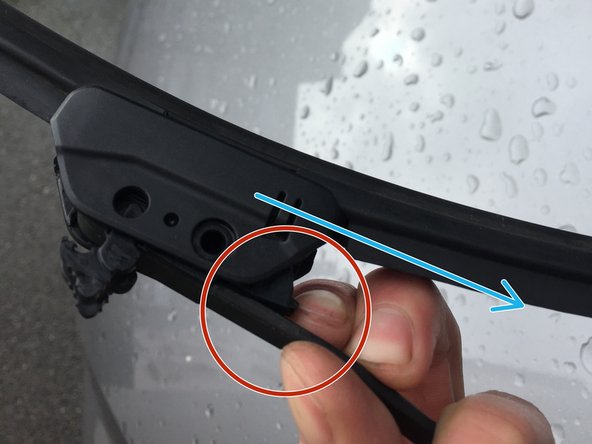
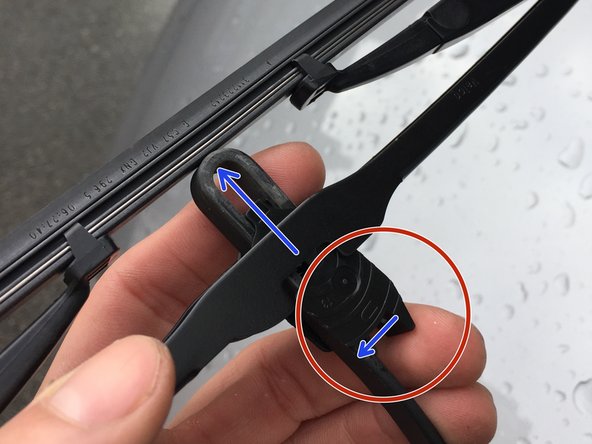
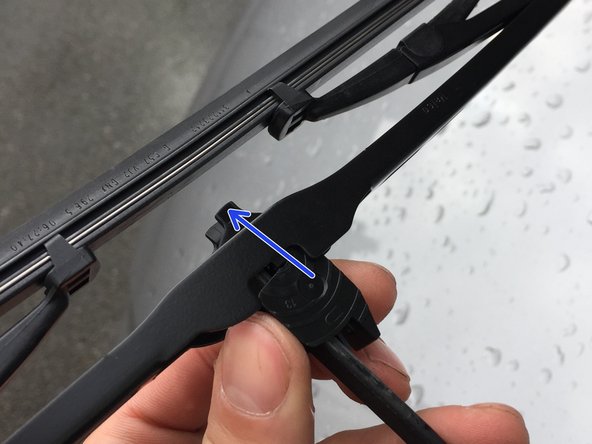
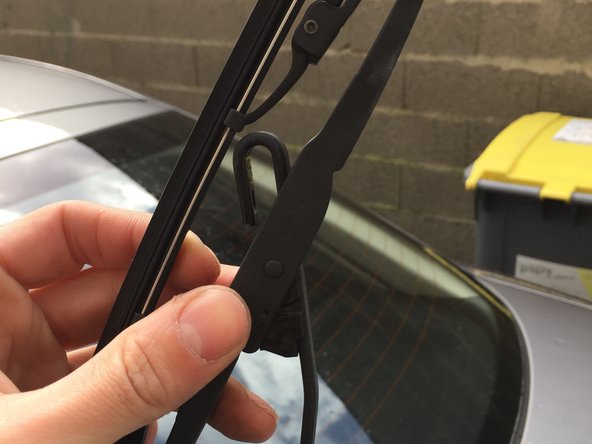
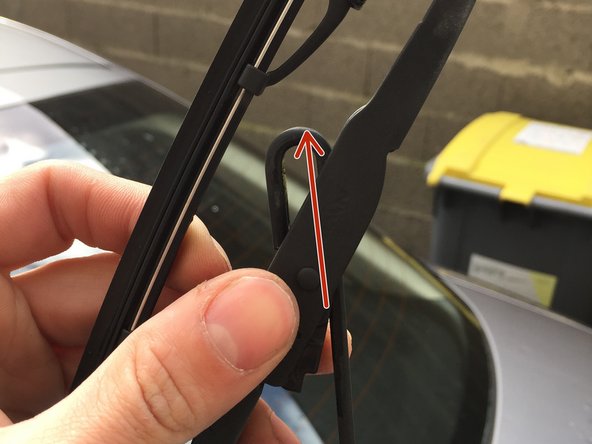
Levez votre balais d'essuie-glace
-


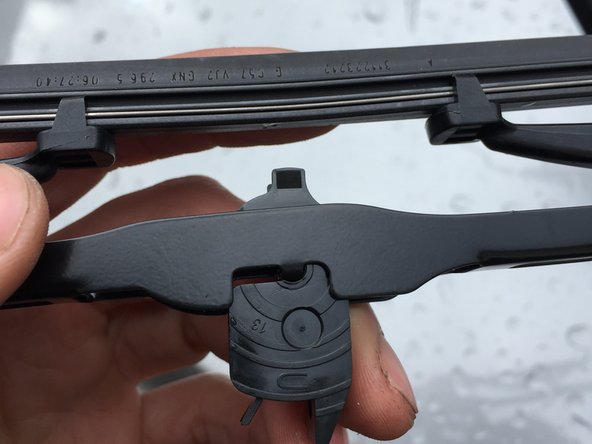

Presque terminé !
Ligne d'arrivée