Tools
Parts
-
-
Photo 1: on commence par retirer le cache en plastique noir en le faisant glisse vers le haut puis vers l'arrière (flèches oranges)
-
Photo 2: on accède alors à deux écrous de 10 (cercles rouges) , à dévisser avec une clé à pipe débouchée.
-
On déboite l'optique de phare en le tirant vers l'arrière.
-
-
-
Photo 1: on commence par déconnecter l'alimentation électrique de la platine en plastique noire.
-
Photo 2: on déclipe ensuite les attaches plastiques latérales et inférieure (flèches jaunes).
-
Photo 3: on termine en déclipant l'attache plastique supérieure (flèche verte).
-
-
-
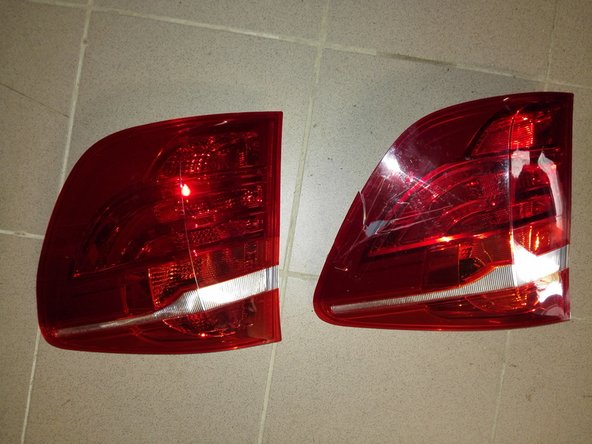
Photo 1: à gauche l'optique neuf et à droite l'optique abimé.
-
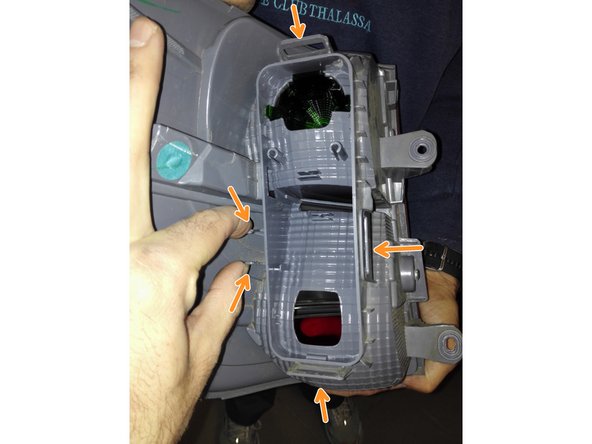
Photo 2: sur la face interne du nouvel optique on va cliper la platine noire au niveau des flèches orange. On pincera les deux ergots extérieurs pour plus de facilité.
-
Photo 3: la platine fixée sur le nouvel optique de phare.
-
-
-
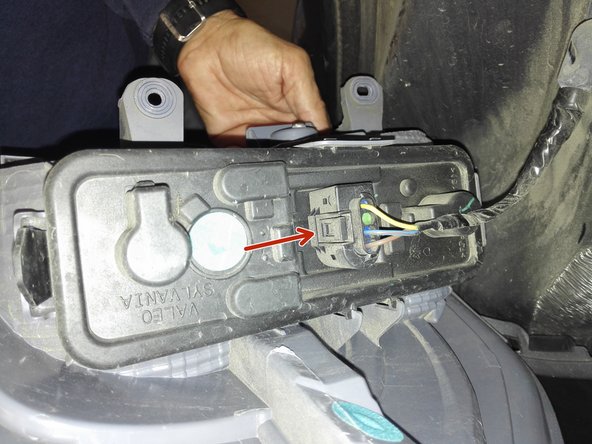
Photo 1: on clipe l'alimentation électrique sur la platine (flèche rouge) avant de replacer l'optique dans son logement sur l'aile arrière droite.
-
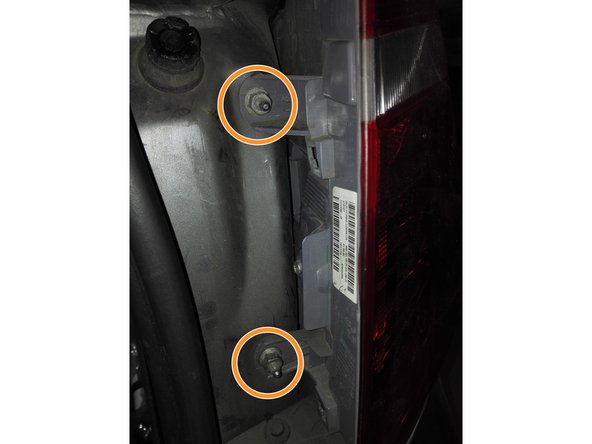
Photo 2: on revisse alors les deux écrous de 10, démontés à l'étape 1 (cercles oranges).
-
Photo 3: on repositionne enfin le cache en plastique noir en le poussant vers l'avant puis vers le bas (flèches vertes).
-
Annulation : je n'ai pas terminé ce tutoriel.
3 autres ont terminé cette réparation.


