

Difficulté
Modérée
Étapes
4
Temps nécessaire
00:45:00

Ce tutoriel a été créé par la communauté
User contributed

-
-
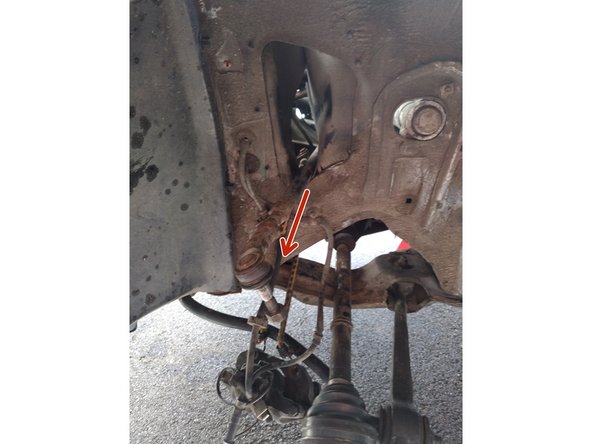
Dévisser l'écrou de la rotule de direction
-
Extraire la rotule à l'aide d'un extracteur (ou en tapant au marteau..)
-
L'opération est faisable en laissant la roue au sol et en la bridant, cela évite les erreurs de réglage de la nouvelle biellette
-
-
-
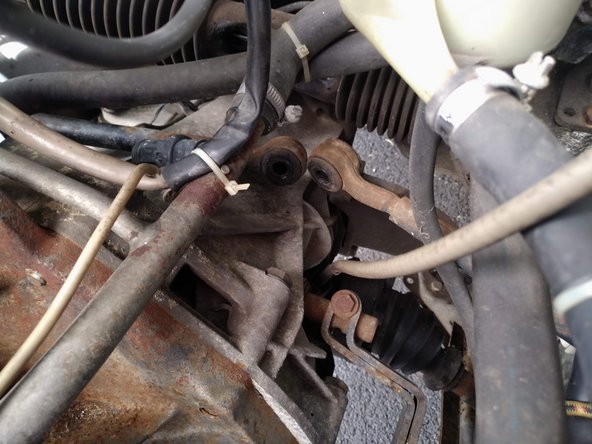
Déplier légèrement la "cage"
-
Dévisser l'écrou supérieur ainsi que les deux écrous des biellettes et déposer l'ensemble
-
-
-
Enlever les deux biellettes depuis le passage de roue
-
-
-
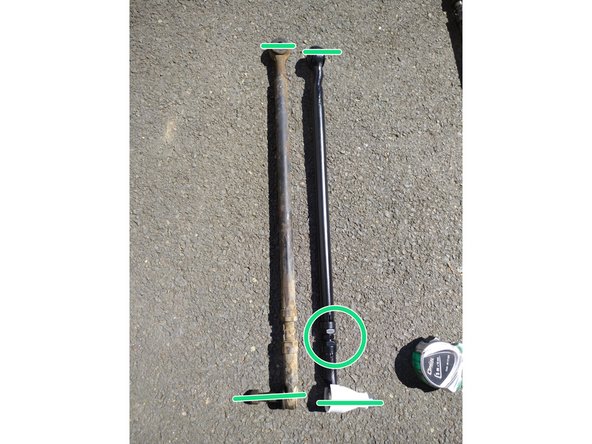
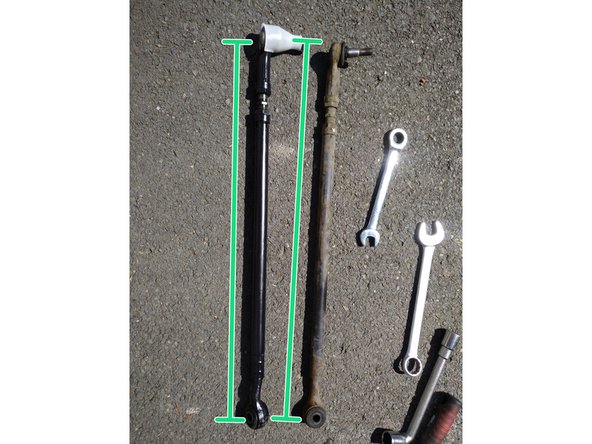
Régler la nouvelle biellette à la même longueur que l'ancienne (axe à axe) en vissant/dévissant l'écrou central
-
Réinstaller les biellettes dans le sens inverse de la dépose
-
Je vous conseille néanmoins d'aller faire régler le paralléllisme à l'aide d'un outillage adapté
-