


Introduction
Comment changer ses bougies d'allumage sur BMW Série 1 E81-E87 - 118i & 120i - Tutoriel effectué sur 2.0i 129ch
Vidéo d'introduction
-
-
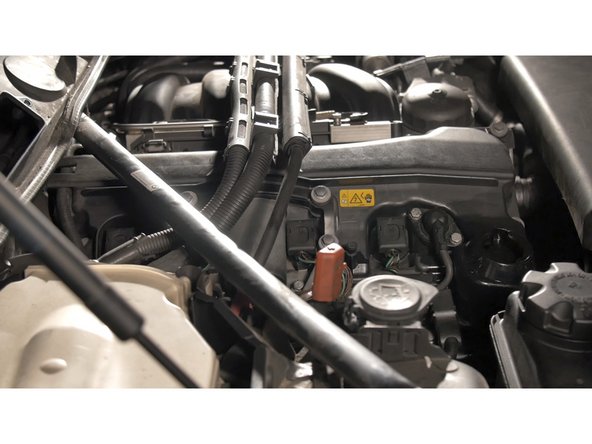
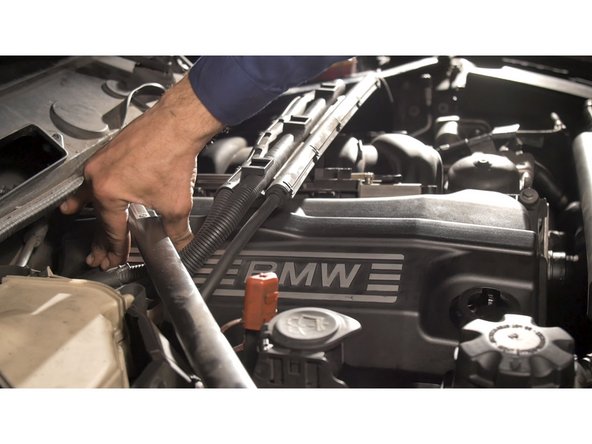
Les 4 bougies se trouvent sous le cache moteur
-
Commencer par retirer les 6 vis de la boite du filtre d'habitacle à l'aide d'une clé à pipe de 8
-
-
-
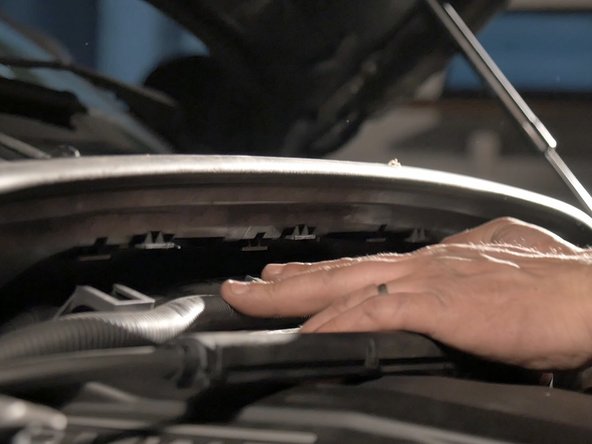
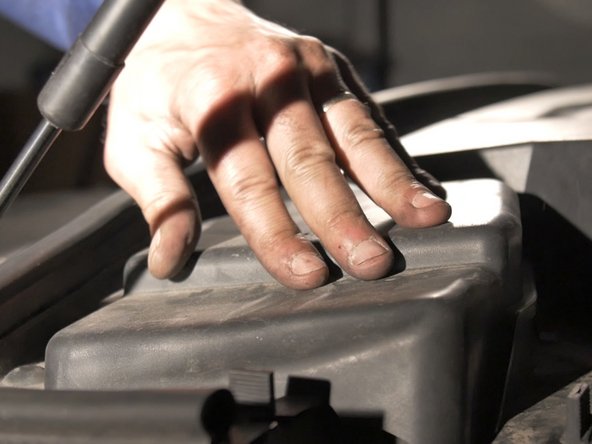
Une fois les 6 vis déposées, retirer la boite du filtre d'habitacle
-
-
-
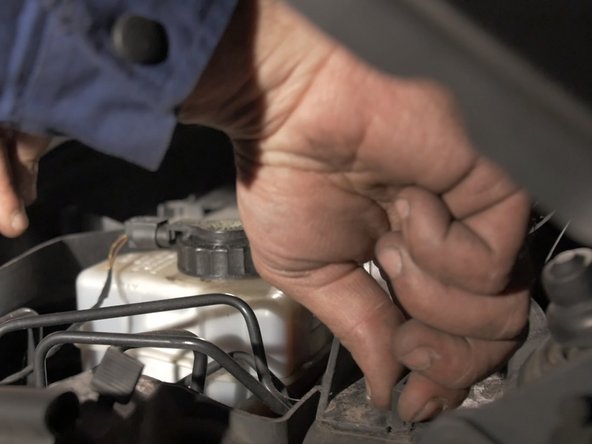
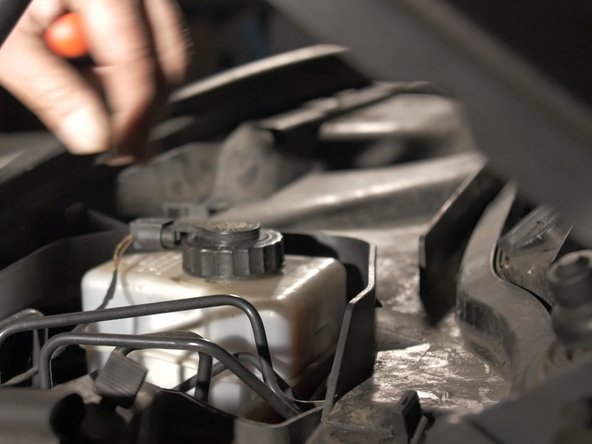
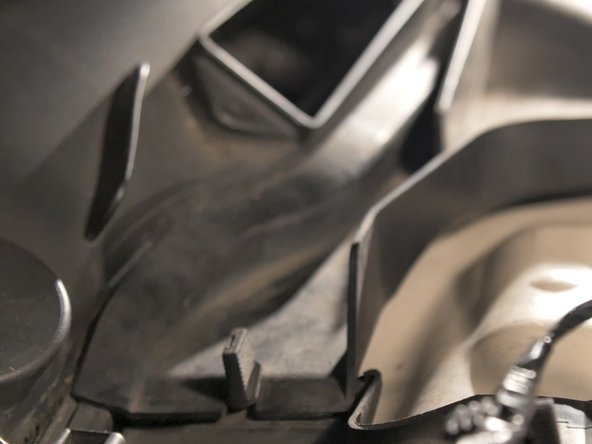
Retirer le cache de protection du bocal de liquide de frein en retirant ses 3 accroches
-
-
-
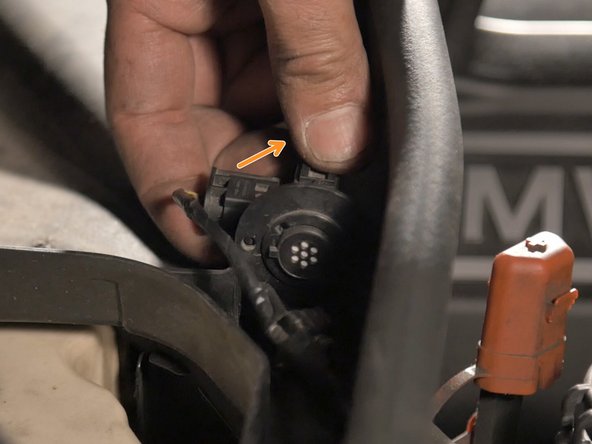
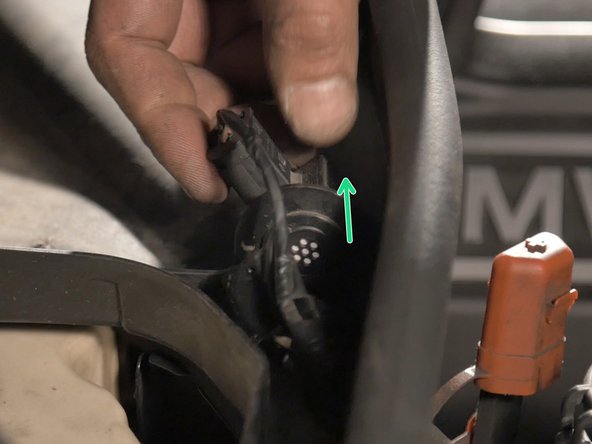
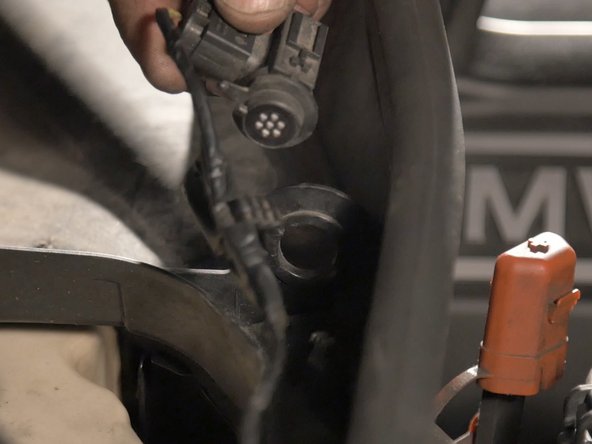
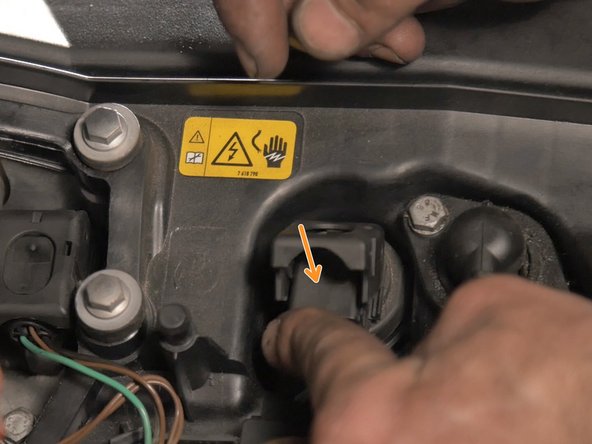
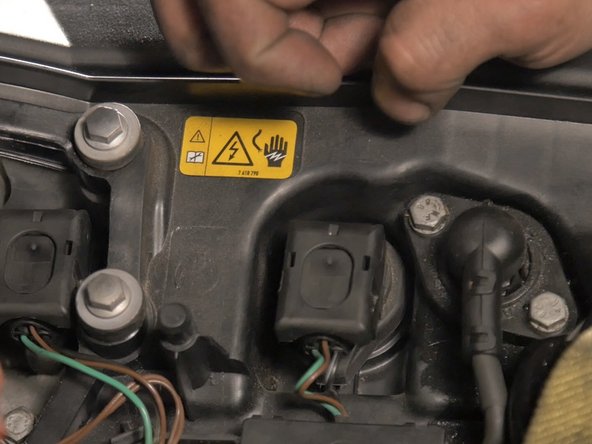
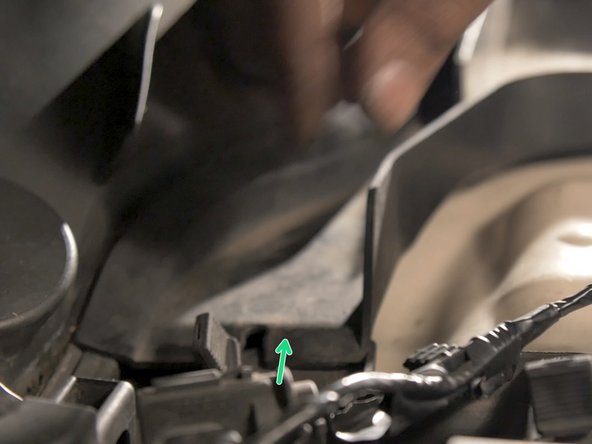
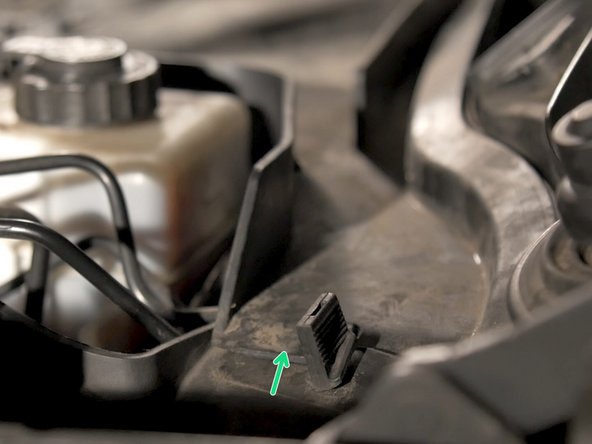
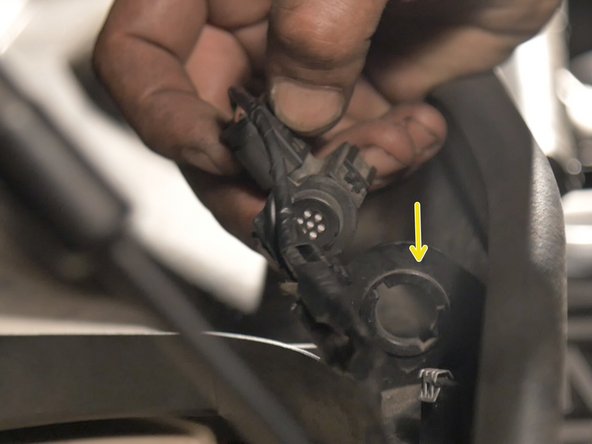
Retirer le capteur d'air de son socle en le tournant à 90° puis en tirant dessus
-
-
-
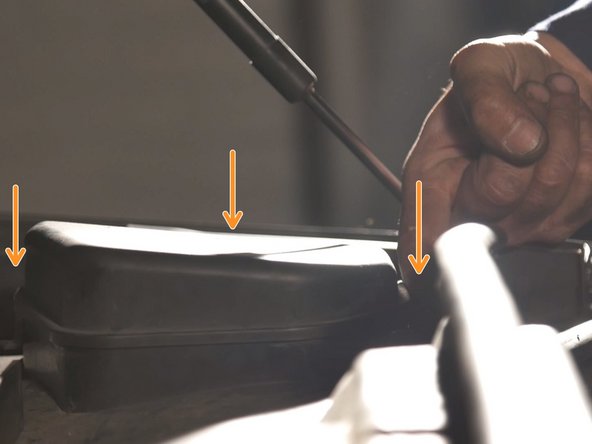
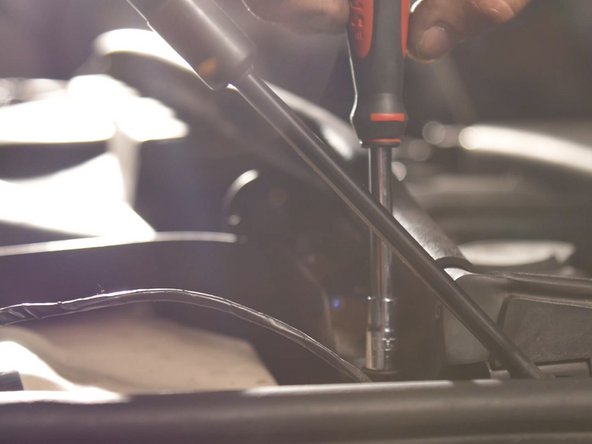
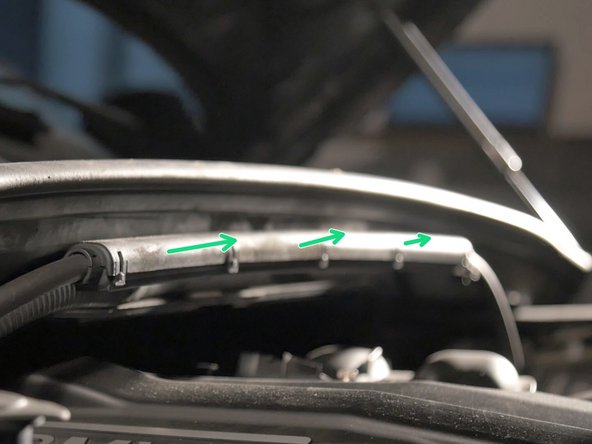
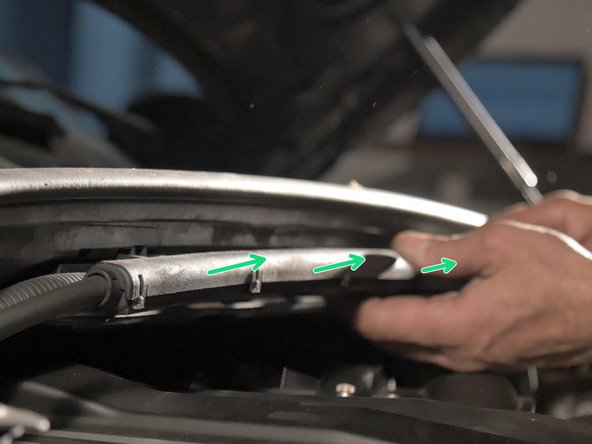
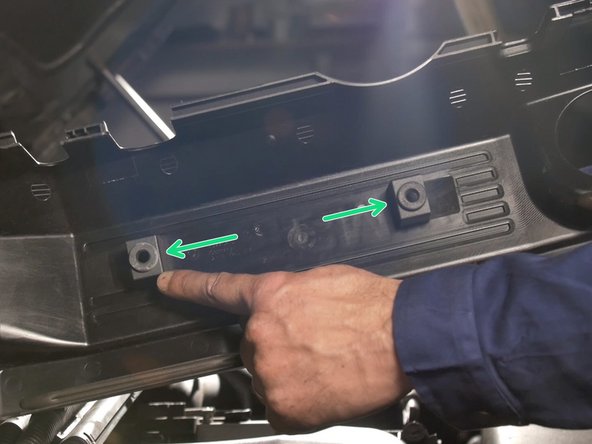
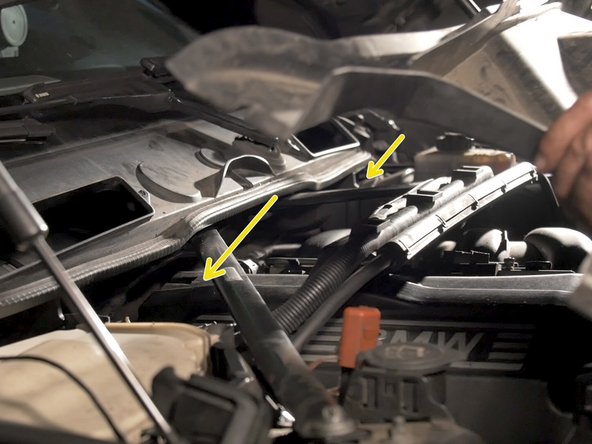
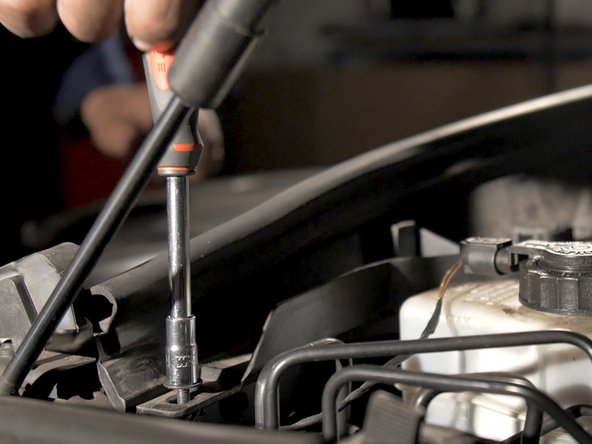
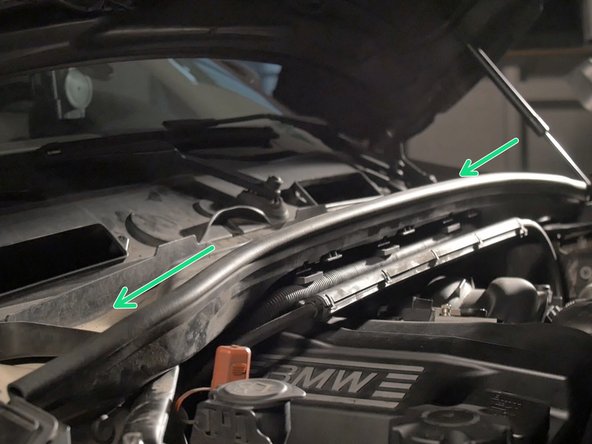
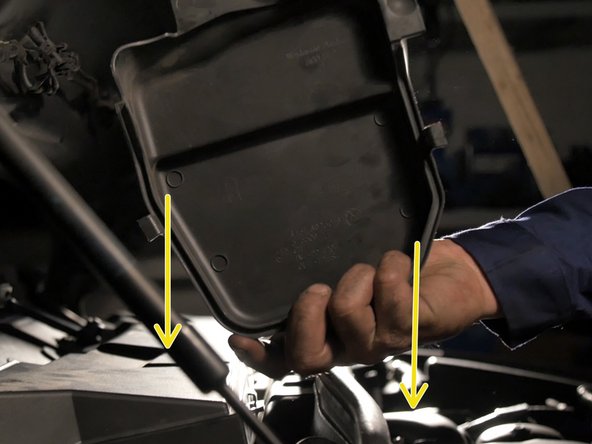
Retirer la vis présente des deux côtés de la baie de pare brise à l'aide de la clé à pipe de 8
-
-
-
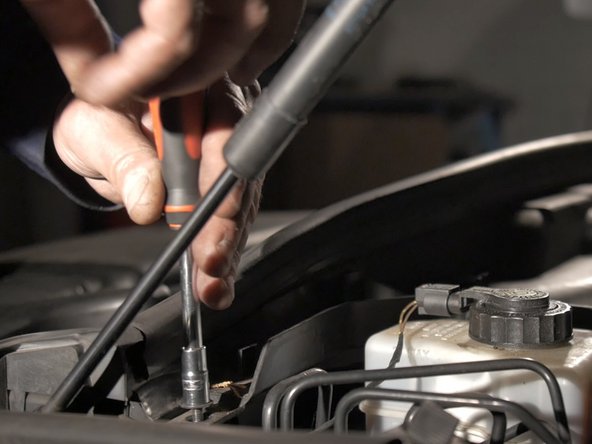
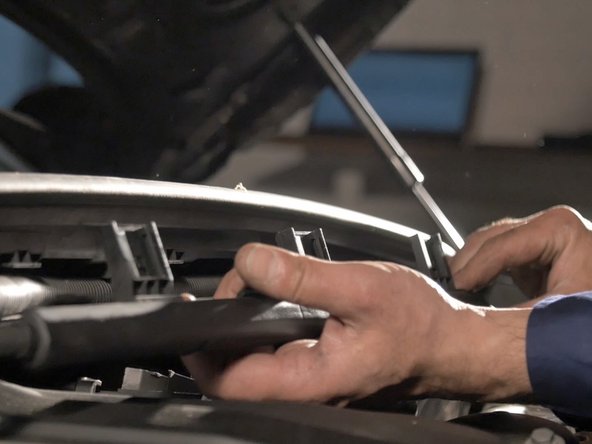
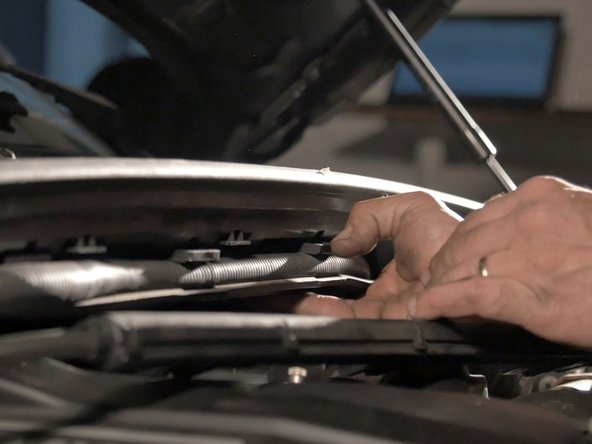
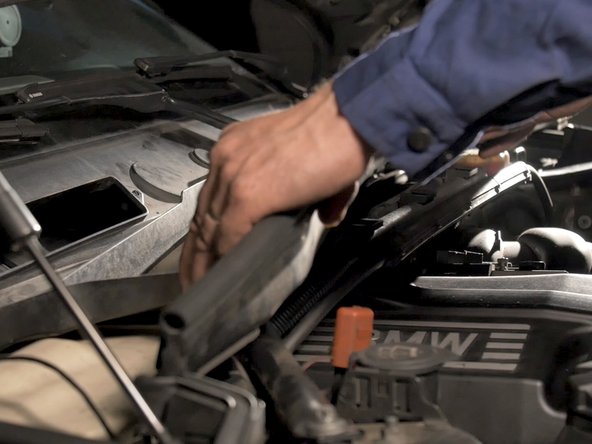
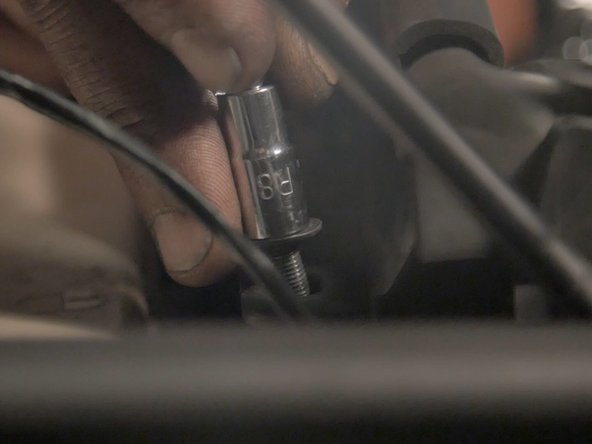
A l'aide d'un cliquet et d'une douille Torx E14 desserrer la vis de la barre de renfort
-
-
-
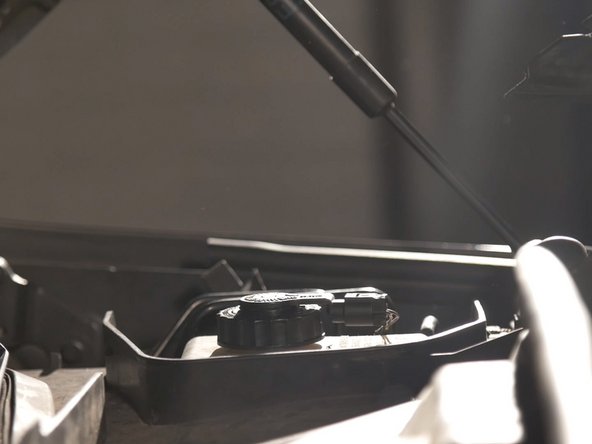
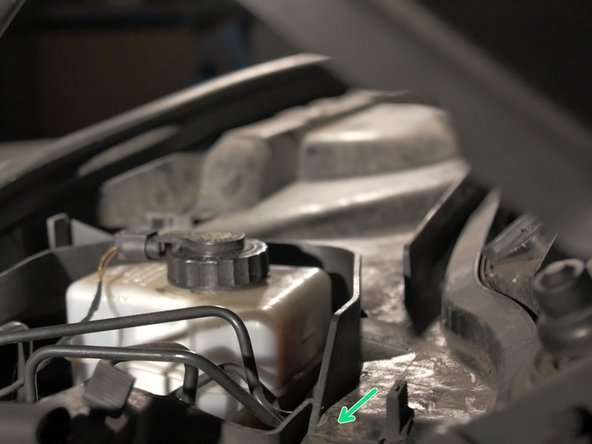
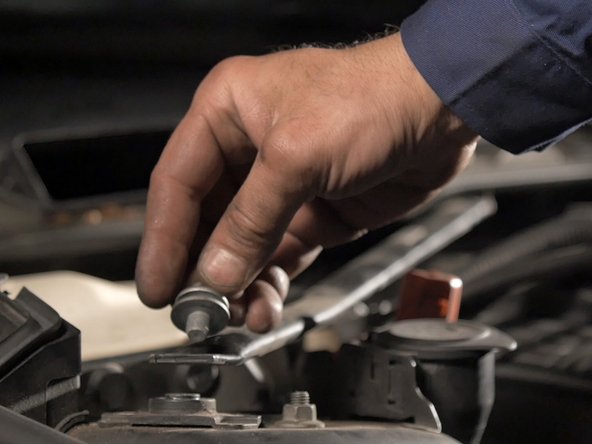
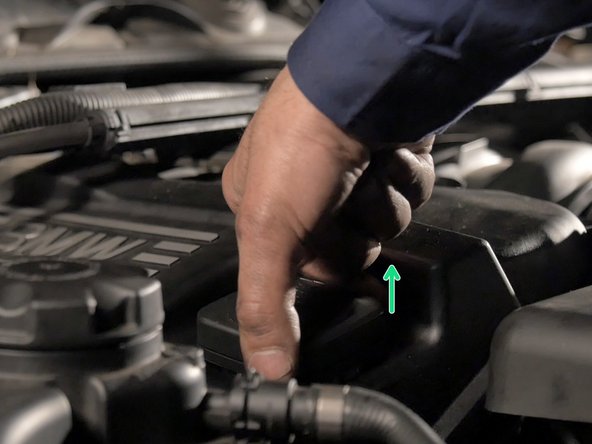
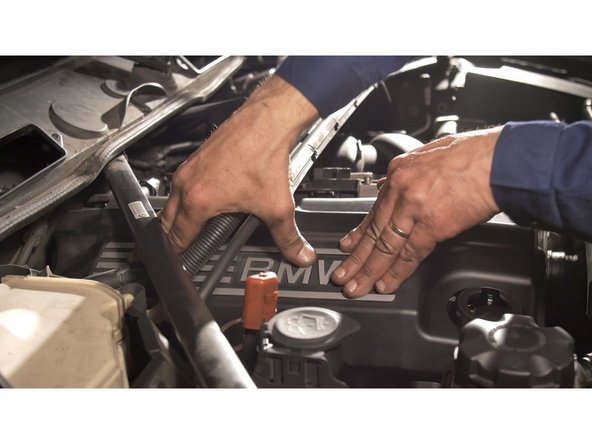
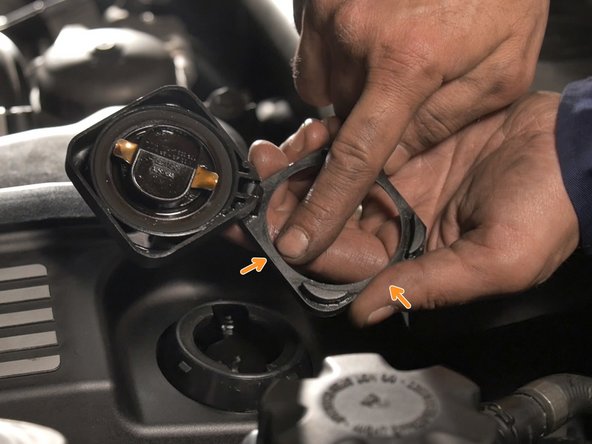
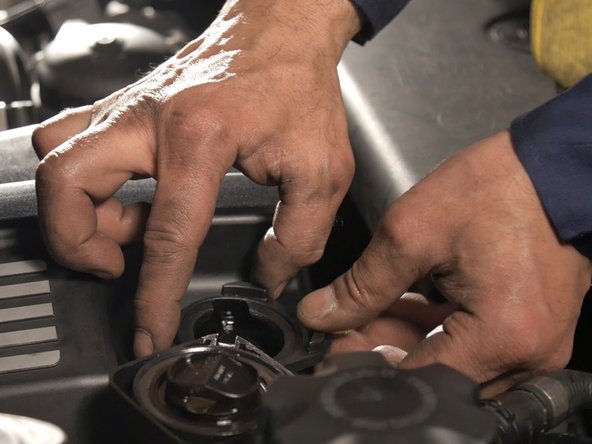
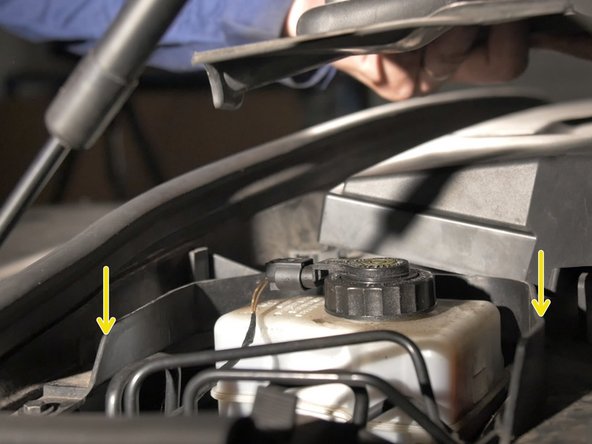
Ouvrir le bouchon de remplissage d'huile moteur et le retirer en tirant dessus
-
-
-
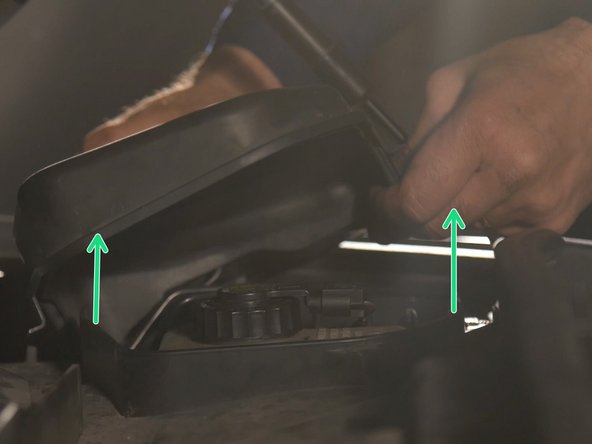
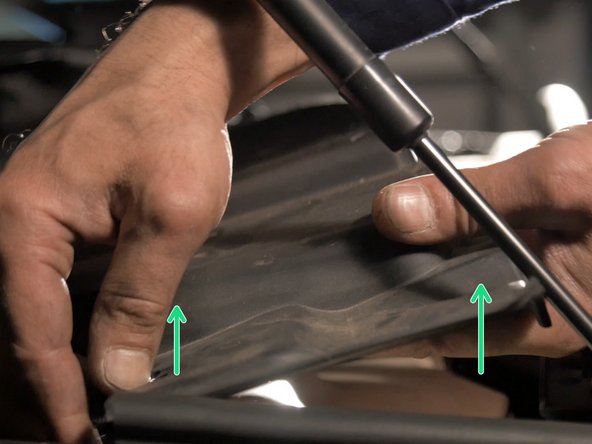
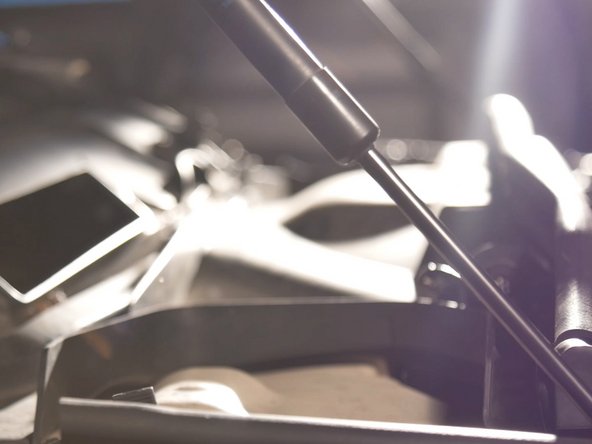
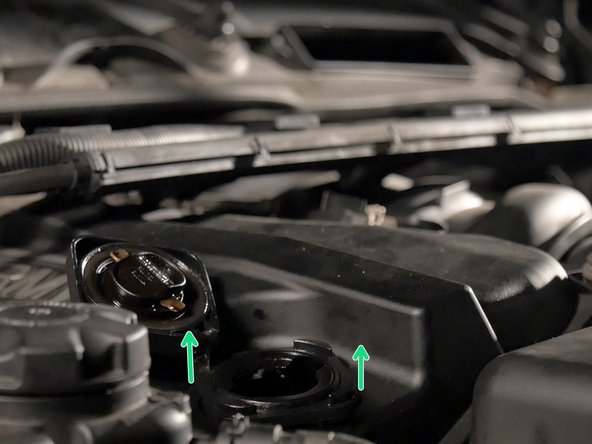
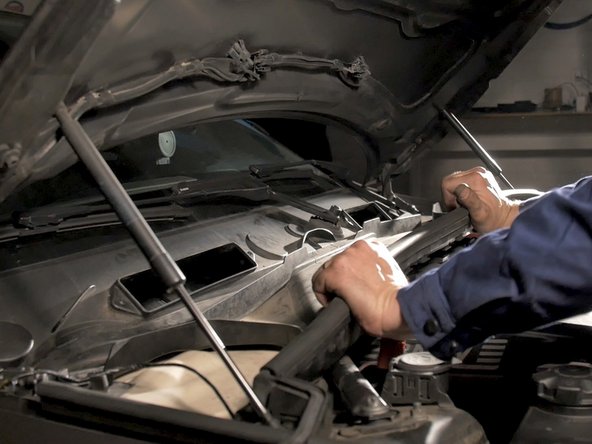
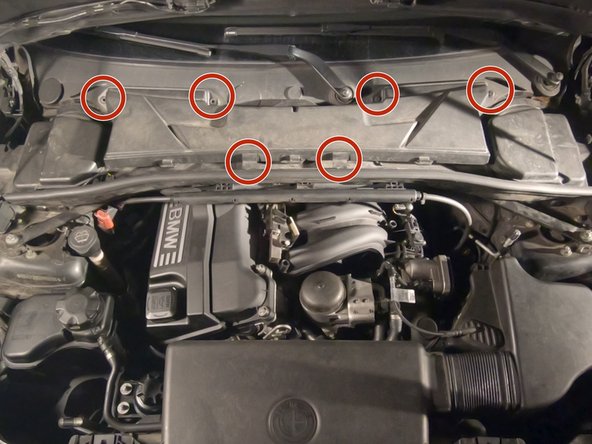
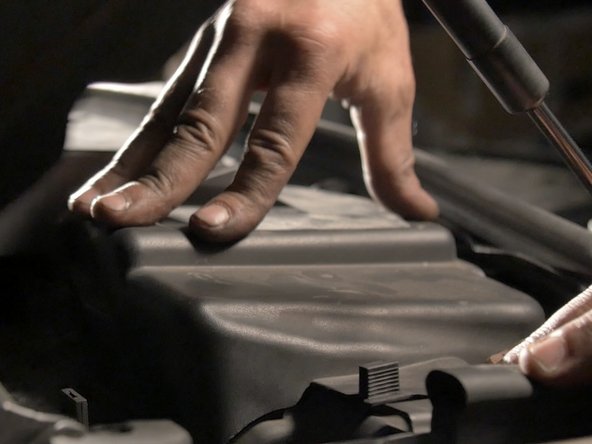
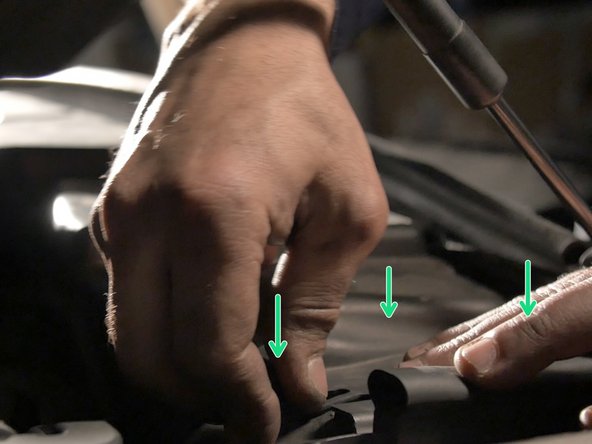
Soulever et tirer délicatement sur le cache moteur puis lever la barre pour faciliter le passage
-
-
-
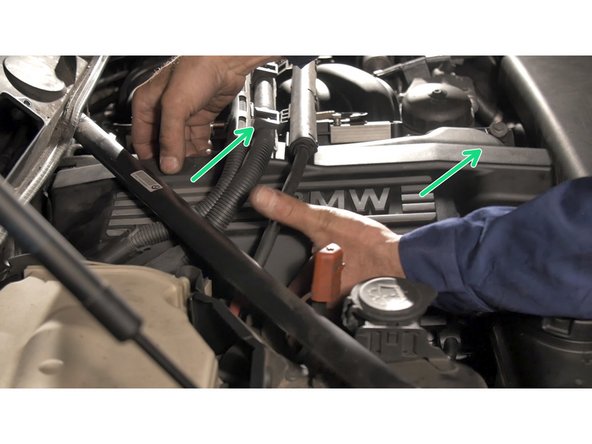
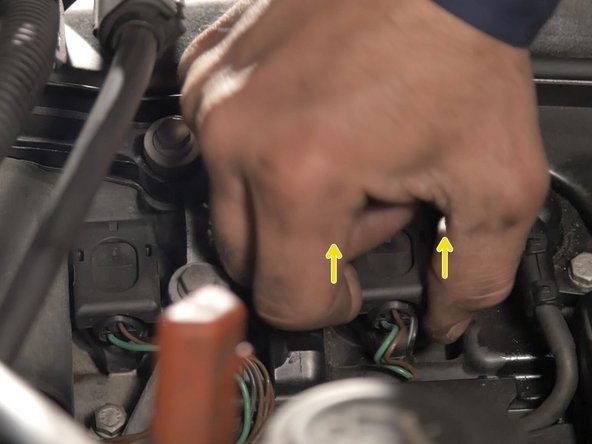
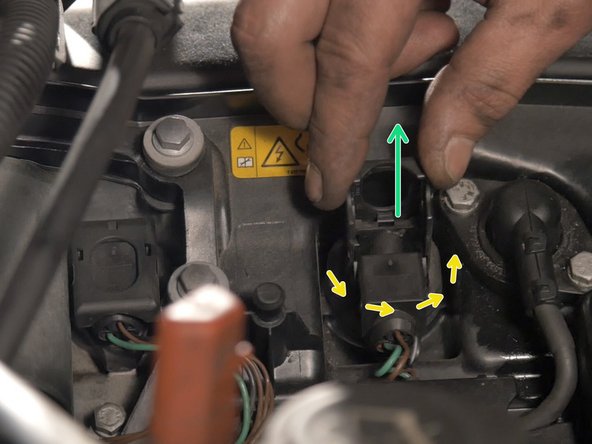
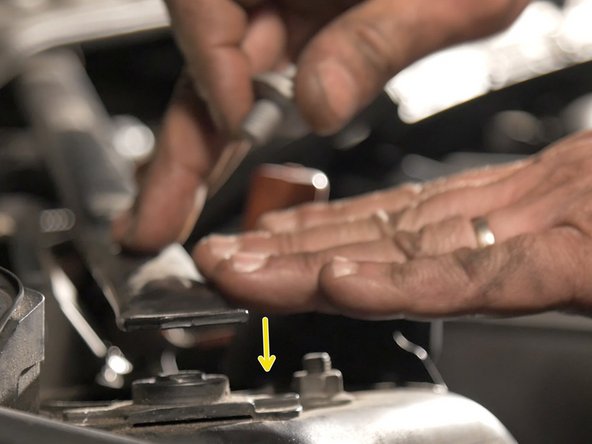
Pour retirer les bobines relever la languette pour la débrancher puis tourner la bobine tout en tirant vers le haut
-
-
-
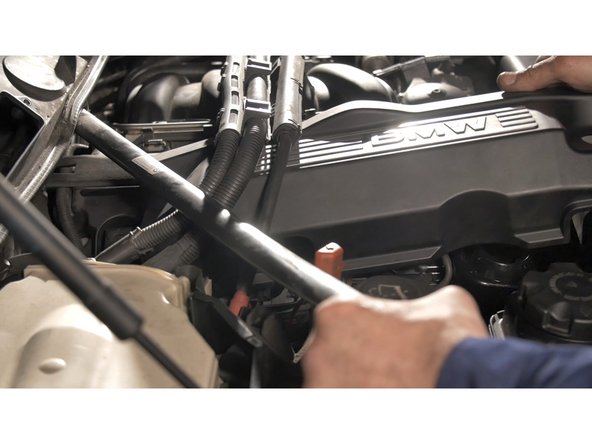
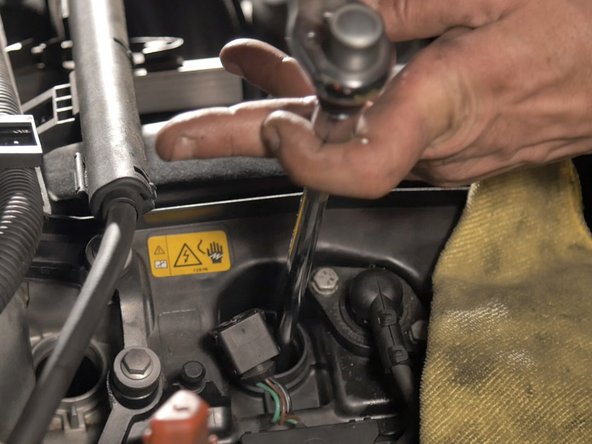
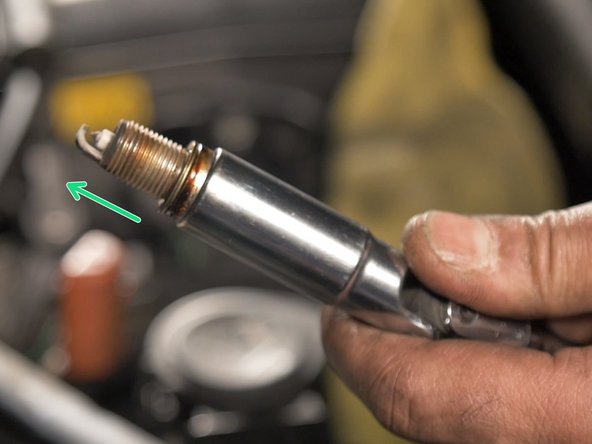
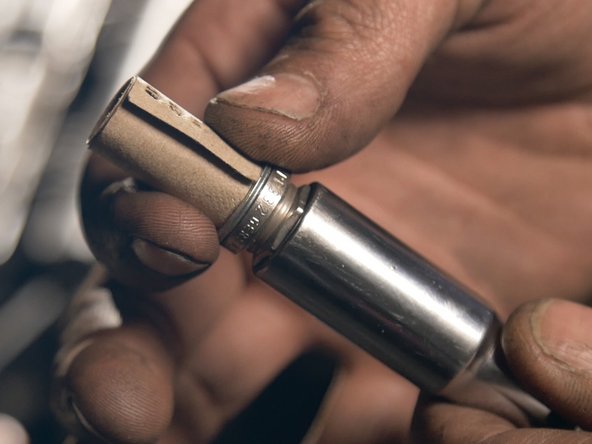
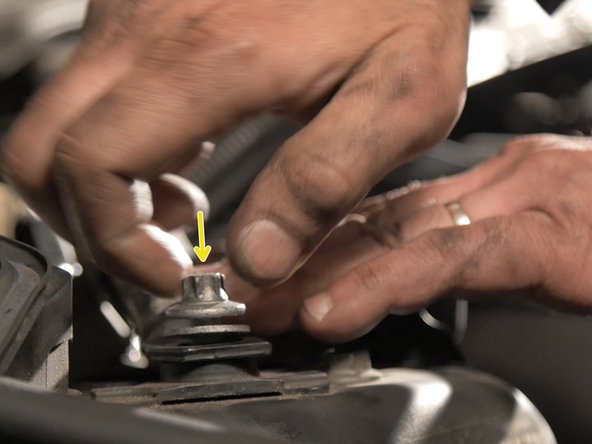
Une fois les 4 bobines retirées, à l'aide d'un cliquet, d'une rallonge longue et une douille à bougie de 16 dévisser la bougie
-
-
-
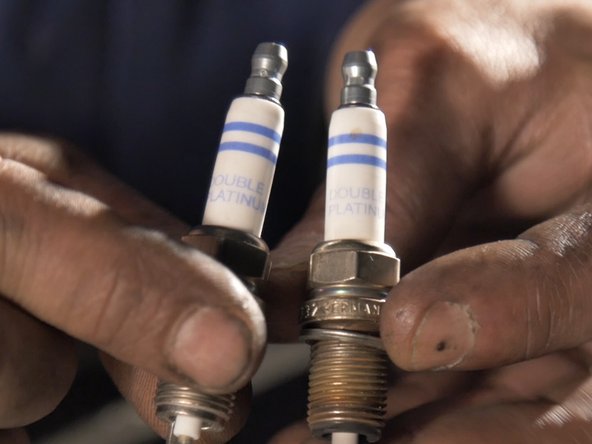
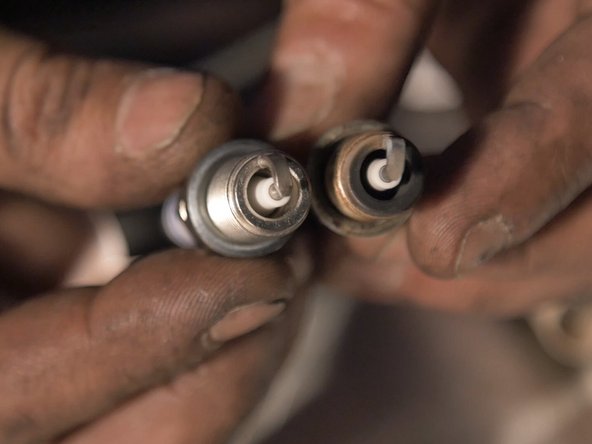
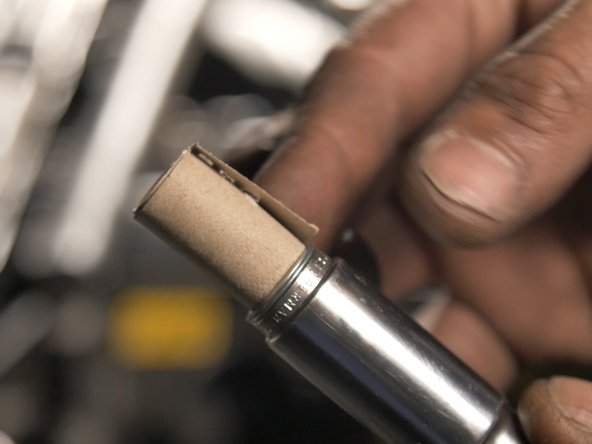
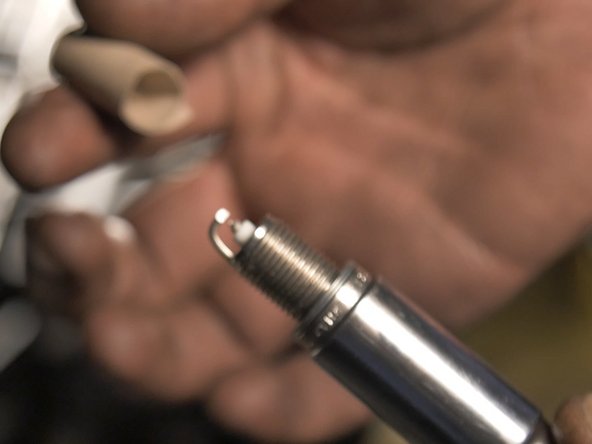
Placer la nouvelle bougie sur la douille et retirer la protection en papier
-
-
-
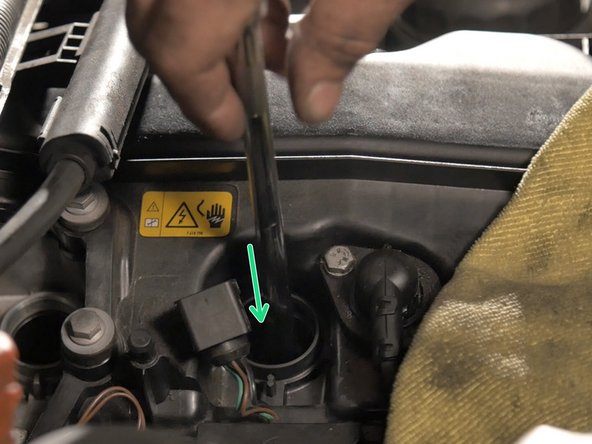
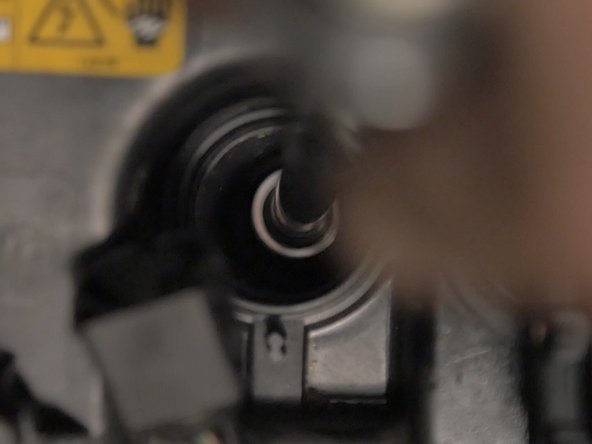
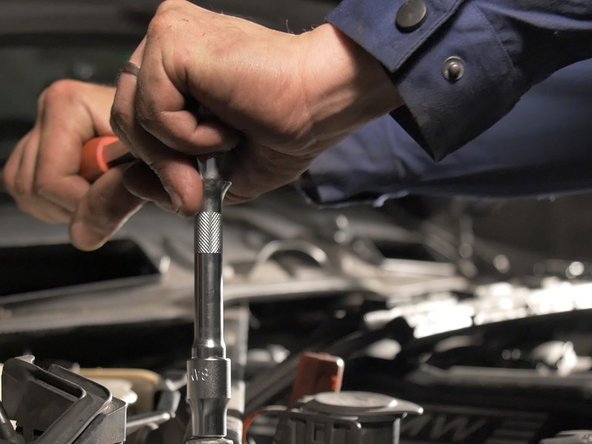
Insérer la bougie dans son puits délicatement et la revisser à l'aide du cliquet, de la rallonge longue et de la douille à bougie de 16
-
Répéter l'opération sur les 3 autres bougies
-
-
-
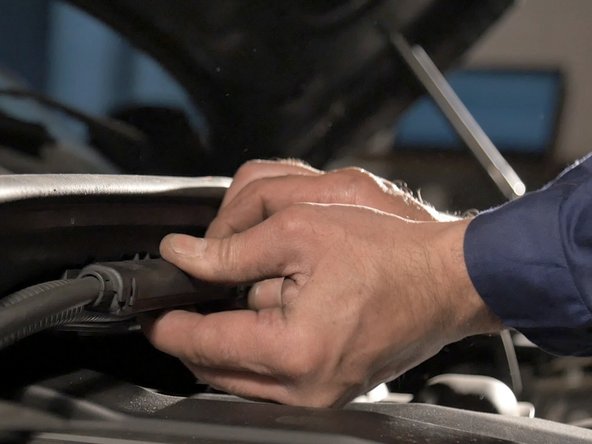
Replacer la bobine sur la bougie et la verrouiller
-
Répéter l'opération sur les 3 autres bobines
-
-
-
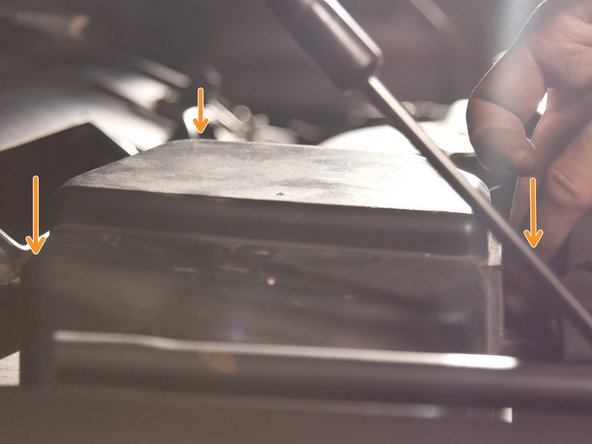
Glisser le cache moteur sous les supports de faisceaux et la barre de renfort
-
-
-
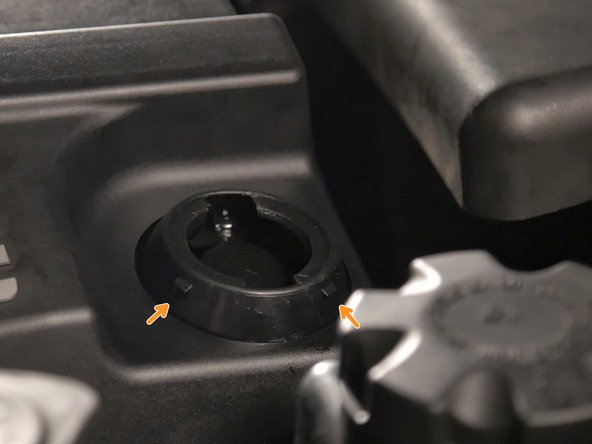
Replacer le bouchon de remplissage d'huile moteur en respectant les guides
-
-
-
Replacer la barre de renfort et sa vis
-
Resserrer la vis à l'aide du cliquet et d'une douille Torx de 14
-
-
-
Replacer la vis aux deux extrémités à l'aide d'une clé à pipe de 8
-
-
-
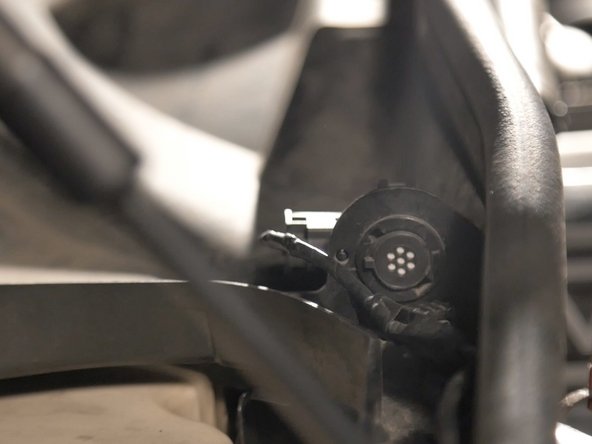
Replacer le capteur d'air dans son socle
-
Pivoter le capteur à 90° pour le verrouiller
-
-
-
Replacer les caches à chaque extrémités en verrouillant les 3 accroches
-


Annulation : je n'ai pas terminé ce tutoriel.
Une autre personne a terminé cette réparation.

Équipe
