
Video Overview

  1. 
Open the hood and remove the brake fluid cap.

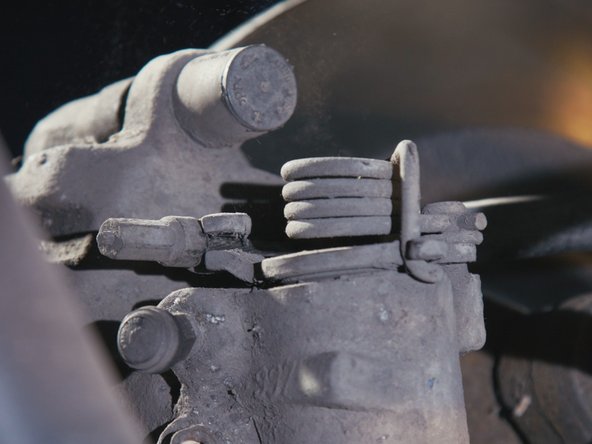
Remove the handbrake

Remove the handbrake
    • Open the hood and remove the brake fluid cap.

    • Remove the handbrake

  2. 
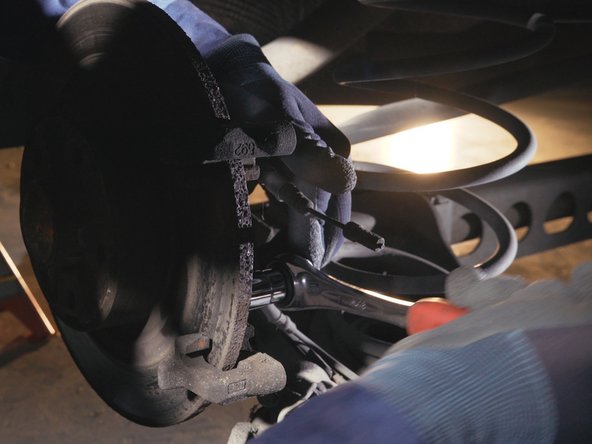
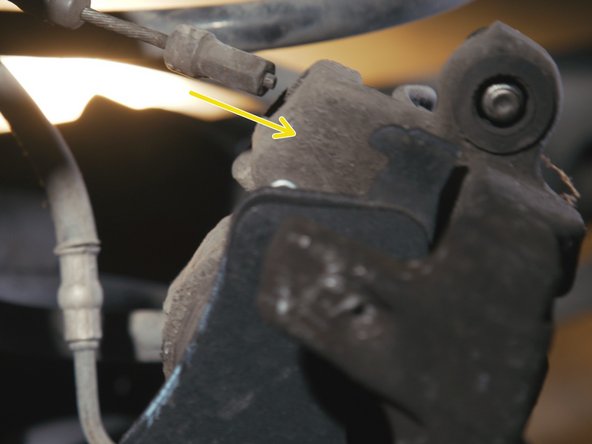
Remove the handbrake cable from the caliper

Remove the handbrake cable from the caliper
    • Remove the handbrake cable from the caliper

  3. 
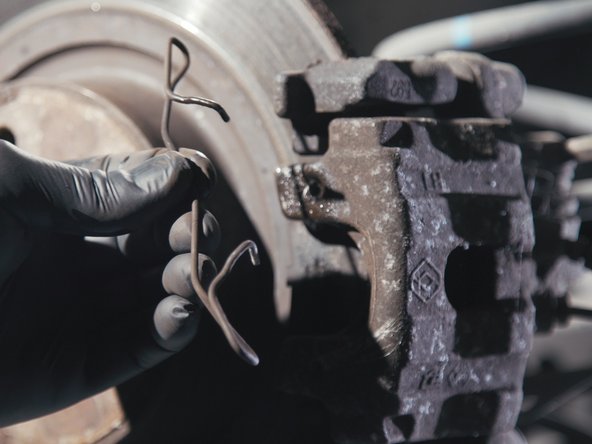
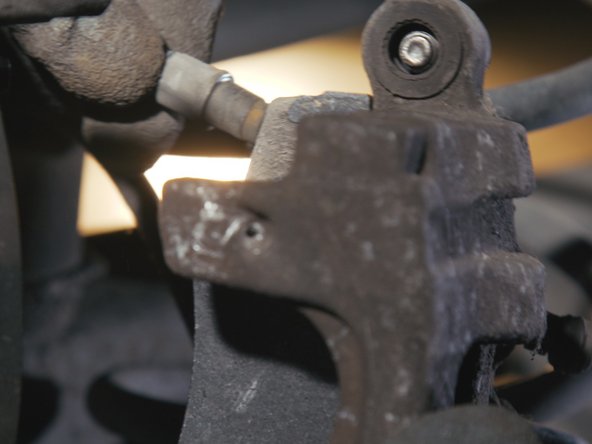
With the help of a flat screwdriver, remove the caliper retaining clip.

With the help of a flat screwdriver, remove the caliper retaining clip.

With the help of a flat screwdriver, remove the caliper retaining clip.
    • With the help of a flat screwdriver, remove the caliper retaining clip.

  4. 
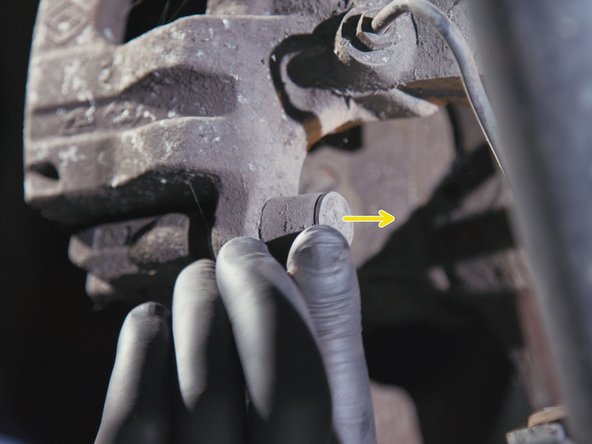
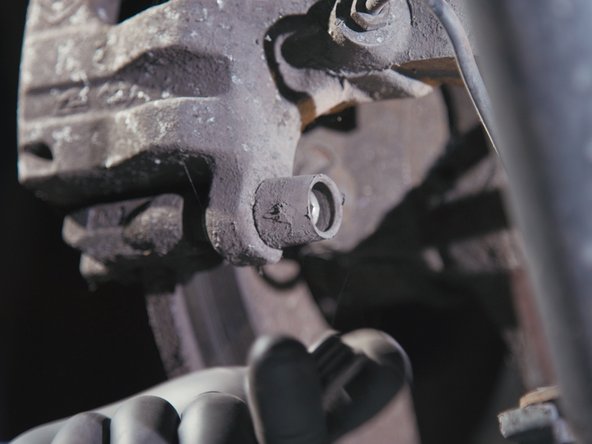
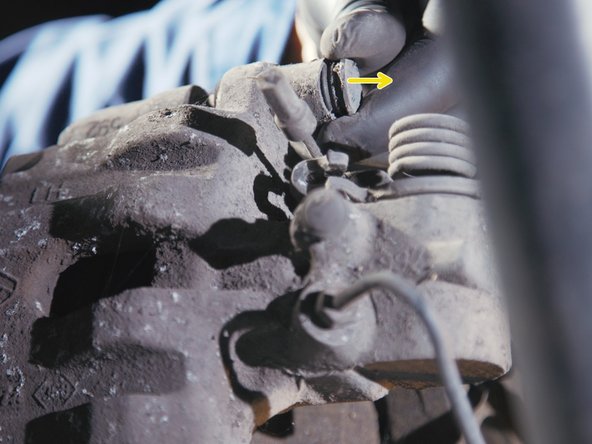
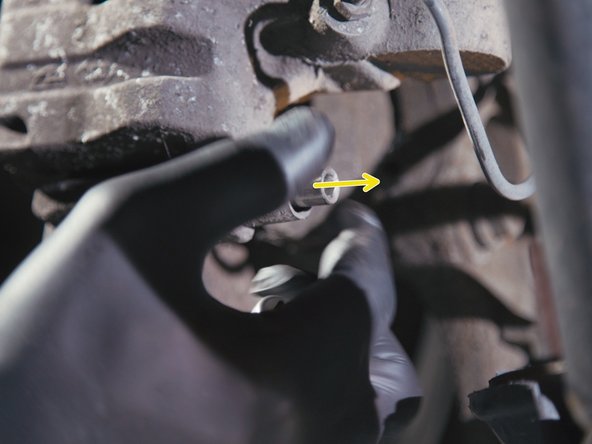
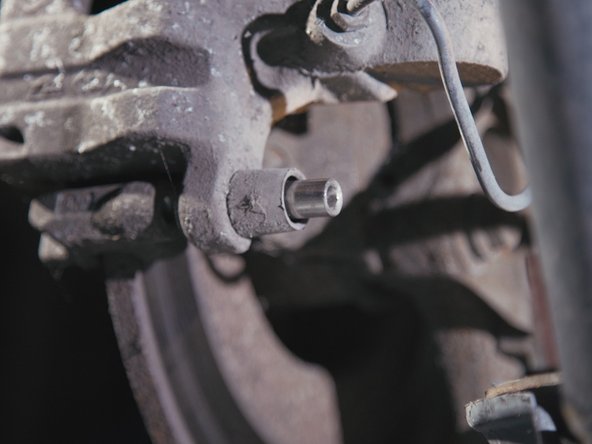
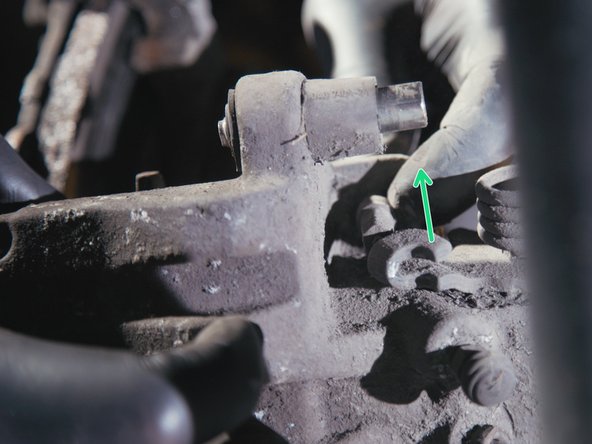
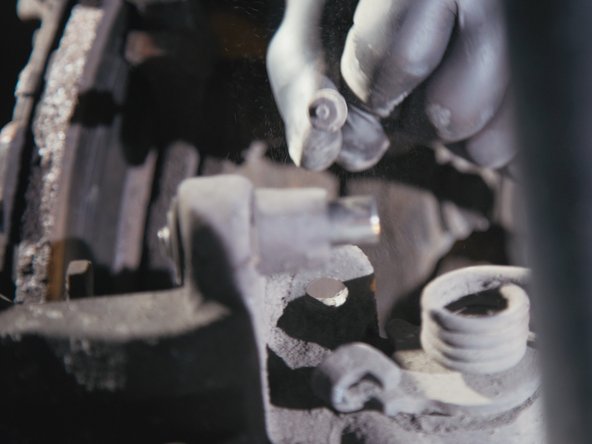
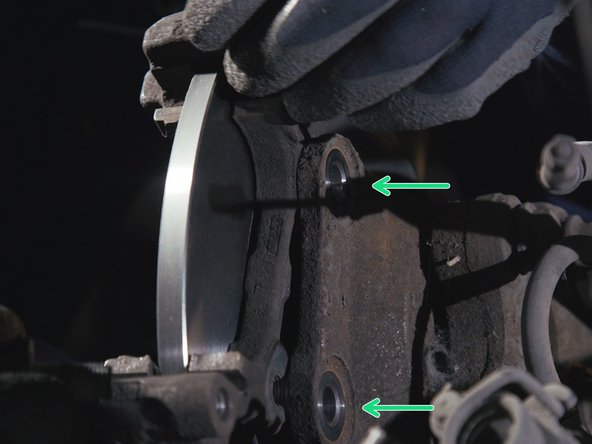
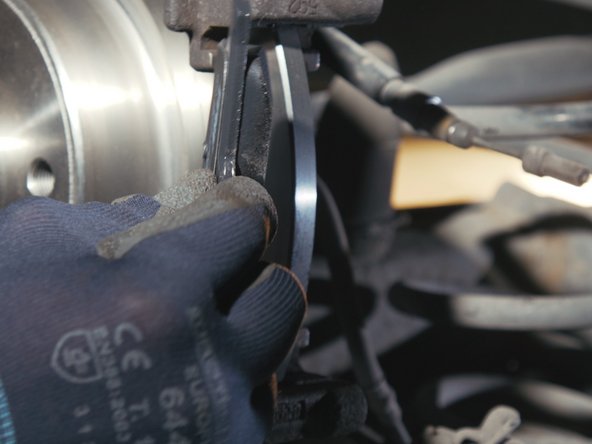
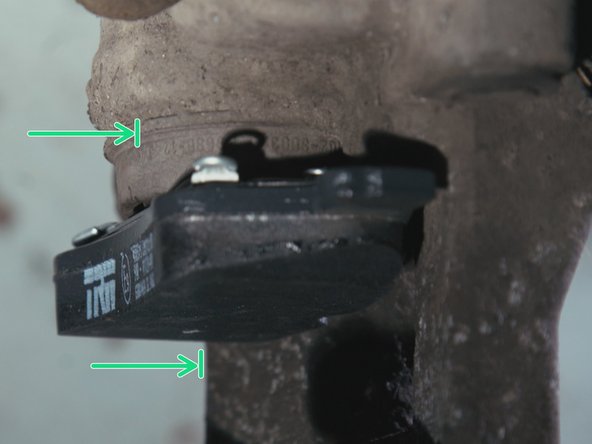
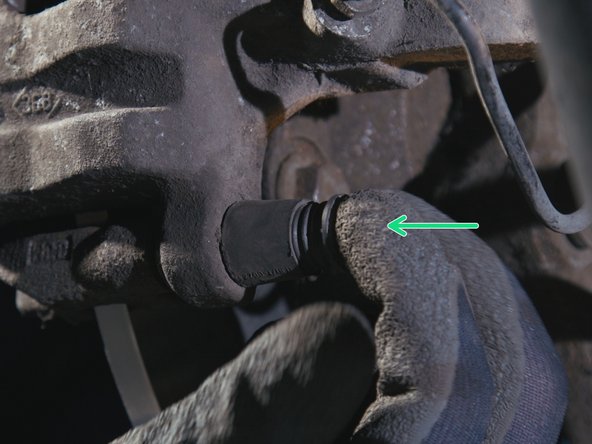
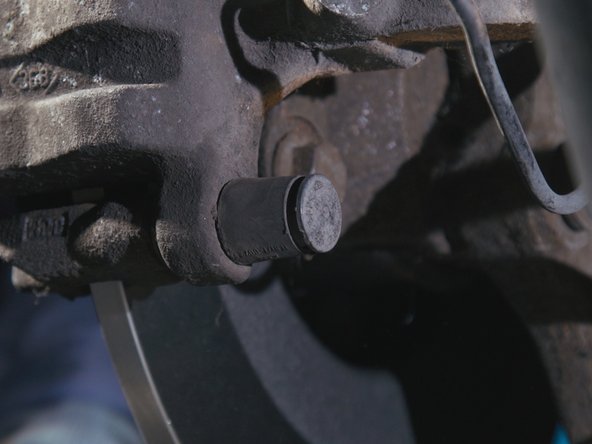
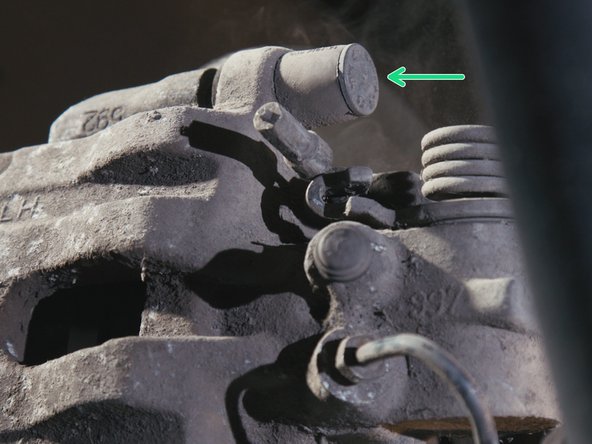
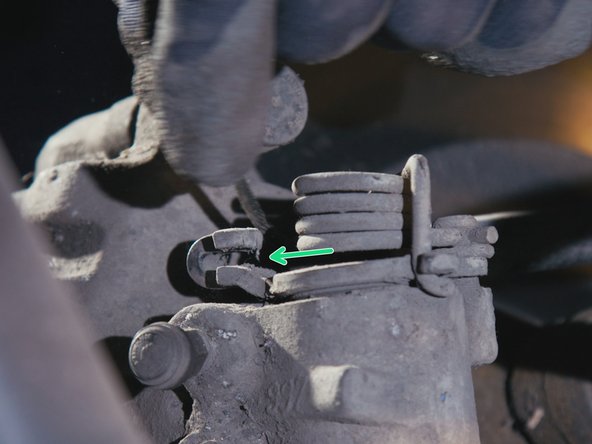
Remove the two dust covers behind the brake caliper

Remove the two dust covers behind the brake caliper

Remove the two dust covers behind the brake caliper
    • Remove the two dust covers behind the brake caliper

  5. 
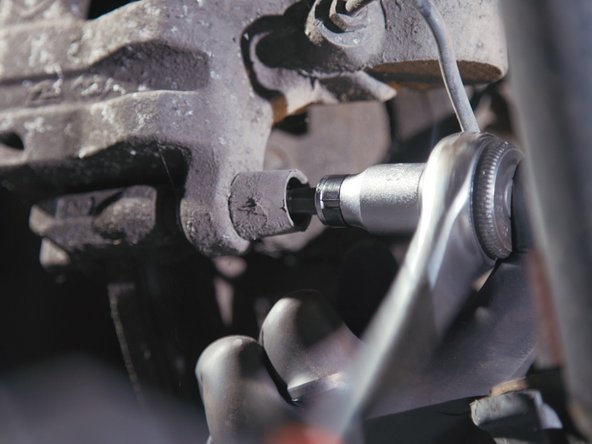
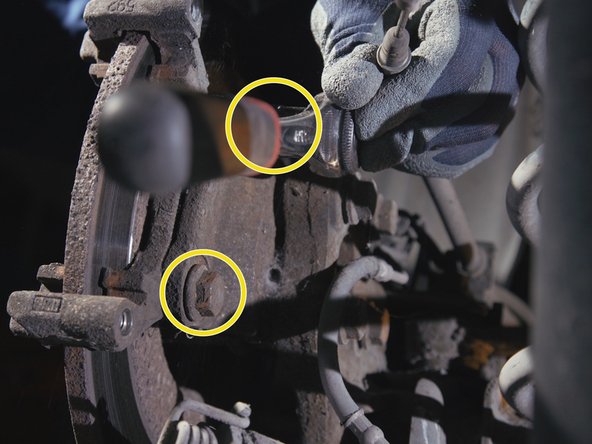
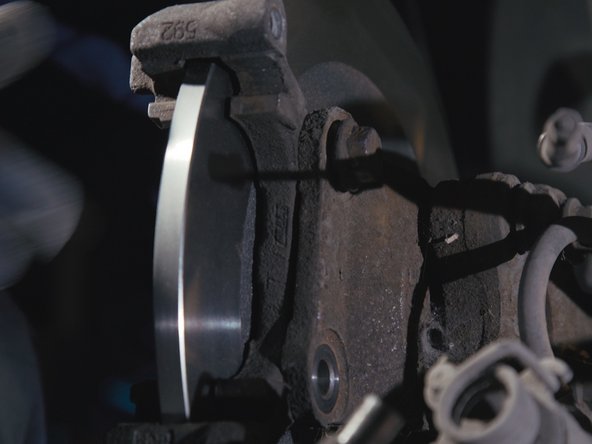
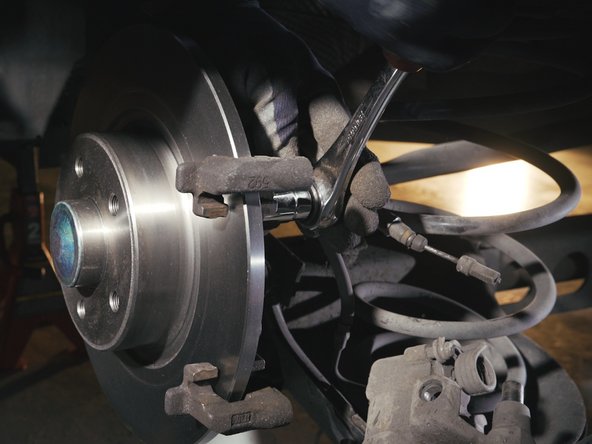
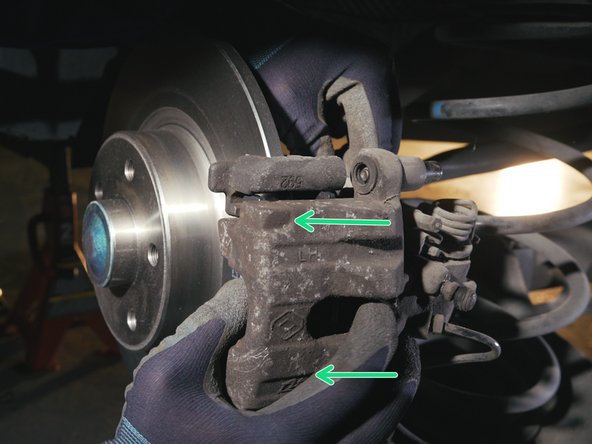
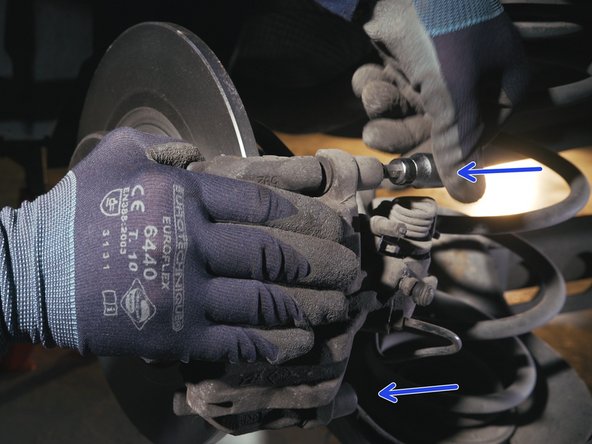
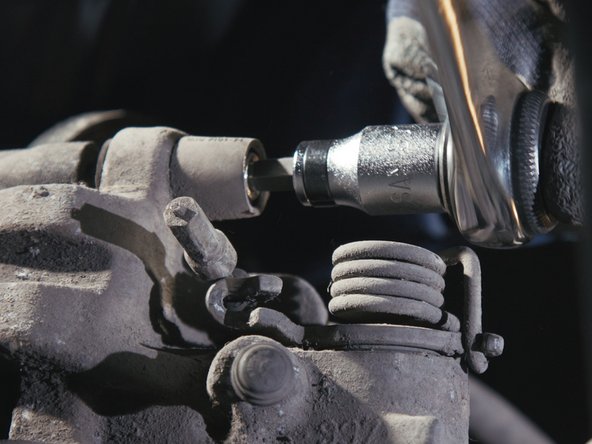
With the help of a pawl and a 7 allen socket, loosen the BTR screws without removing them

With the help of a pawl and a 7 allen socket, loosen the BTR screws without removing them

With the help of a pawl and a 7 allen socket, loosen the BTR screws without removing them
    • With the help of a pawl and a 7 allen socket, loosen the BTR screws without removing them

  6. 
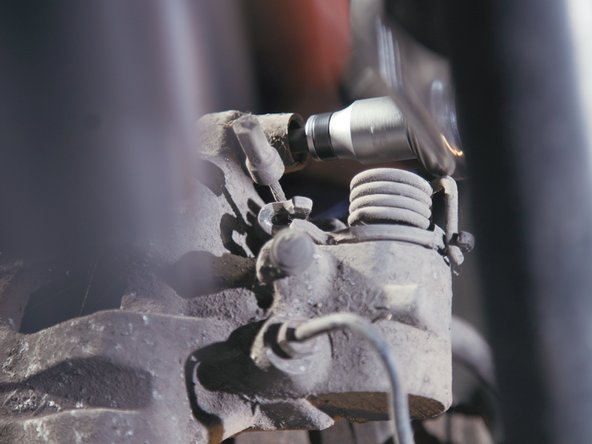
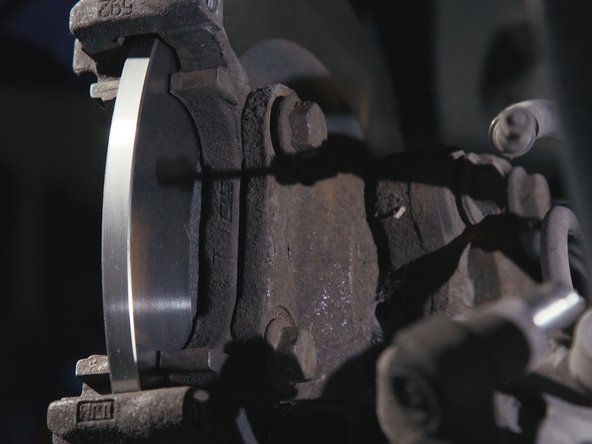
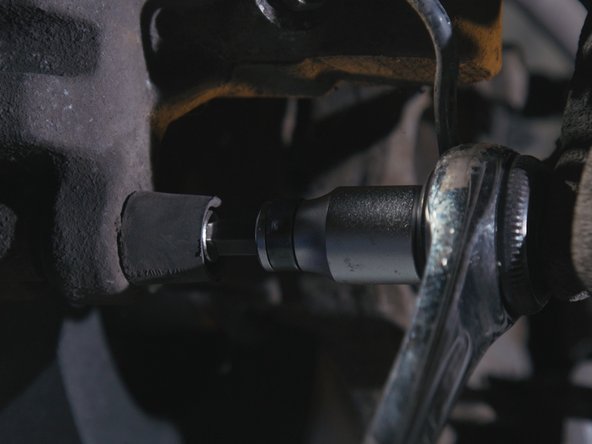
Repeat the same operation on the top of the stirrup

Repeat the same operation on the top of the stirrup
    • Repeat the same operation on the top of the stirrup

  7. 
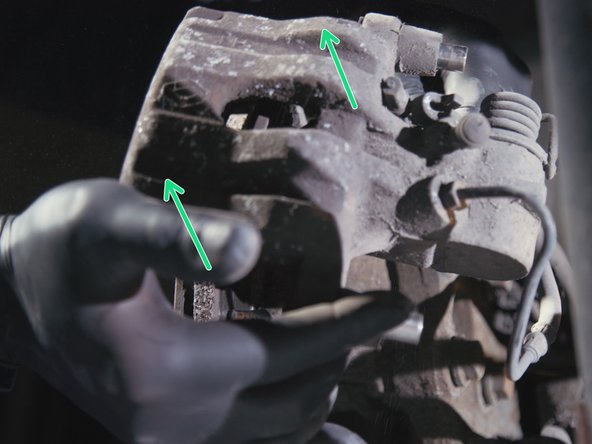
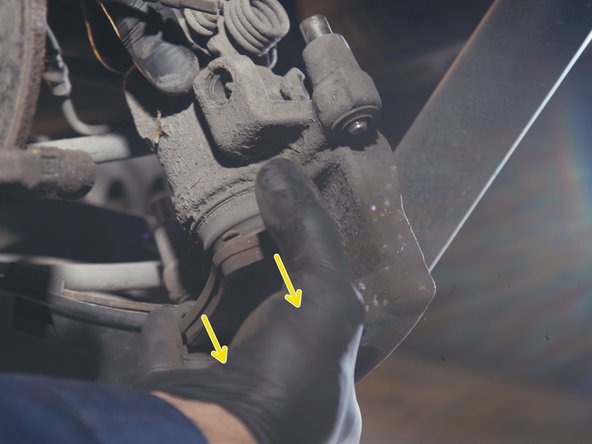
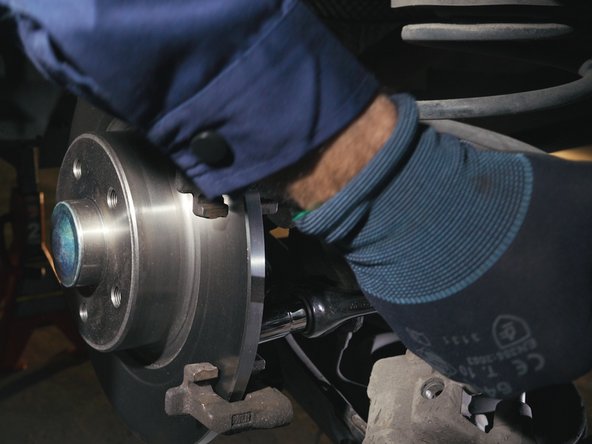
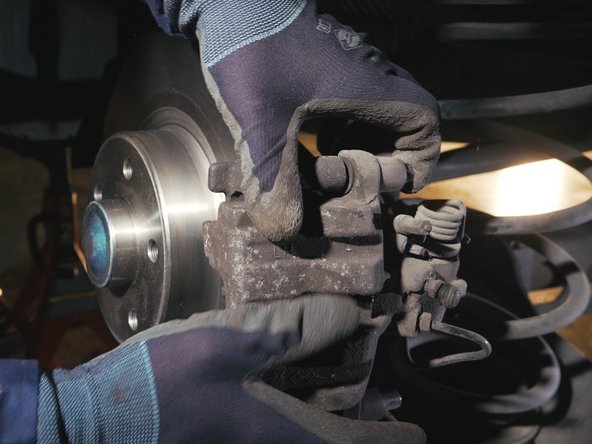
Remove the brake caliper while pulling on the handbrake cable to separate it from the caliper

Remove the brake caliper while pulling on the handbrake cable to separate it from the caliper

Remove the brake caliper while pulling on the handbrake cable to separate it from the caliper
    • Remove the brake caliper while pulling on the handbrake cable to separate it from the caliper

  8. 
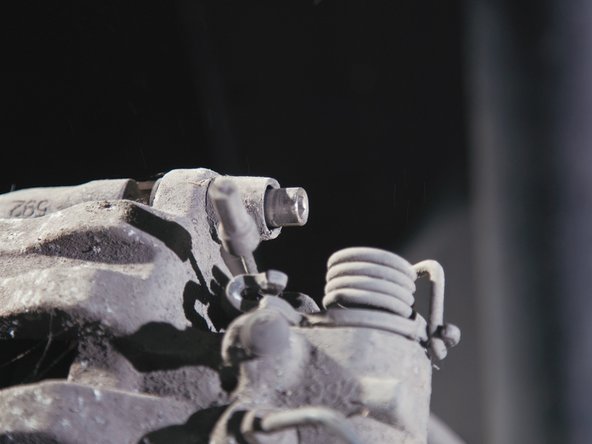
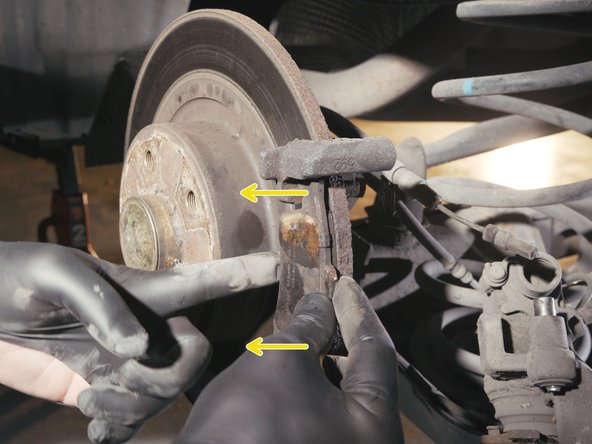
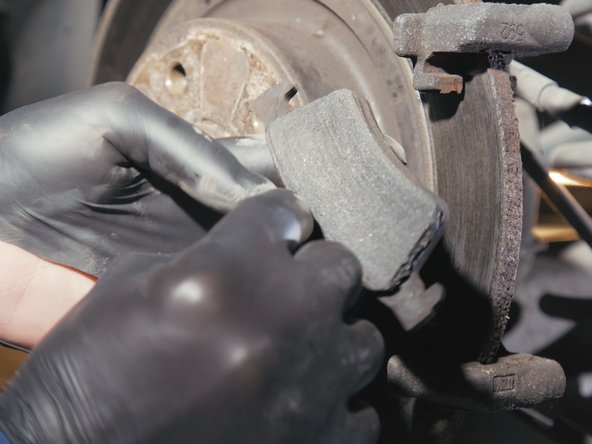
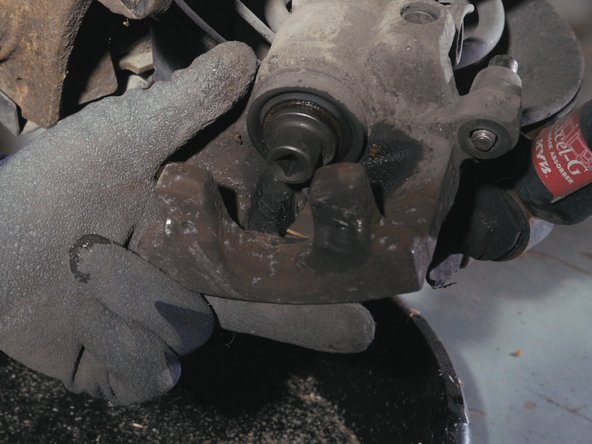
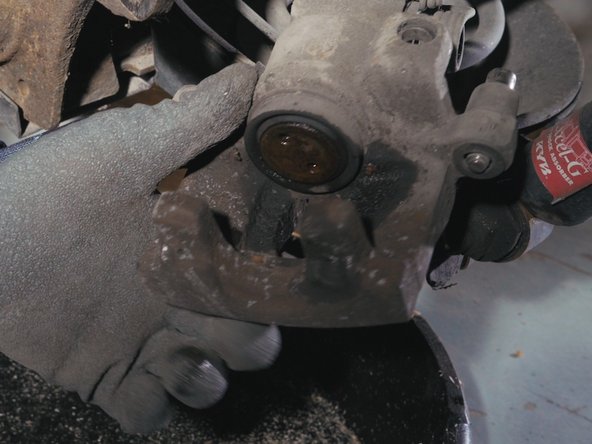
Remove the pad present on the yoke and the disc by pulling on it

Remove the pad present on the yoke and the disc by pulling on it

Remove the pad present on the yoke and the disc by pulling on it
    • Remove the pad present on the yoke and the disc by pulling on it

  9. 
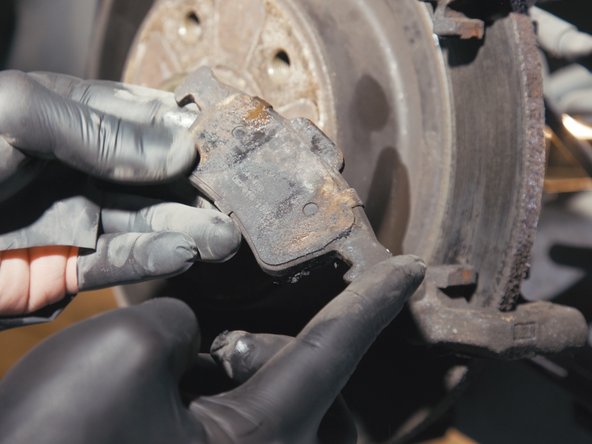
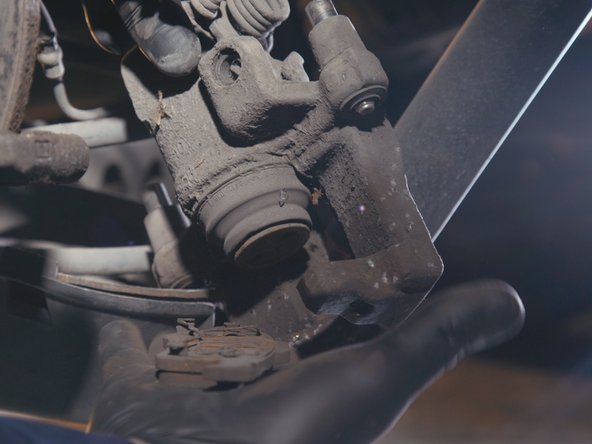
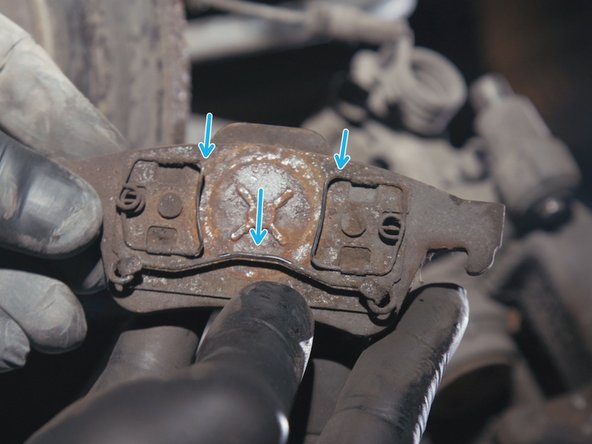
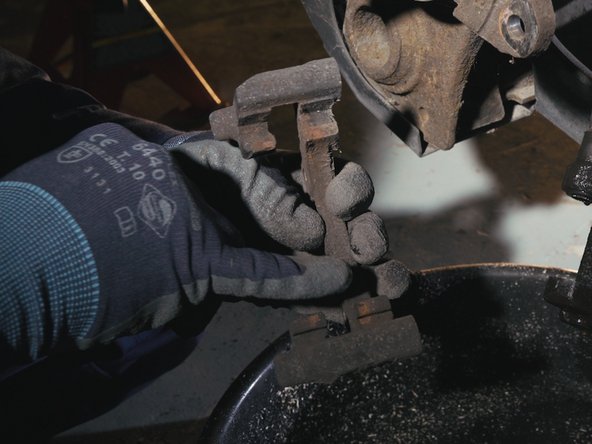
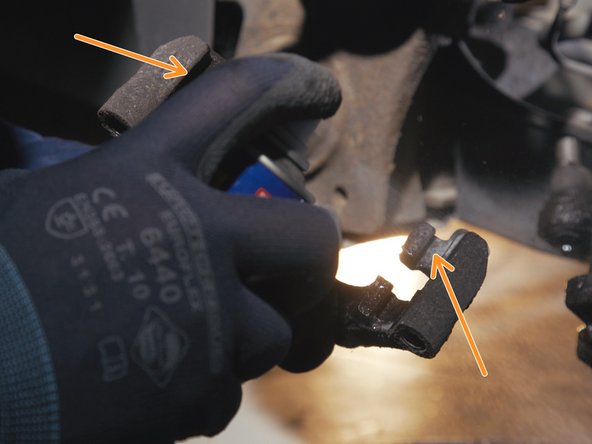
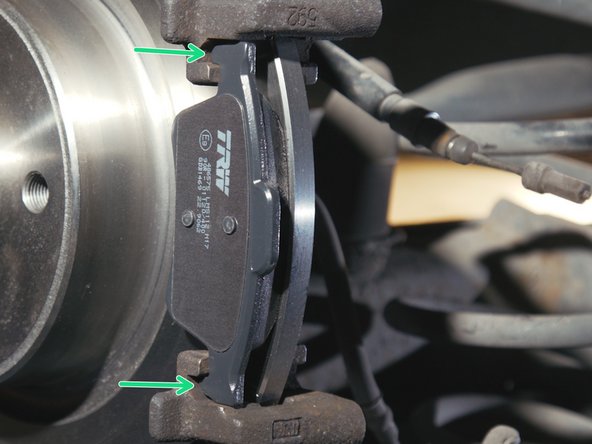
Remove the pad from the caliper by pulling the pad upwards

The pad is held in place by springs where the piston fits by sliding the pad

The pad is held in place by springs where the piston fits by sliding the pad
    • Remove the pad from the caliper by pulling the pad upwards

    • The pad is held in place by springs where the piston fits by sliding the pad

  10. 
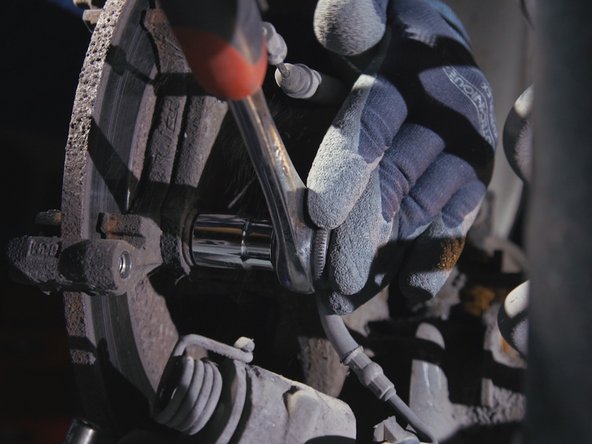
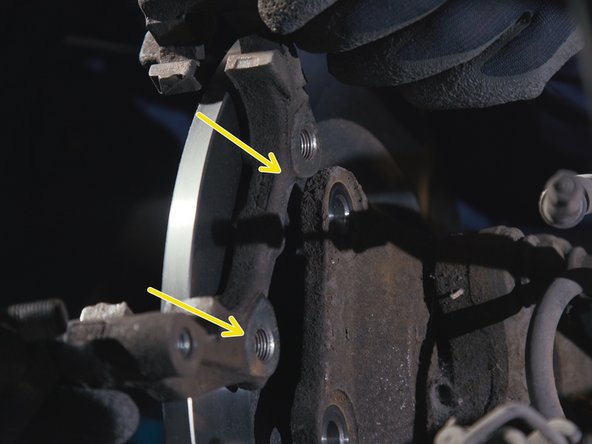
Loosen the two screws of the yoke with the pawl and a 16 socket

Loosen the two screws of the yoke with the pawl and a 16 socket

Loosen the two screws of the yoke with the pawl and a 16 socket
    • Loosen the two screws of the yoke with the pawl and a 16 socket

  11. 
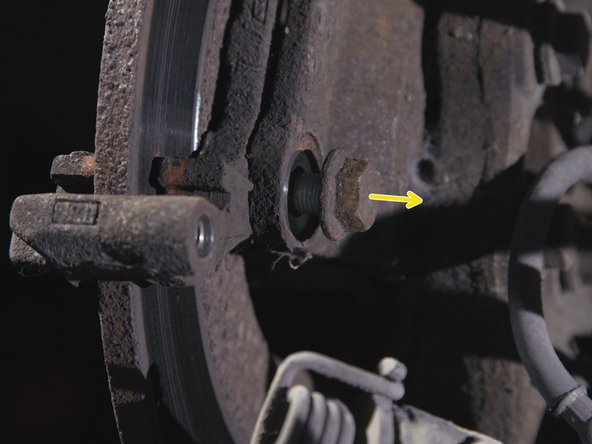
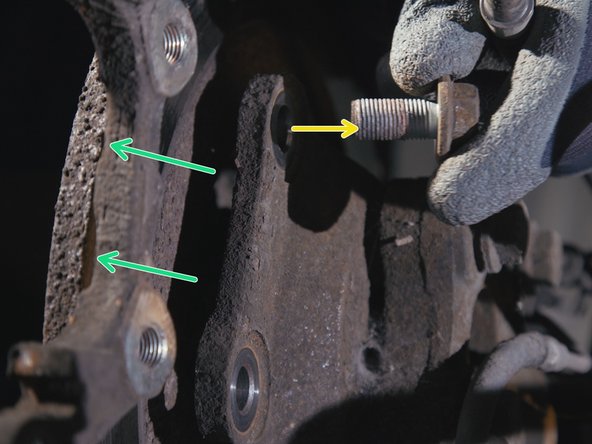
Remove the two screws from the yoke

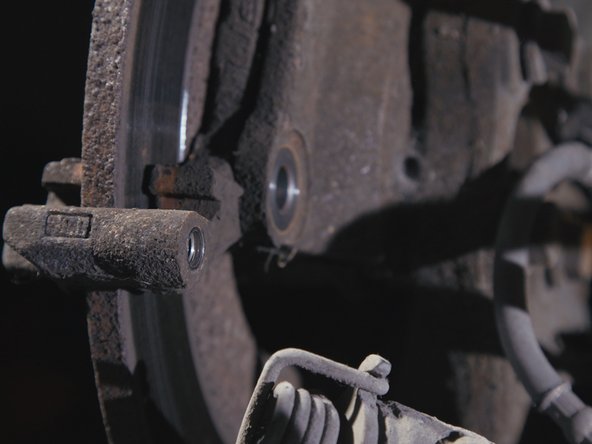
Remove the screed

Remove the screed
    • Remove the two screws from the yoke

    • Remove the screed

  12. 
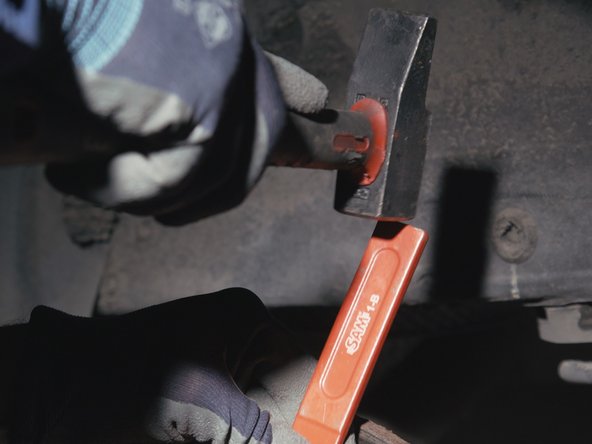
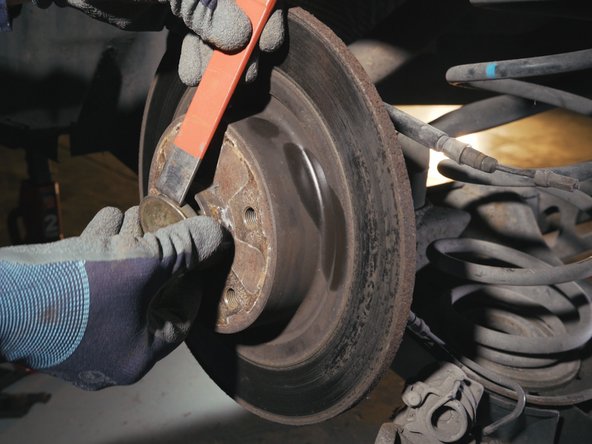
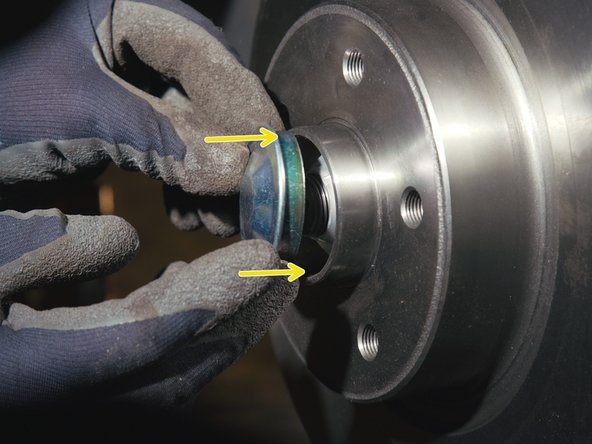
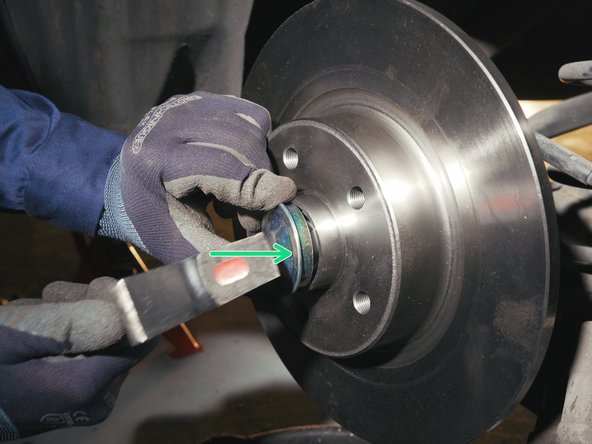
With the help of a goal and a hammer, remove the axle cover present on the disc

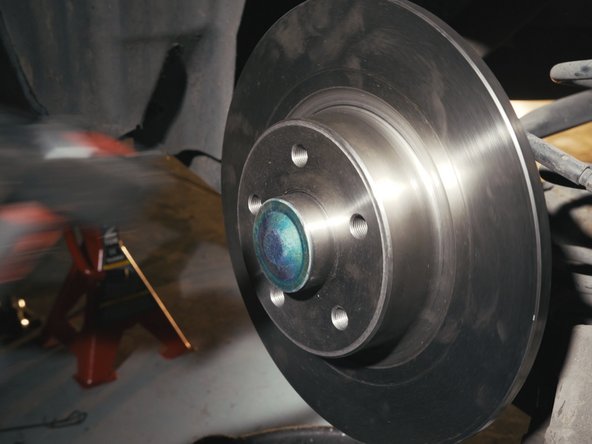
Remove the axle cover

Remove the axle cover
    • With the help of a goal and a hammer, remove the axle cover present on the disc

    • Remove the axle cover

  13. 
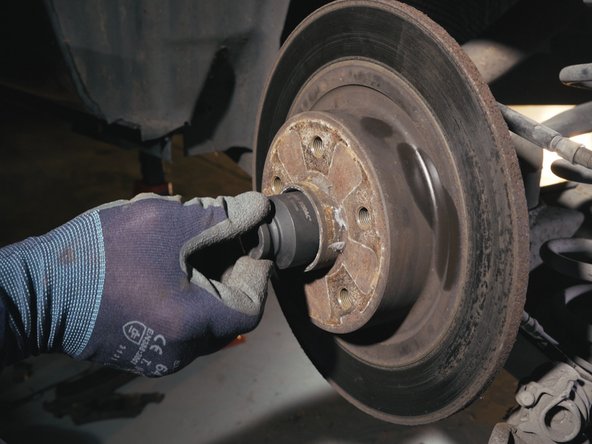
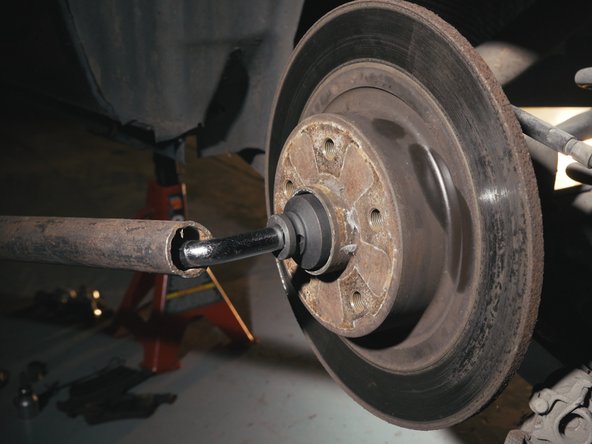
With the help of a 36 socket, of a socket wrench and of the extension as long as possible, loosen the hub nut

With the help of a 36 socket, of a socket wrench and of the extension as long as possible, loosen the hub nut

With the help of a 36 socket, of a socket wrench and of the extension as long as possible, loosen the hub nut
    • With the help of a 36 socket, of a socket wrench and of the extension as long as possible, loosen the hub nut

  14. 
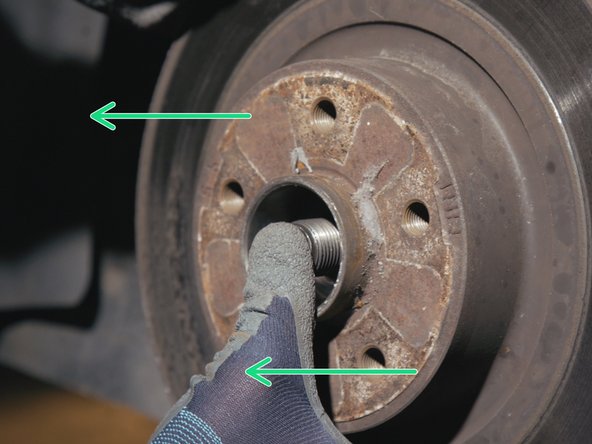
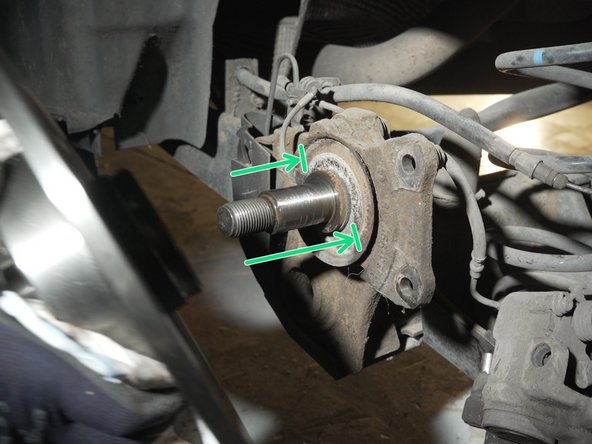
Remove the hub nut

Remove the hub nut
    • Remove the hub nut

  15. 
Pull the disc to remove it

Pull the disc to remove it

Pull the disc to remove it
    • Pull the disc to remove it

  16. 
Included in the kit is a new nut and a new axle cover.

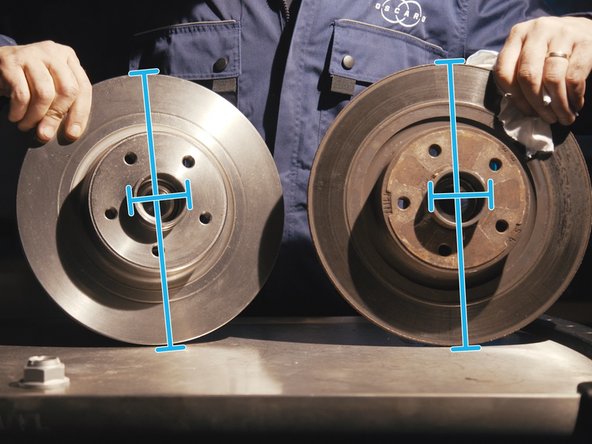
Compare the dimensions of the new disc with the old one, diameter and width

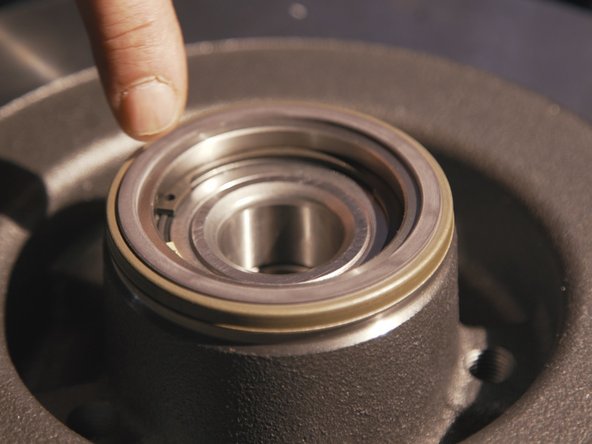
The wheel bearing is included in the disc
    • Included in the kit is a new nut and a new axle cover.

    • Compare the dimensions of the new disc with the old one, diameter and width

    • The wheel bearing is included in the disc

  17. 
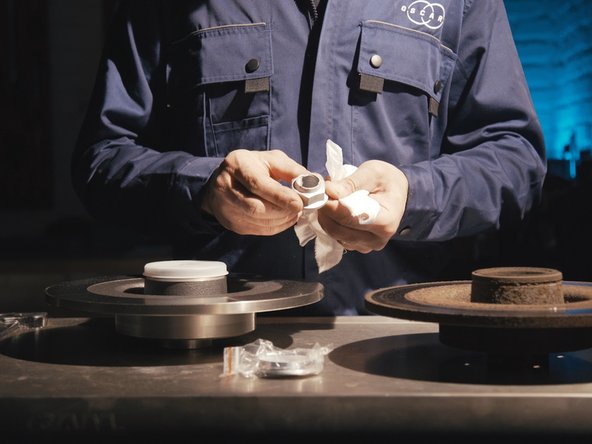
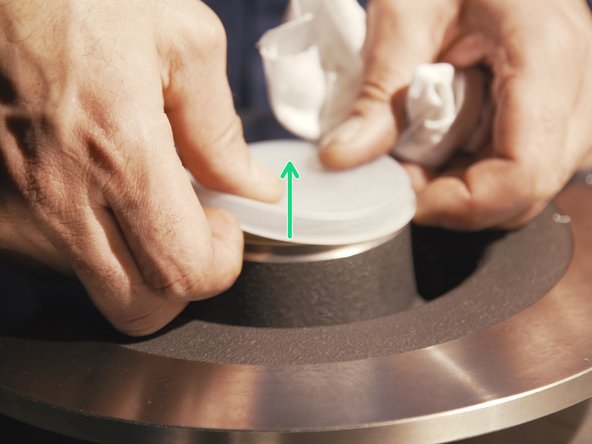
Remove the bearing cover

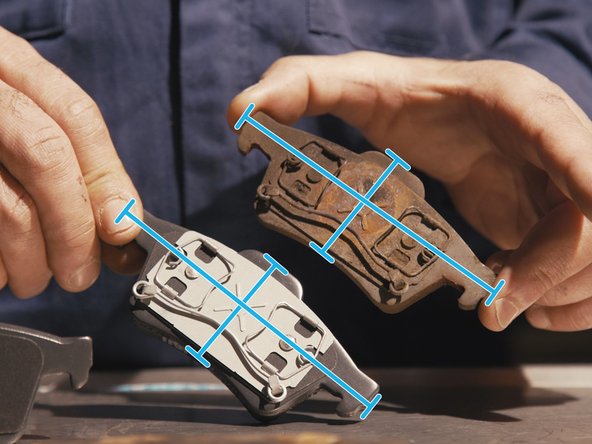
Compare the dimensions and attachment system of the new pads with the old ones

Compare the dimensions and attachment system of the new pads with the old ones
    • Remove the bearing cover

    • Compare the dimensions and attachment system of the new pads with the old ones

  18. 
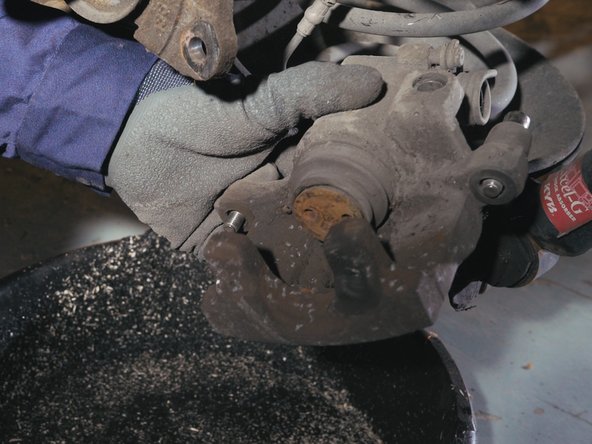
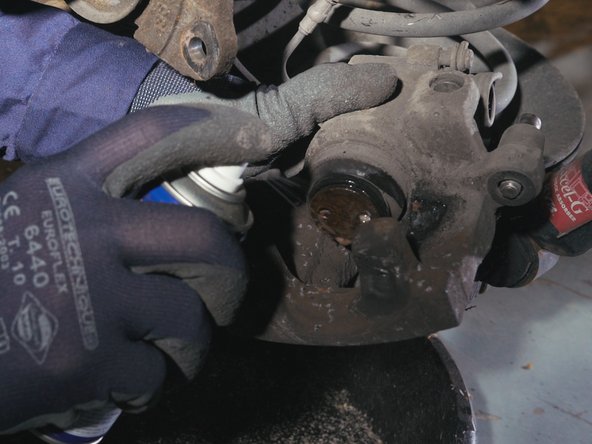
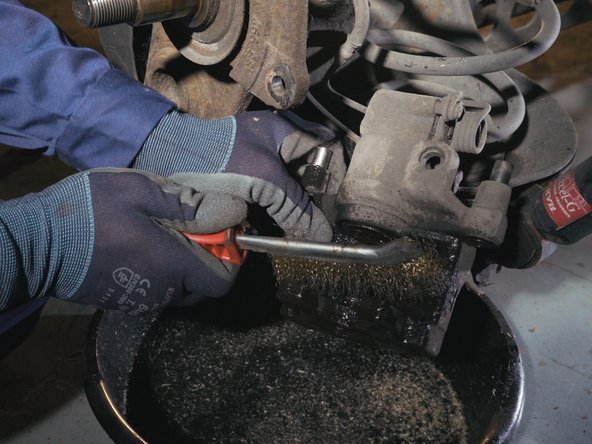
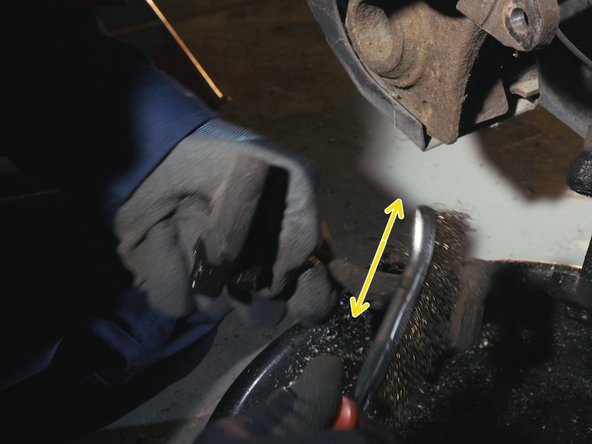
Apply some brake cleaner on the brake caliper and clean the caliper with a wire brush

Apply some brake cleaner on the brake caliper and clean the caliper with a wire brush

Apply some brake cleaner on the brake caliper and clean the caliper with a wire brush
    • Apply some brake cleaner on the brake caliper and clean the caliper with a wire brush

  19. 
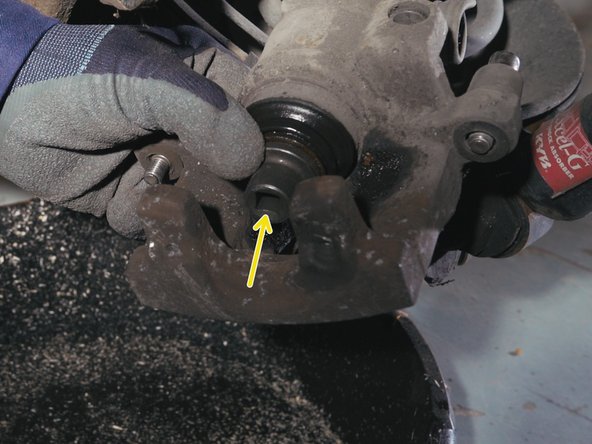
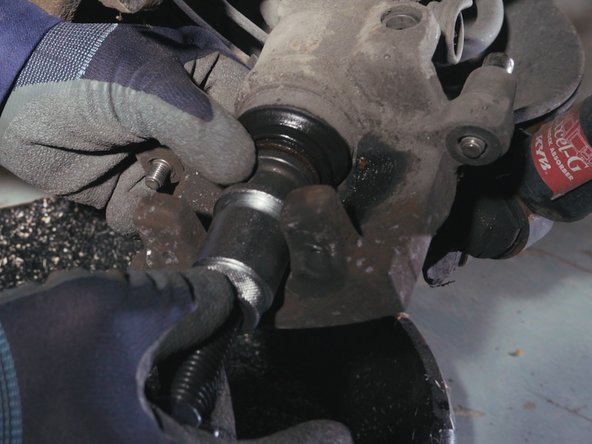
Mount the tip of the piston pusher on the caliper piston

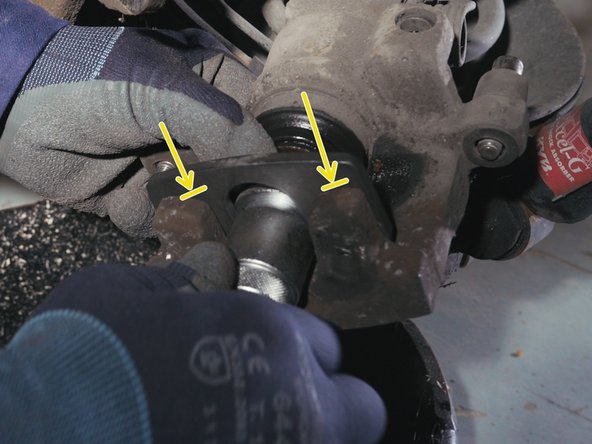
Fit the piston pusher body onto the tip

Fit the piston pusher body onto the tip
    • Mount the tip of the piston pusher on the caliper piston

    • Fit the piston pusher body onto the tip

  20. 
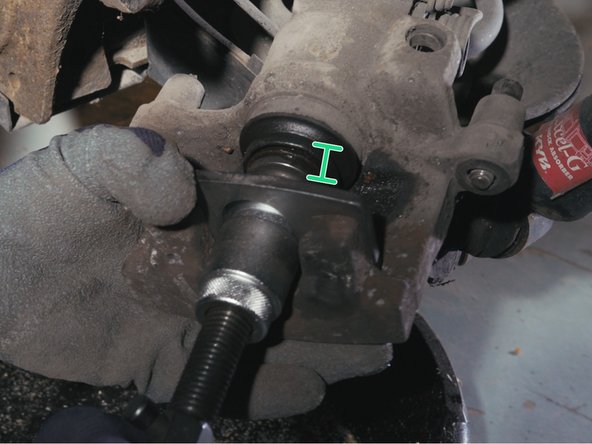
Place the piston pusher support

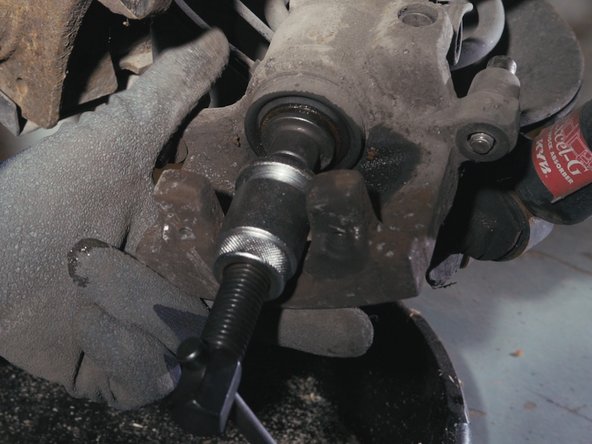
Turn the piston pusher until the piston is pushed to the stop.

Turn the piston pusher until the piston is pushed to the stop.
    • Place the piston pusher support

    • Turn the piston pusher until the piston is pushed to the stop.

  21. 
Remove the support, the piston pusher body and then the tip

Remove the support, the piston pusher body and then the tip

Remove the support, the piston pusher body and then the tip
    • Remove the support, the piston pusher body and then the tip

  22. 
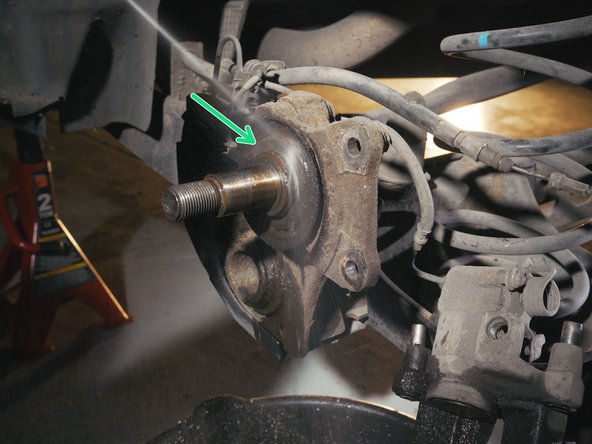
Apply some brake cleaner on the screed

Clean the pad location on the screed with a wire brush

Clean the pad location on the screed with a wire brush
    • Apply some brake cleaner on the screed

    • Clean the pad location on the screed with a wire brush

  23. 
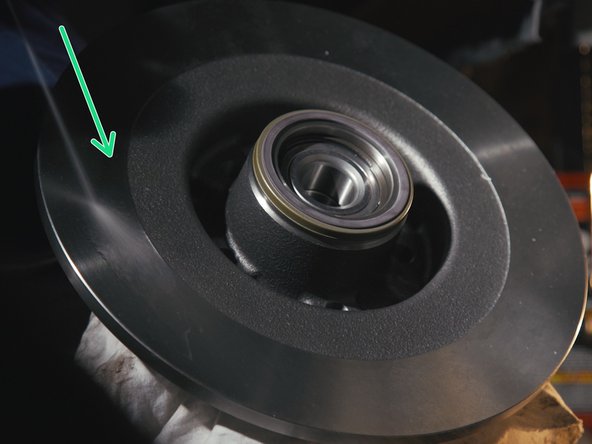
Apply some brake cleaner on the hub and the new brake disc

Wipe it with a cloth

Wipe it with a cloth
    • Apply some brake cleaner on the hub and the new brake disc

    • Wipe it with a cloth

  24. 
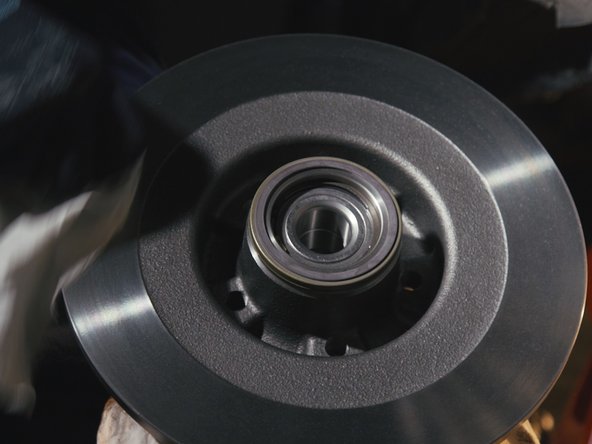
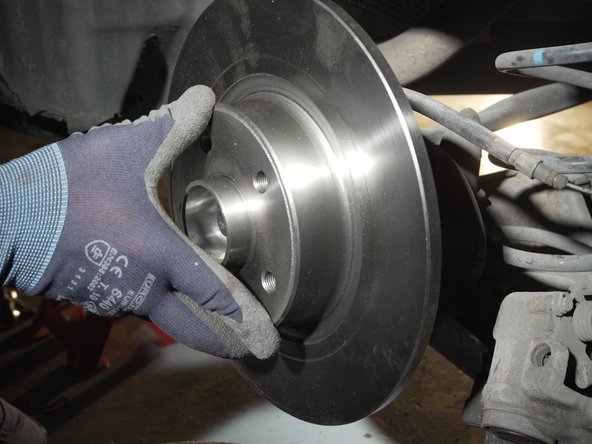
Place the disc back on the hub

Place the disc back on the hub

Place the disc back on the hub
    • Place the disc back on the hub

  25. 
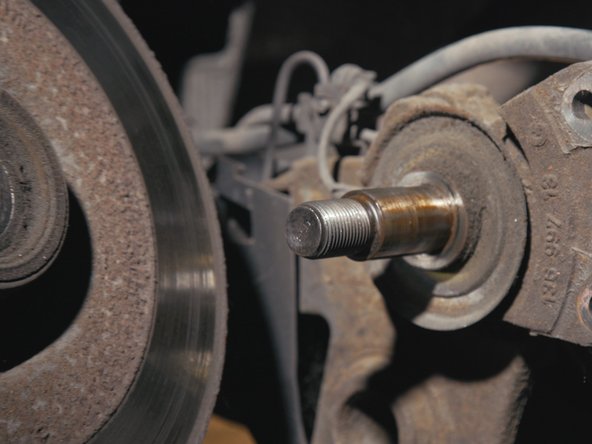
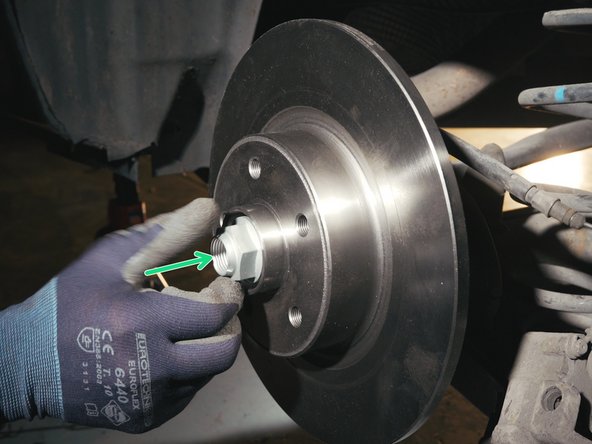
Replace the new nut on the spindle

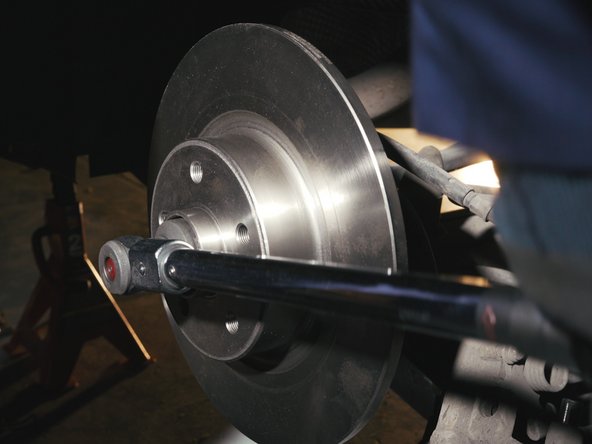
Tighten the nut using a torque wrench and his 36 socket at 280Nm
    • Replace the new nut on the spindle

    • Tighten the nut using a torque wrench and his 36 socket at 280Nm

  26. 
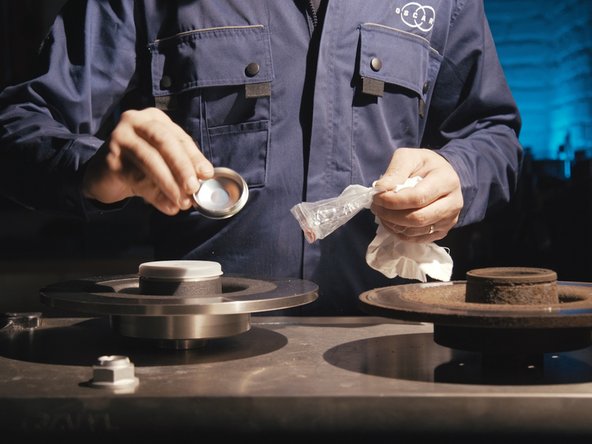
Place the new axle cover on the disc

Tap lightly with the hammer on the sides of the cover to block it

Tap lightly with the hammer on the sides of the cover to block it
    • Place the new axle cover on the disc

    • Tap lightly with the hammer on the sides of the cover to block it

  27. 
Reinstall the yoke between the spindle and the brake disc

Insert the first screw from the top to align the two holes in the yoke

Insert the first screw from the top to align the two holes in the yoke
    • Reinstall the yoke between the spindle and the brake disc

    • Insert the first screw from the top to align the two holes in the yoke

  28. 
Replace the second screw

Tighten the two screws with the pawl and the 16 socket

Tighten the two screws with the pawl and the 16 socket
    • Replace the second screw

    • Tighten the two screws with the pawl and the 16 socket

  29. 
Replace the first plate on the screed

Replace the first plate on the screed
    • Replace the first plate on the screed

  30. 
Slide the piston into the pad catch

Slide the piston into the pad catch
    • Slide the piston into the pad catch

  31. 
Replace the handbrake cable in the caliper

Replace the handbrake cable in the caliper
    • Replace the handbrake cable in the caliper

  32. 
Replace the brake caliper on the yoke

Replace the brake caliper on the yoke
    • Replace the brake caliper on the yoke

  33. 
Tighten the BTR screws using the ratchet and the 7 mm Allen bit.

Tighten the BTR screws using the ratchet and the 7 mm Allen bit.

Tighten the BTR screws using the ratchet and the 7 mm Allen bit.
    • Tighten the BTR screws using the ratchet and the 7 mm Allen bit.

  34. 
Replace the two screw covers, top and bottom

Replace the two screw covers, top and bottom

Replace the two screw covers, top and bottom
    • Replace the two screw covers, top and bottom

  35. 
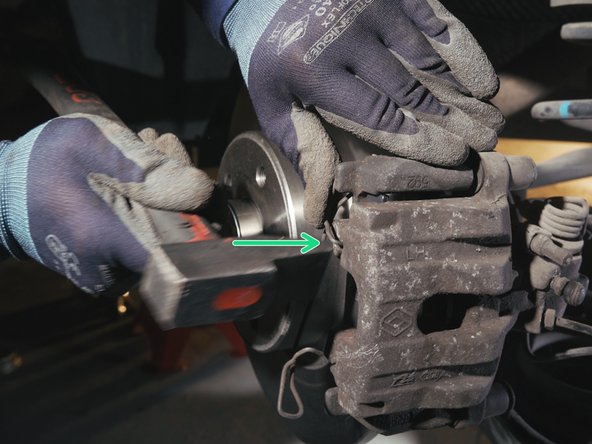
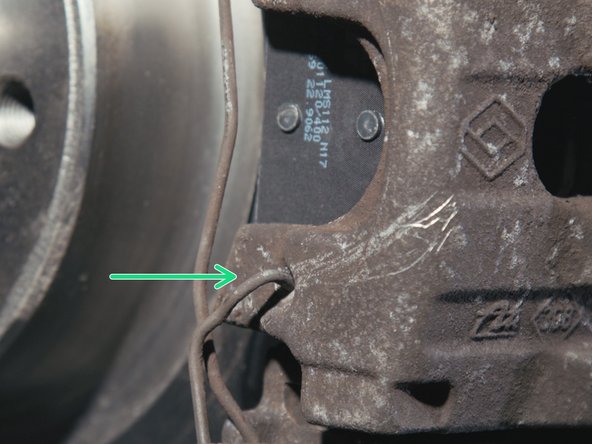
Replace the handbrake cable in its notch

Replace the handbrake cable in its notch
    • Replace the handbrake cable in its notch

  36. 
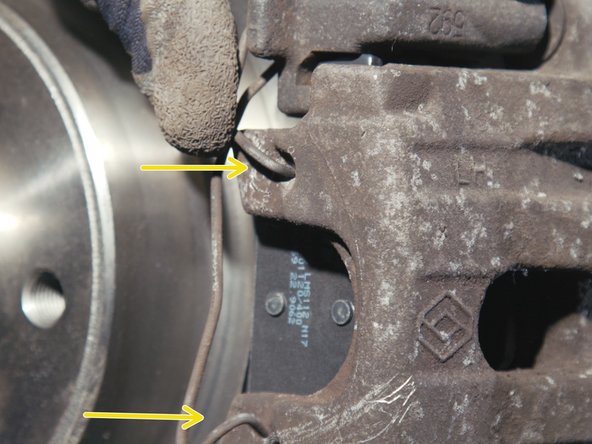
Replace the caliper spring starting with one side, then the other.

Tap with the hammer to drive it in

Tap with the hammer to drive it in
    • Replace the caliper spring starting with one side, then the other.

    • Tap with the hammer to drive it in

Finish Line

9 other people completed this guide.

dylan.leviavant

Member since: 12/6/16

527,102 Reputation

94 Guides authored

Team

Oscaro Team Member of Oscaro Team

4 Members

101 Guides authored

7 Comments

Impeccably described and commented! The fact remains that it is sometimes difficult to disassemble this f... spring when it is really seized...

Thanks for this great tutorial, I will recommend it.

patrick.heinisch - Resolved on Release Reply
Hello, valid for velsatis from 2005?

olivierrepil - Resolved on Release Reply
health,

just the screws of the yoke are not 16 but 18

don't forget to put copper grease on the columns (2 BTR screws of 7)

otherwise good tutorial!!

pascal.michel - Resolved on Release Reply
Thank you very much, it's clear, precise and detailed.

hozag2 - Resolved on Release Reply
Hello, great tutorial, I changed my pads this morning and following your tutorial it was perfect, thank you very much

Florian LEMERCIER - Resolved on Release Reply

Add Comment


View Statistics:

Past 24 Hours: 0

Past 7 Days: 2

Past 30 Days: 9

All Time: 12,534