Introduction
Changement des plaquettes de frein arrière sur une SEAT Ibiza IV 6J (90cv)
L'opération est assez simple mais il faut un repousse piston, si vous n'en n'avez pas je vous déconseille de faire l'opération.
-
-
Avec un cric losange
-
Le véhicule doit se trouver sur une surface plane
-
Placer le cric losange sous l'emplacement prévu au niveau du bas de caisse
-
-
-
A l'aide de la manivelle faire tourner dans le sens de serrage pour soulever le véhicule
-
Soulever suffisamment pour glisser une chandelle sous le véhicule
-
-
-
Avec un cric hydraulique
-
Placer le cric hydraulique sous l'emplacement prévu au niveau du bas de caisse
-
Actionner le levier vers le bas pour monter le cric
-
Soulever suffisamment pour glisser une chandelle sous le véhicule
-
-
-
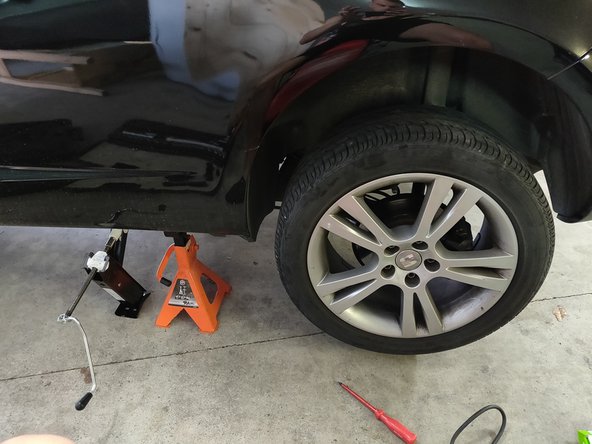
Placer la chandelle sous le berceau ou un point renforcé de la voiture
-
Ajuster la chandelle à hauteur de ce dernier
-
Descendre le véhicule sur la chandelle et retirer le cric
-
-
-
Replacer le cric(losange ou hydraulique) sous le bas de caisse et remonter légèrement la voiture pour retirer la chandelle
-
-
-
Reposer la voiture en descendant le cric losange
-
Retirer le cric losange
-
-
-
Reposer la voiture en descendant le cric hydraulique
-
Retirer le cric hydraulique
-
-
-
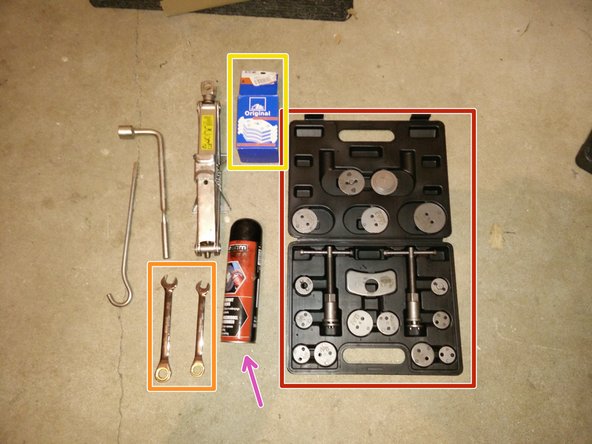
Vérifiez que vous possédiez tous les outils nécessaire avant de démonter les roues
-
Un repousse piston (obligatoire pour les freins arrière)
-
Des plaquettes neuves
-
Une clé plate de 15 et une clé plate de 13
-
Cric + chandelles
-
Nettoyant frein
-
-
-
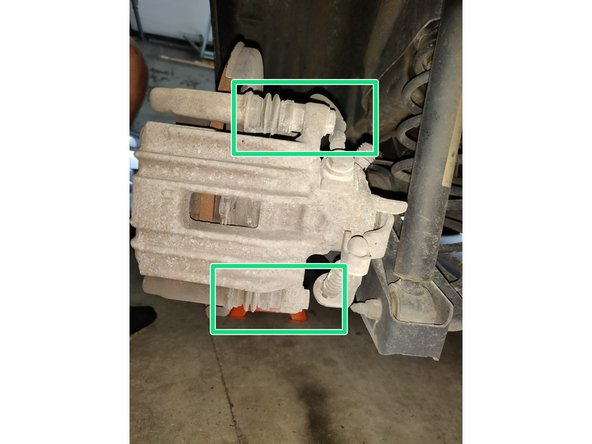
Sens du regard
-
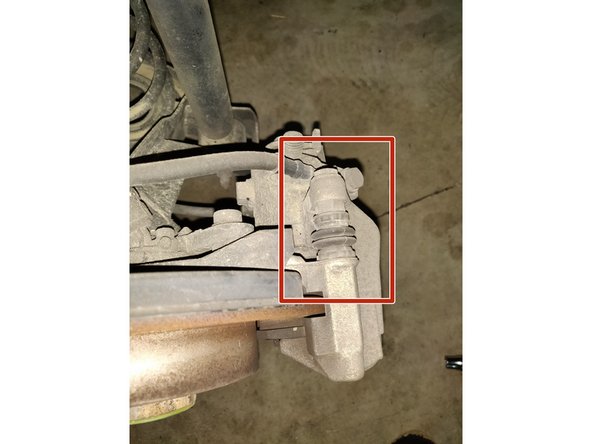
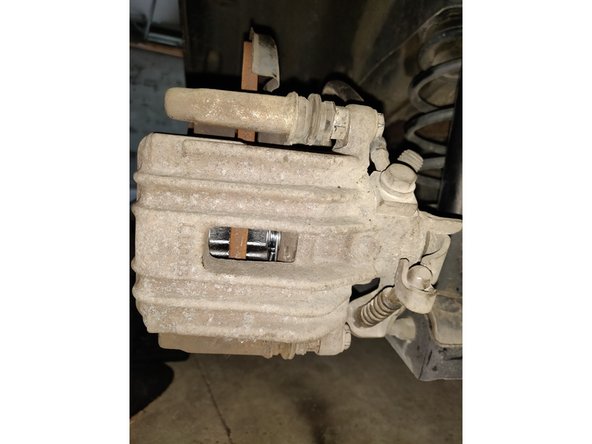
Etrier de frein
-
Par dessus l’étrier vous pouvez apercevoir la tête de vis hexagonale ainsi que son écrou
-
Il y en a une deuxième à l'autre extrémité de l’étrier
-
-
-
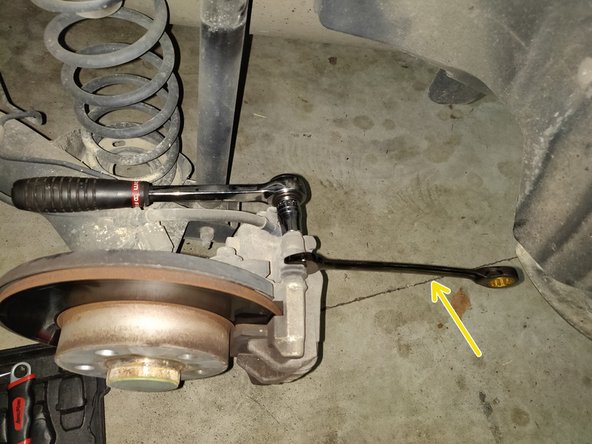
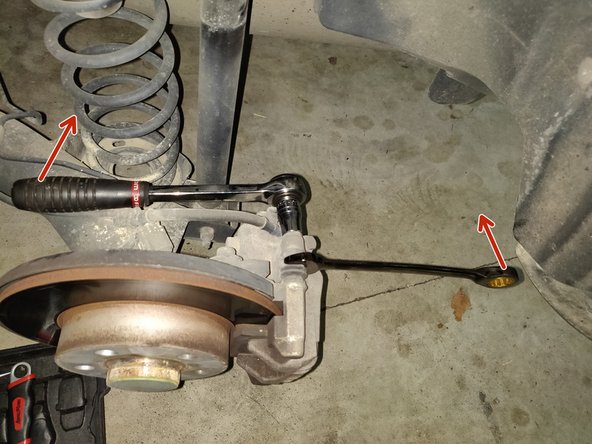
Mettre une clé plate ou une douille de 13 sur la tête de vis
-
Mettre la clé plate de 15 sur l'écrou
-
Desserrer la vis en bloquant la rotation à l'aide de la clé plate
-
-
-
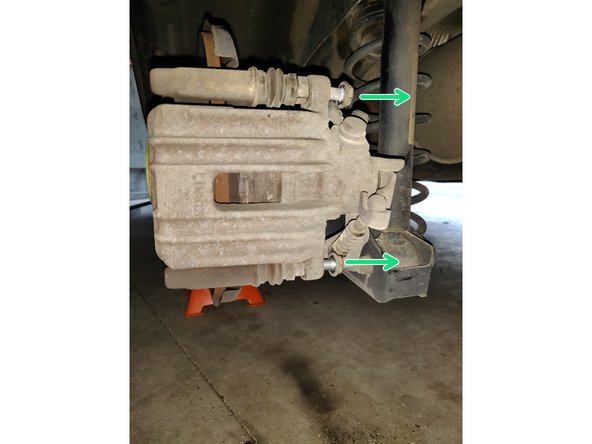
Retirer les vis
-
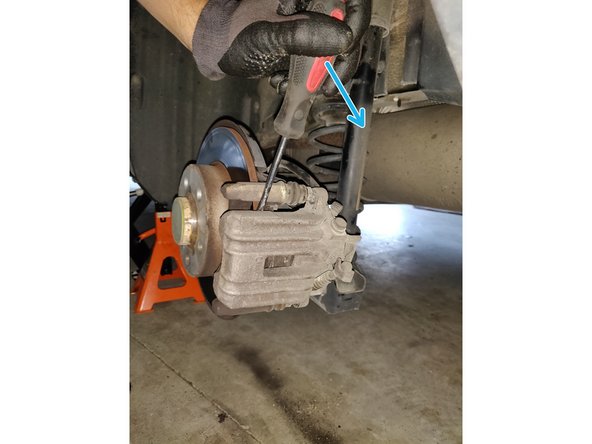
Démonter l'étrier à l'aide d'un tournevis
-
Attention de ne pas trop tiré sur les durites de frein en laissant tombé l’étrier
-
-
-
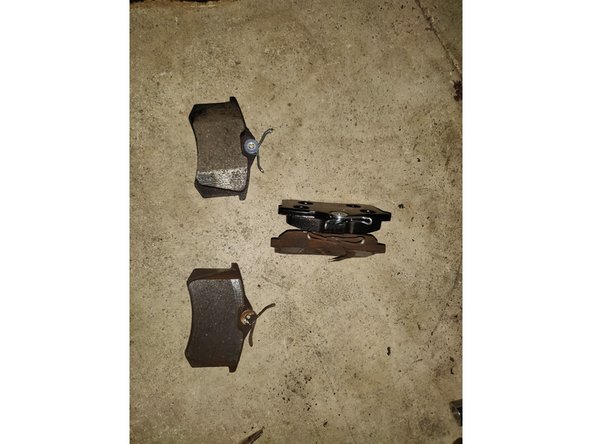
Retirer les anciennes plaquettes de frein
-
Si vos plaquette sont très usées, votre piston risque d'être sortie presque au maximum et vous ne pourrez pas remettre l'étrier avec les nouvelles plaquettes
-
-
-
Vérifier la taille et la forme des plaquettes pour vous assurez qu'il s'agit du même modèle.
-
-
-
Ouvrir le capot et localiser le bocal du liquide de frein
-
Ouvrir le bocal de liquide de frein et mettre du papier absorbant dessous ou cas où le liquide deborde
-
-
-
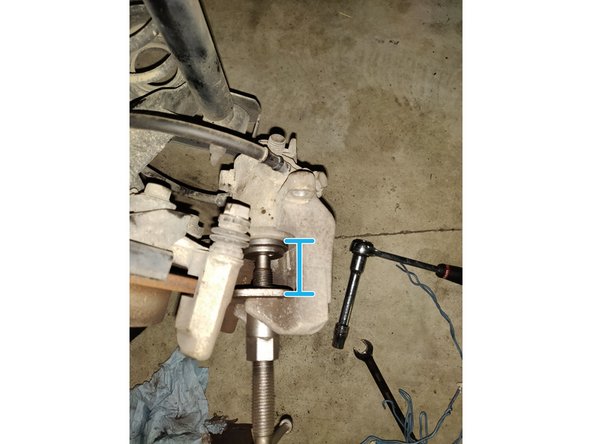
Les pistons des freins arrières ne peuvent pas être repousser par simple pression, il faut pousser et tourner en même temps.
-
Le piston dispose de deux encoches pour pouvoir le faire tourner plus facilement
-
Repousser le piston au maximum sans forcer
-
-
-
Mettre le plaquettes sur le support d'étrier
-
Remettre l’étrier sur son support
-
Mettre les vis neuves fournies avec les plaquettes
-
Remontage dans le sens inverse
-
Après avoir démarré le véhicule, pressez plusieurs fois sur la pédale de frein
-
Opération de maintenance relativement simple même s'il faut faire attention car il s'agit des freins.
Opération de maintenance relativement simple même s'il faut faire attention car il s'agit des freins.
Annulation : je n'ai pas terminé ce tutoriel.
5 autres ont terminé cette réparation.
2 commentaires
Seat ibiza tdi 1.6l 2013: Pour repousser le piston des freins arrière du coté droit et du coté gauche, dans quel sens doit on tourner? Je vous remercie
De mémoire il me semble qu'il faut tourner dans le sens horaire. De toute façon vous devez sentir une légère résistance lorsque vous tournez le repousse piston


