


Difficulté
Facile
Étapes
5
Temps nécessaire
00:20:00

Ce tutoriel a été créé par la communauté
User contributed
Pièces
-
-
Photo 1: On commence par ouvrir la porte passager pour décliper plus facilement le cache supérieur en la glissant vers le haut (flèches rouges).
-
Photo 2: on déclipe ensuite le cache inférieur qui protège les connecteurs électriques, à l'aide d'un petit tournevis plat.
-
Photo 3: une fois les caches retirés, on observe les vis de fixation du rétroviseur (flèches jaunes) et on peut suivre le trajet du câble de connexion (tirets verts).
-
-
-
Photo 1: on retire le connecteur en poussant la languette vers les fils noirs (flèche rouge) et on tire doucement sur le connecteur.
-
Photo 2 : on dévisse les vis de fixation du rétroviseur (flèches jaunes) avec un tournevis torx T25. On retire le rétroviseur par l'extérieur de la voiture.
-
-
-
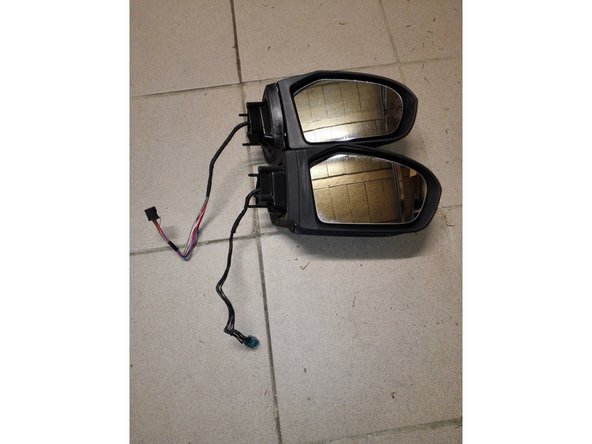
Photo 1: en haut le rétroviseur neuf, en bas l'ancien. Les dimensions sont identiques, la longueur de câble et les connecteurs aussi.
-
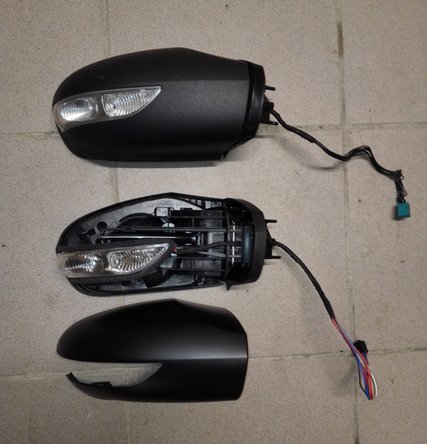
Photo 2 : Remarque: le rétroviseur neuf est livré avec une coque noire à clipper. Vous pouvez également récupérer la coque d'origine si elle est peinte.
-
-
-
Photo 1: on positionne le nouveau rétroviseur par l'extérieur en s'aidant de la tige de positionnement (flèche rouge), et on rebranche le connecteur sur la platine (cercle rouge)
-
Photo 2: on revisse ensuite les 3 vis torx de fixation (flèches oranges).
-
Apres avoir testé le bon fonctionnement du rétroviseur, on repose les deux caches en plastiques (se reporter à la première étape du tuto)
-
-
-
Photos 1 et 2 : on positionne la coque et on la clippe dans les trois encoches prévues à cet effet (flèches rouges).
-
Une fois la coque clippée, la réparation est finie!
-


Annulation : je n'ai pas terminé ce tutoriel.
4 autres ont terminé cette réparation.
3 commentaires
Bonjour, tuto excellent et très clair . Merci beaucoup pour ce travail .
yoan Sophys - Résolu à la publication Réponse