Introduction
A l'aide de ce tutoriel vous pourrez changer votre sonde lambda facilement.
-
-
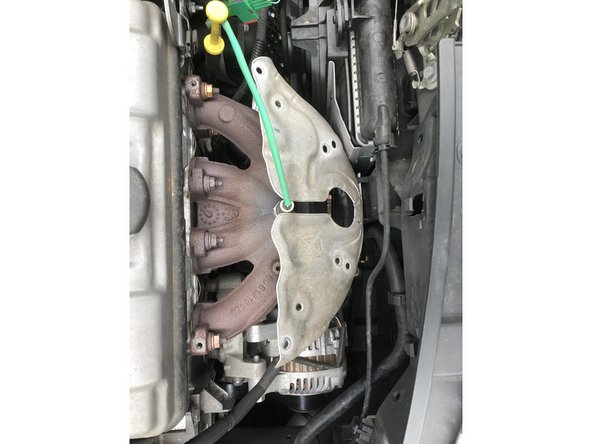
Avec une clé a cliqué de 9, retirer les 4 vis de maintient du carter de protection de votre collecteur d'échappement.
-
-
-
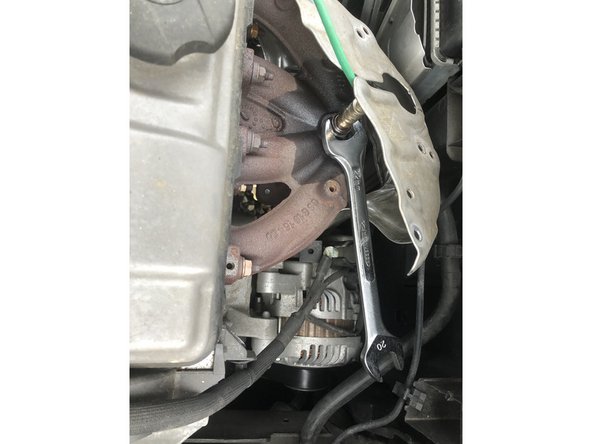
Monté le carter de protection jusqu'au bout de la sonde lambda au niveau du départ du câble de la sonde
-
Puis effectuer une rotation vers la droite de votre cratère comme sur la photo 2
-
-
-
Une fois la sonde enlever
-
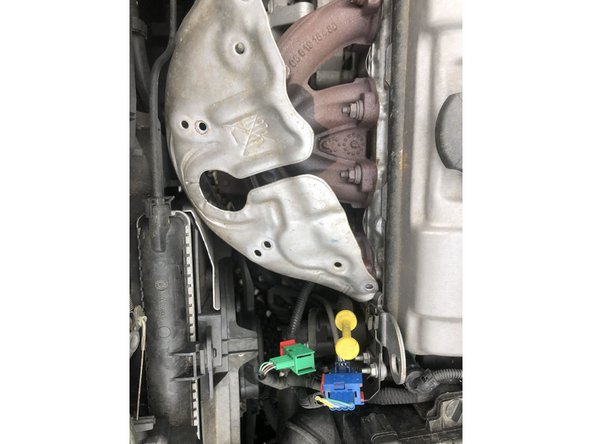
Débrancher la sonde a l'aide du clips rouge qui se trouve des deux coter de la cosse femelle verte, ici entourer en rouge.
-
Tirer le clips rouge vers le bas.
-
Retirer alors votre sonde entièrement.
-
-
-
Félicitation, c'est bientôt fini.
-
Reprendre le tutoriel dans le sens inverse
-
Brancher la sonde
-
reviser la sonde
-
remonter le cratère de protection
-
Annulation : je n'ai pas terminé ce tutoriel.
Une autre personne a terminé cette réparation.


