


Pièces
-
-
Sur nos Clio 3 Phase 2' nous avons seulement 2 modules d'éclairage à l'intérieur du véhicule.
-
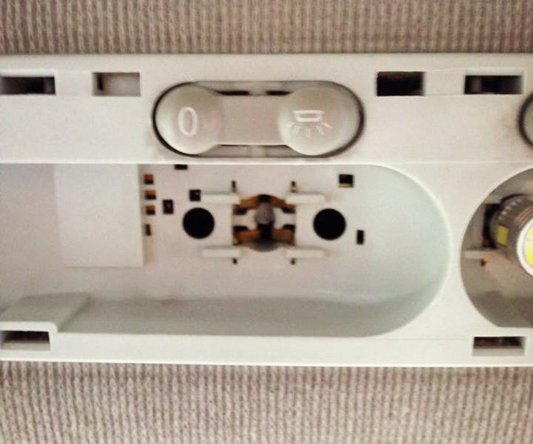
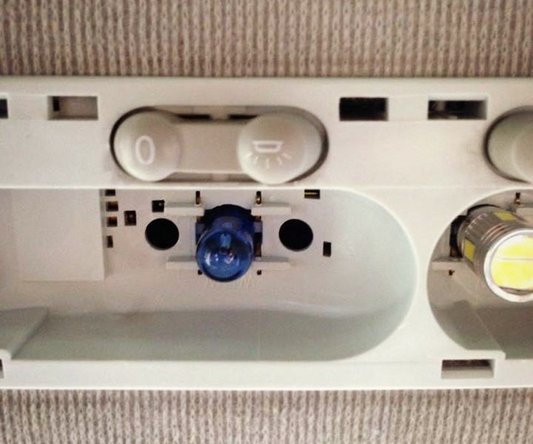
Plafonnier à l'avant du véhicule
-
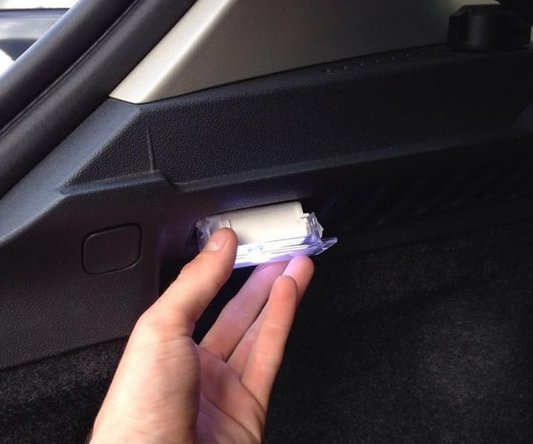
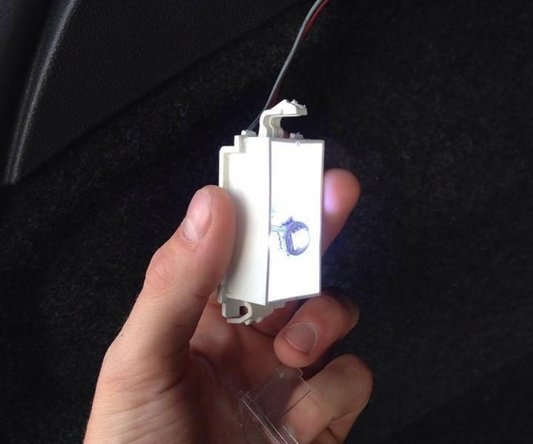
Coffre côté gauche.
-
-
-
Vous avez plusieurs culot pour vos ampoules, nous devrons choisir le modèle d'ampoule W5W ou T10, n'acheter pas d'autres modèle car ils ne seront pas compatible
-
Vous avez plusieurs modèles aussi :
-
Ampoule simple (éclairage blanc/jaune).
-
Ampoule à LED (éclairage fort blanc).
-
Sur la deuxième photo vous avez l'éclairage d'une ampoule simple, sur la troisième' c'est une ampoule à LED.
-
-
-
Pour pouvoir démonter le plafonnier avant :
-
Vous pouvez utiliser un petit tournevis plat en prenant soin de ne pas abîmé le plastique mais avec vos doigts vous arriverez à le déclipsser simplement en tirant dessus.
-
Pensez à bien éteindre les 2 modules du plafonnier pour que l'éclairage ne soit pas allumer lorsque vous manipulerez vos ampoules !'''
-
-
-
Vous pouvez utilisé des gants pour enlever les ampoules mais il n'y a aucune crainte même si cela reste conseiller.
-
Tirer sur l'ampoule vers le bas, elle s’enlèvera sans forcer.
-
Placer la nouvelle ampoule puis allumer l'éclairage afin de voir si cela fonctionne.
-
Si l'ampoule ne fonctionne pas, éteignez le plafonnier puis changer le sens dont vous avez mis l'ampoule.
-
-
-
Vérifier simplement le sens des boutons (ou il y a les trous) puis le clipsser en appuyant dessus.
-
-
-
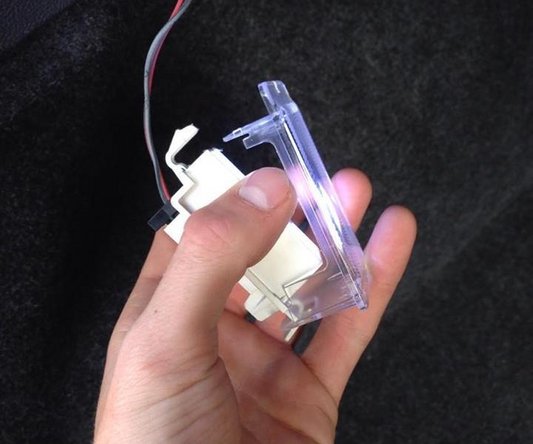
Pour enlever le cache d'ampoule du coffre côté gauche :
-
Utilisez un petit tournevis plat pour faire levier vers vous à partir du côté gauche du cache.
-
Le cache s’enlève doucement, vous pouvez ensuite le tirer vers vous délicatement en faisant attention au clips.
-
-
-
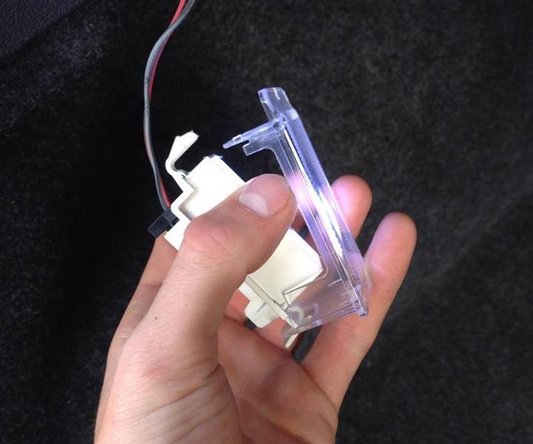
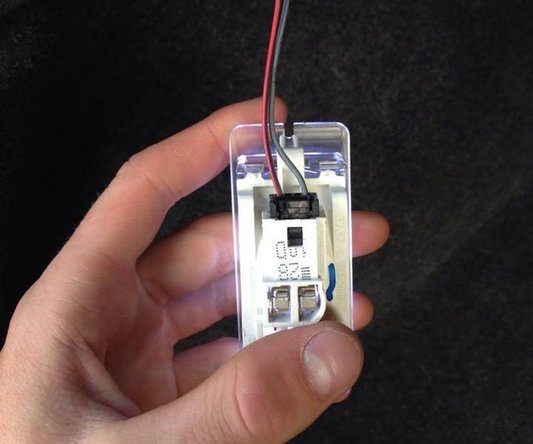
Vous devrez débrancher le module en pinçant et tirant le câble.
-
Ensuite nous pouvons voir l'ampoule, enlever la en tirant dessus puis remettez votre nouvelle ampoule à la place.
-
Si elle ne fonctionne pas, changer le sens dont vous avez mis l'ampoule.
-
-
-
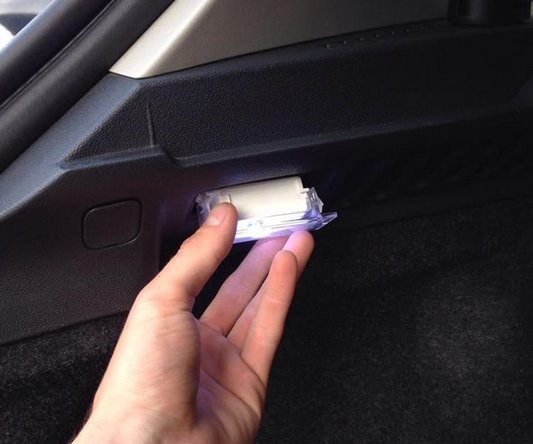
Clipser le cache en plastique transparent sur le module.
-
Brancher le câble que nous avons débranché juste avant.
-
Puis reclipser le module dans la partie situé dans le coffre.
-


Annulation : je n'ai pas terminé ce tutoriel.
5 autres ont terminé cette réparation.