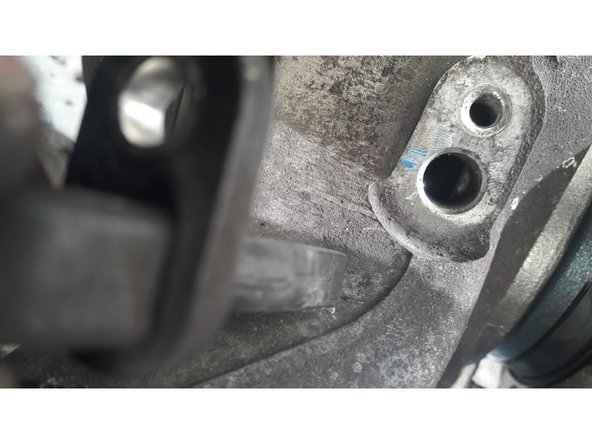
1. Jack up the car
    • Jack up the car

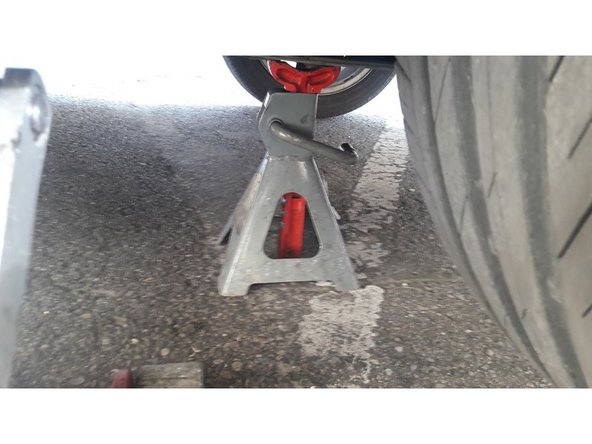
  2. Secure with a candle
    • Secure with a candle

  3. Remove the central nut of the universal joint using a 30mm wrench
    • Remove the central nut of the universal joint using a 30mm wrench

  4. remove the torx screws from the brake disc
    • remove the torx screws from the brake disc

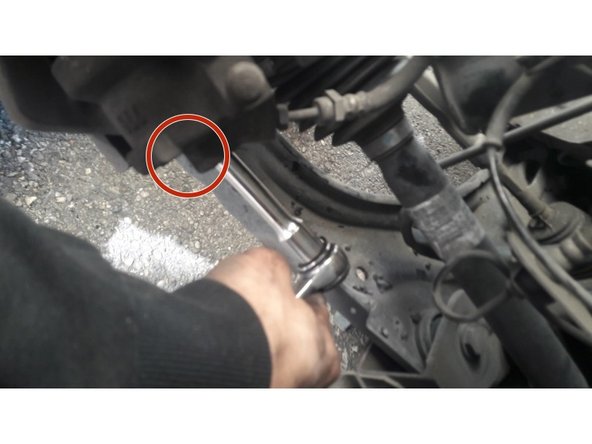
  5. Unscrew the 2 brake caliper screws (18mm socket) Remove the caliper + disc assembly
    • Unscrew the 2 brake caliper screws (18mm socket)

    • Remove the caliper + disc assembly

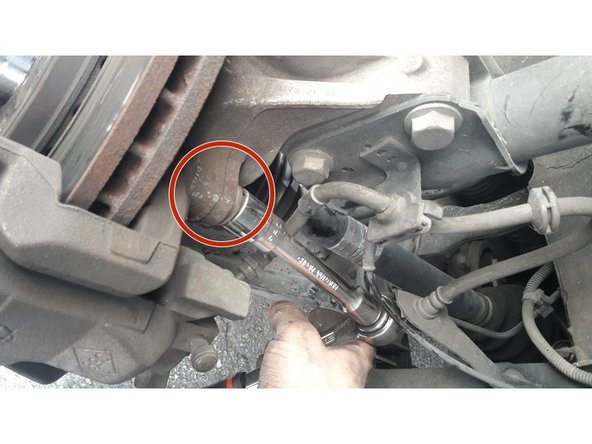
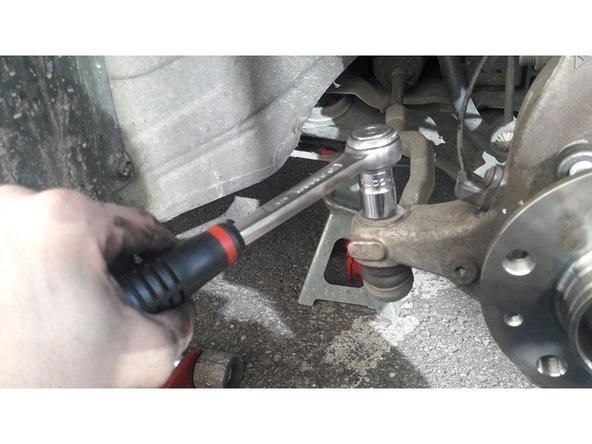
  6. This step is not mandatory but allows you to work more easily for the rest. Unscrew and remove the steering ball joint from the pivot
    • This step is not mandatory but allows you to work more easily for the rest. Unscrew and remove the steering ball joint from the pivot

  7. Unscrew the ABS sensor using a torx key and remove it from its housing. This is very important because the sensor passes through the bearing assembly! Unscrew the ABS sensor using a torx key and remove it from its housing. This is very important because the sensor passes through the bearing assembly! Unscrew the ABS sensor using a torx key and remove it from its housing. This is very important because the sensor passes through the bearing assembly!
    • Unscrew the ABS sensor using a torx key and remove it from its housing. This is very important because the sensor passes through the bearing assembly!

  8. Unscrew the 4 bearing hub screws using an 18mm wrench Unscrew the 4 bearing hub screws using an 18mm wrench Unscrew the 4 bearing hub screws using an 18mm wrench
    • Unscrew the 4 bearing hub screws using an 18mm wrench

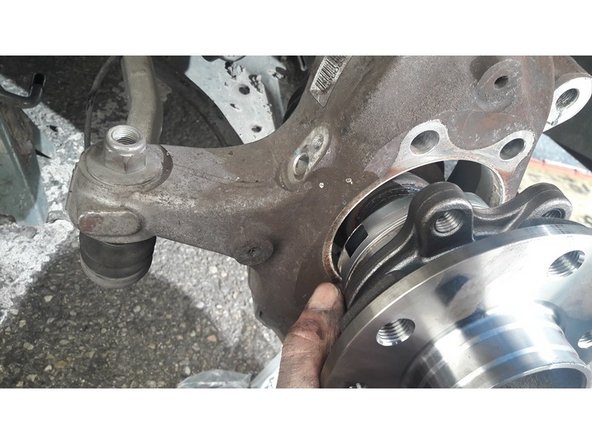
  9. You can now remove the bearing from its location You can now remove the bearing from its location
    • You can now remove the bearing from its location

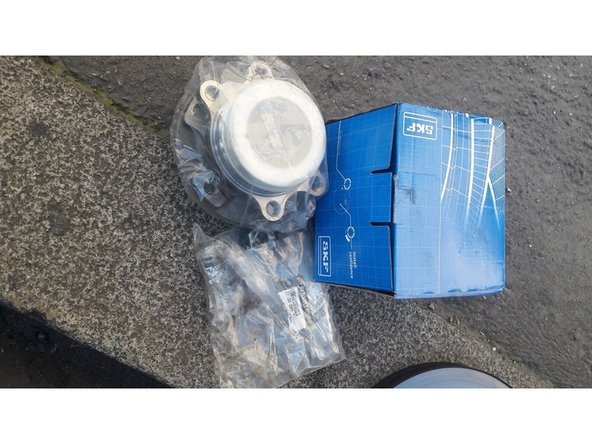
  10. the old and new bearing side by side. The new one comes with the 4 screws and the universal joint nut the old and new bearing side by side. The new one comes with the 4 screws and the universal joint nut
    • the old and new bearing side by side. The new one comes with the 4 screws and the universal joint nut

  11. Put everything back together by following the steps in reverse. Put everything back together by following the steps in reverse.
    • Put everything back together by following the steps in reverse.

Conclusion

To your tools 3 2 1 ...

12 other people completed this guide.

Kamel GHAZEL

Member since: 09/28/2015

290 Reputation

1 Guide authored

16 Comments

good tutorial certainly, but stop making believe that it is within the reach of the first comer, it is exaggerating! the constraints are numerous it requires a minimum of knowledge, it requires good equipment, because the parts are heavy, it requires strength, the tightening torques are relatively high, so if you are not a good handyman, be careful!

Archelon - Reply

Good evening! The tutorial is well done, of course, but it is not within the reach of the first comer, firstly you need to have good equipment, because the parts are heavy, the tightening of the parts is relatively high, the cardan weighs 7 kilos! The bearing kit is not light either, for a handyman it is not an insurmountable obstacle, but for a neophyte be careful. If you are not sure of yourself, it is better not to put your finger in it!

Archelon - Reply

Thanks for your tutorial

michael.ferrand - Reply

Too bad there are no tightening torques for the various screws. Especially those of the bearing.

sdillies - Reply

That's it. Thank you.

nassim-geo - Reply

Add Comment

View Statistics:

Past 24 Hours: 2

Past 7 Days: 22

Past 30 Days: 86

All Time: 13,022