


Introduction
Comment changer ses triangles de suspension avant sur Peugeot 206
Outils
Pièces
Vidéo d'introduction
-
-
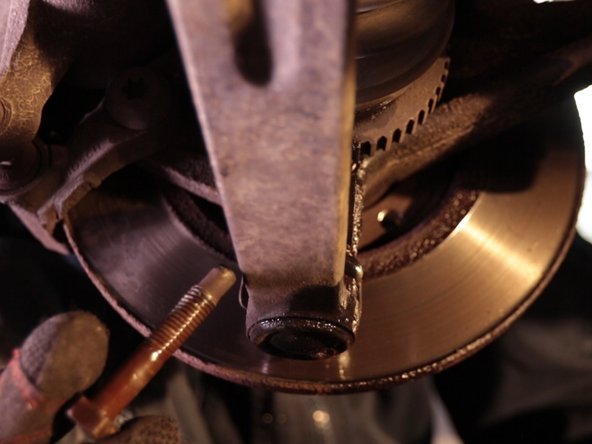
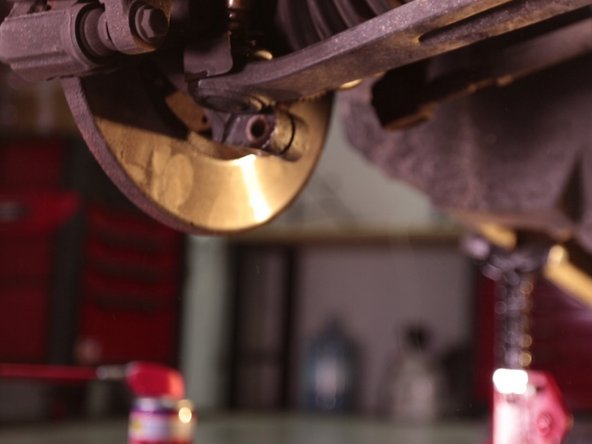
Placer une bassine sous le disque de frein
-
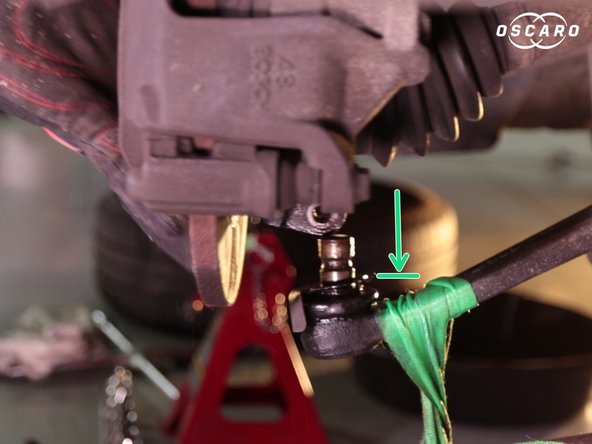
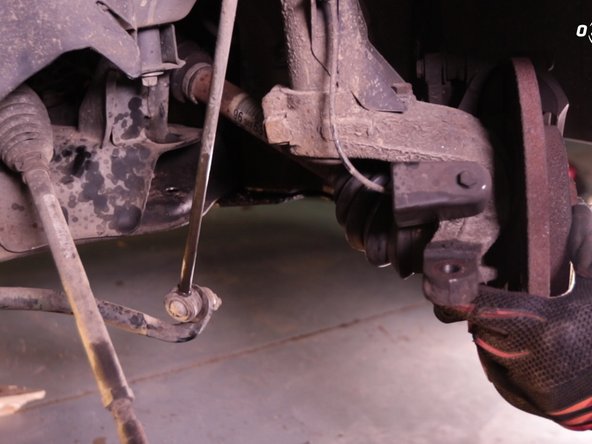
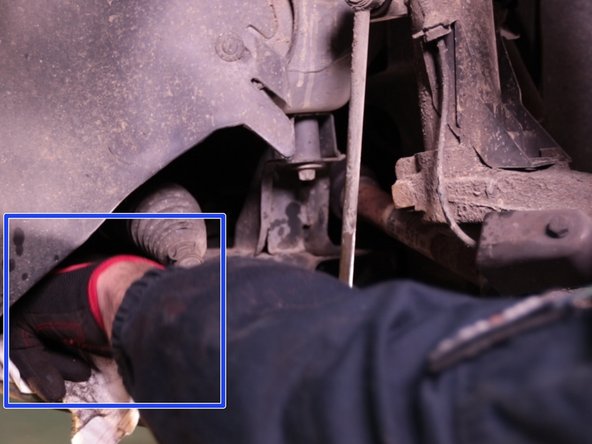
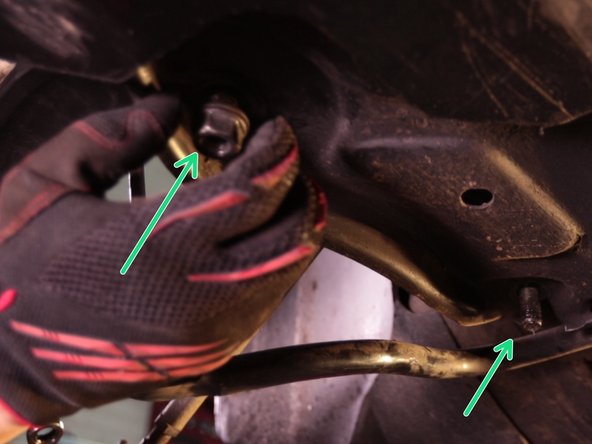
Appliquer du dégrippant sur la première rotule du triangle se trouvant juste derrière le disque de frein
-
-
-
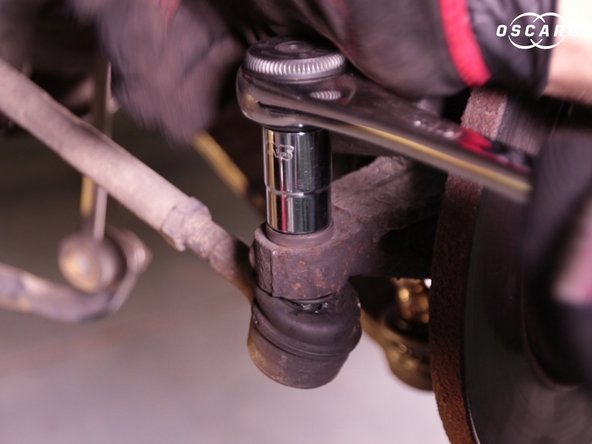
Desserrer l'écrou maintenant la rotule du triangle à l'aide d'une clé à pipe de 21 puis d'un cliquet et sa douille de 21
-
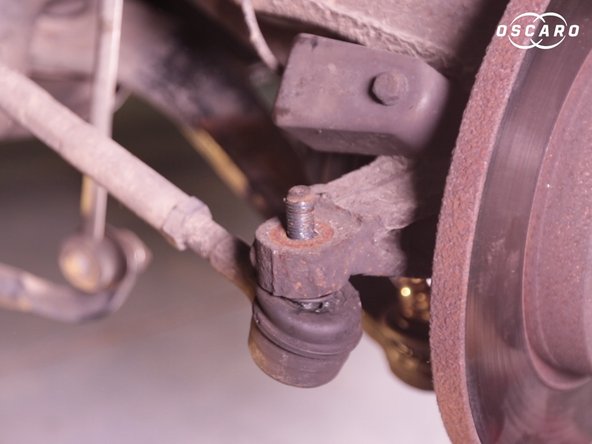
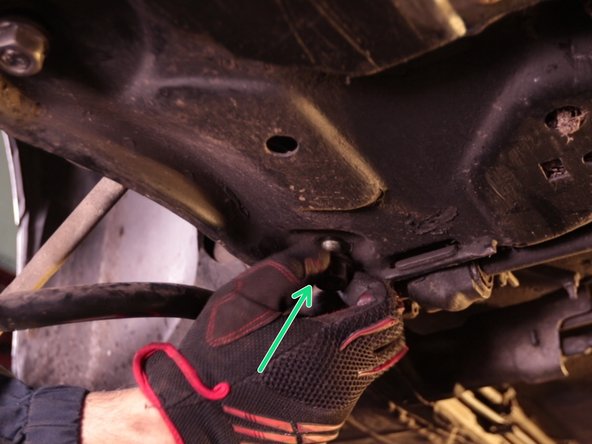
Retirer l'écrou de la vis
-
-
-
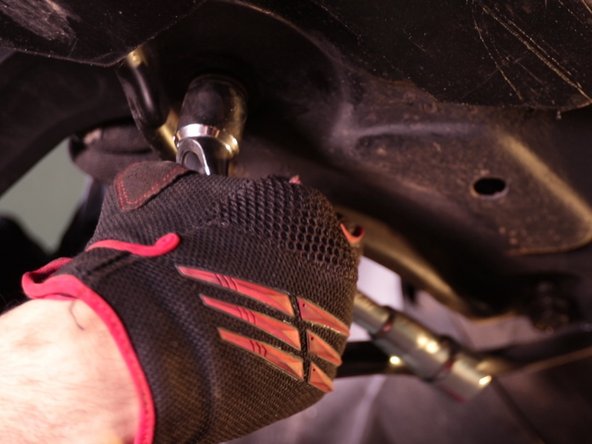
Pousser la vis de l'autre côté en même temps que le cliquet dévisse
-
Retirer la vis
-
-
-
Retirer l'écrou de la rotule de direction à l'aide d'une douille de 16 et de son cliquet
-
-
-
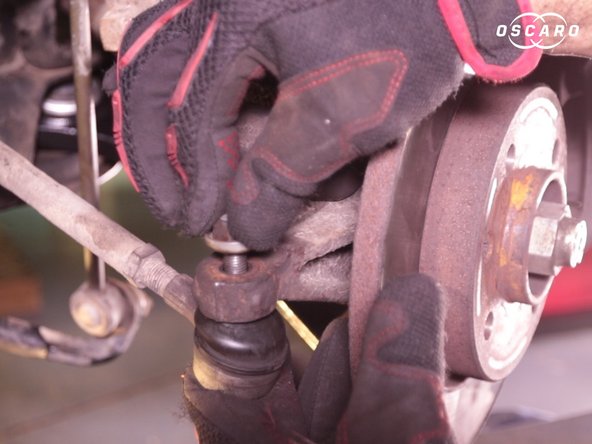
Retirer la rotule à l'aide d'un arrache rotule
-
Placer l'arrache rotule
-
Resserrer l'outil à la main
-
-
-
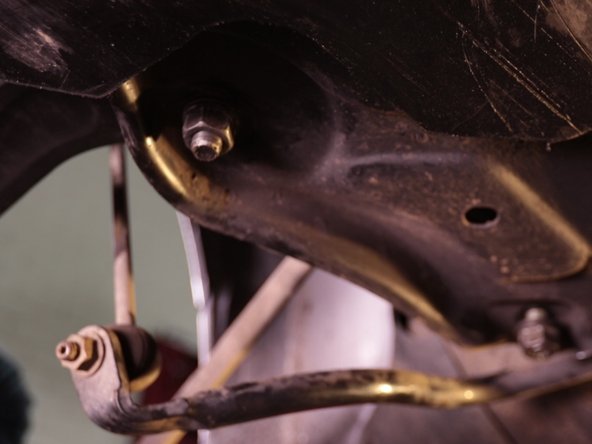
Desserrer les deux vis du triangle à l'aide du cliquet et de sa douille de 21
-
-
-
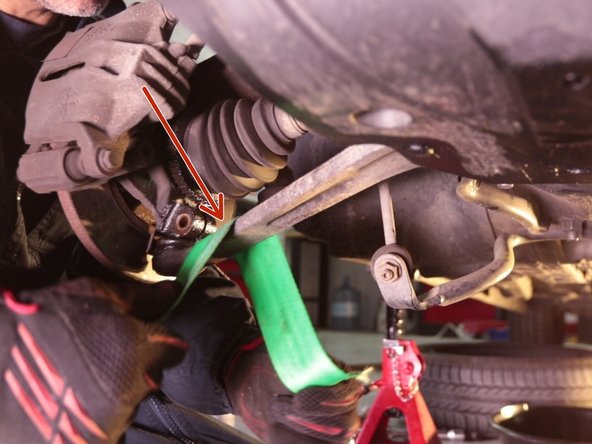
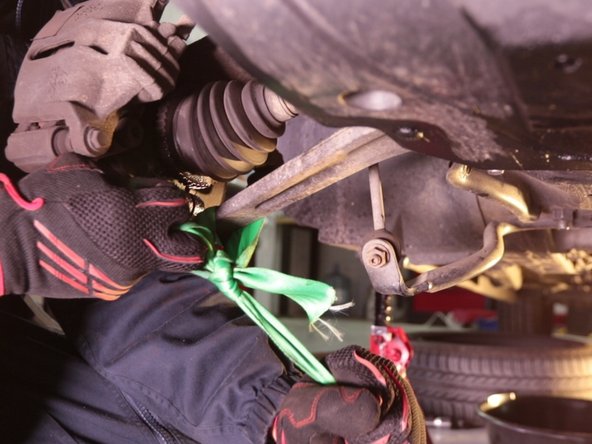
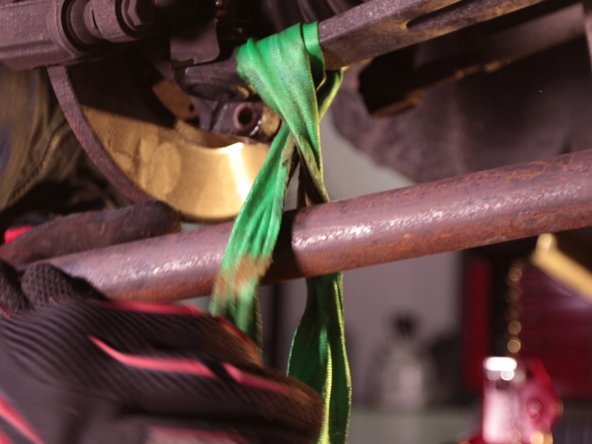
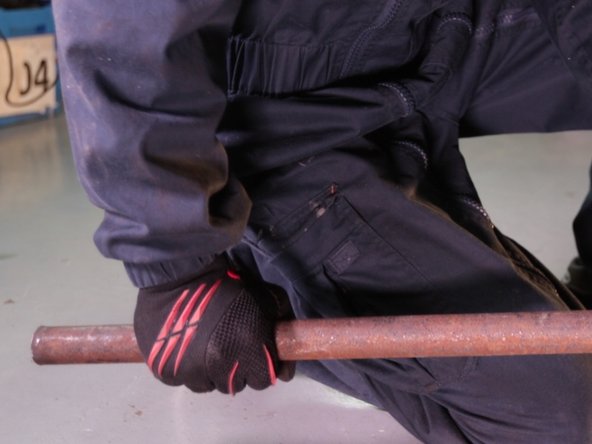
A l'aide d'une sangle faire un noeud autour du triangle
-
Placer une barre de pression dans le noeud avec le triangle
-
-
-
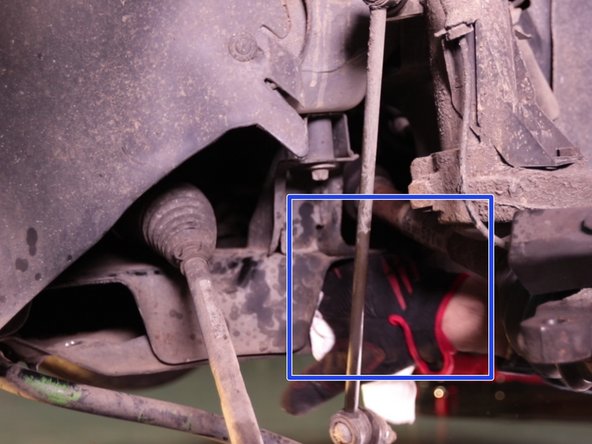
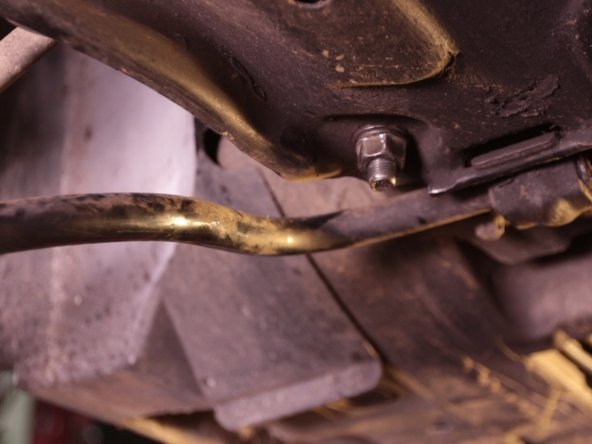
Placer la barre sous la voiture de façon à pouvoir faire levier
-
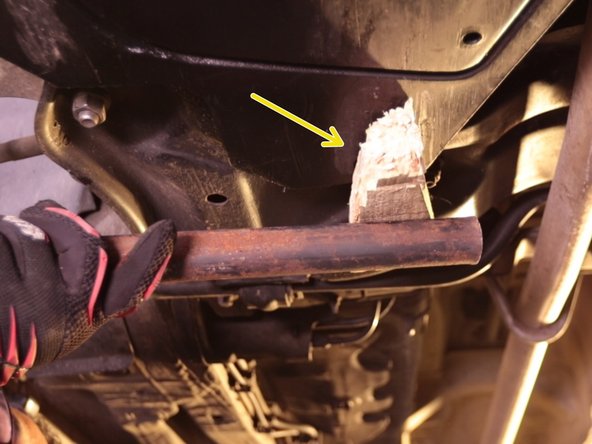
Placer une cale en bois entre la barre et la voiture pour avoir une meilleure prise
-
Pousser la barre vers le bas pour retirer le triangle de la fusée
-
-
-
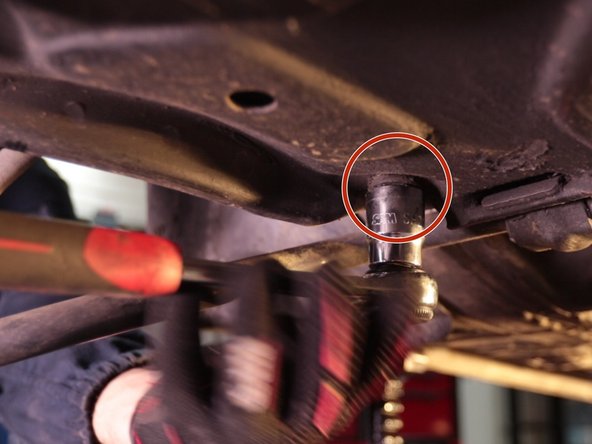
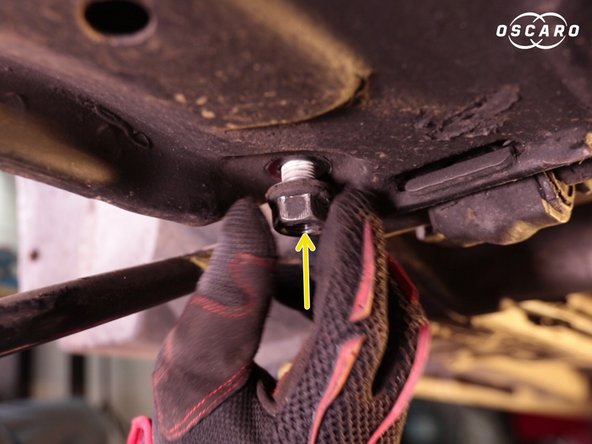
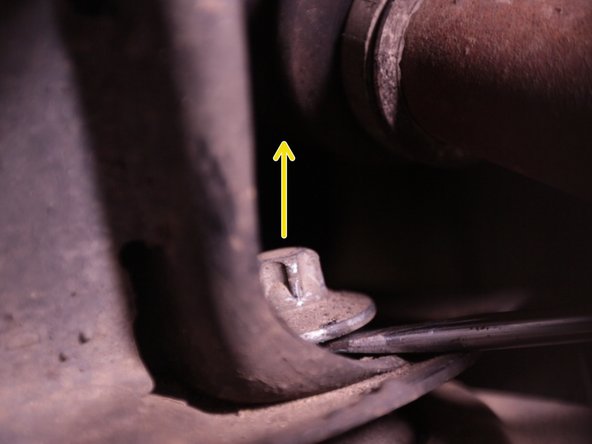
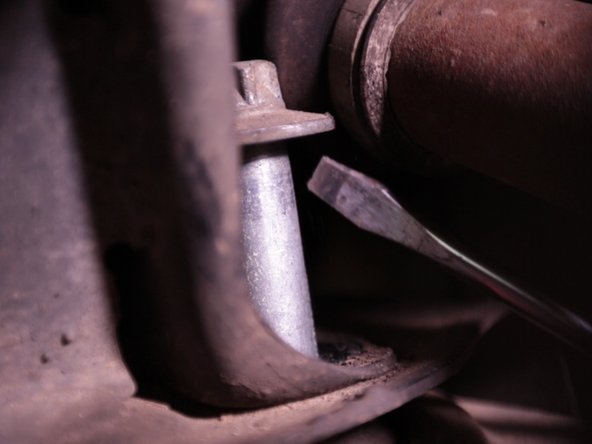
Dévisser la vis de support du triangle en la bloquant avec un cliquet sur le dessus et en dévissant depuis le dessous de la voiture
-
-
-
Tourner le disque de frein sur le côté pour avoir l'accès au triangle
-
-
-
Graisser la vis de support du triangle et la replacer
-
Répéter la même opération pour l'autre vis
-
-
-
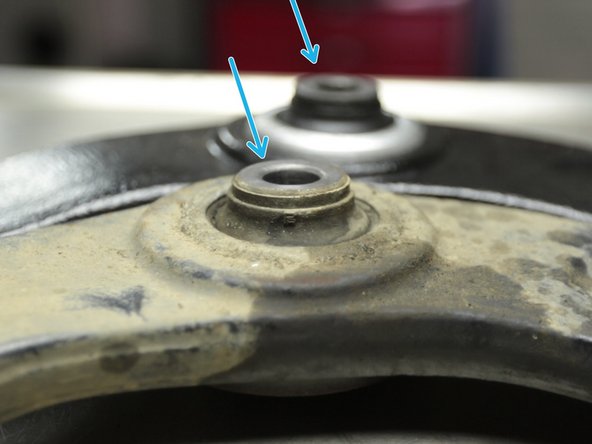
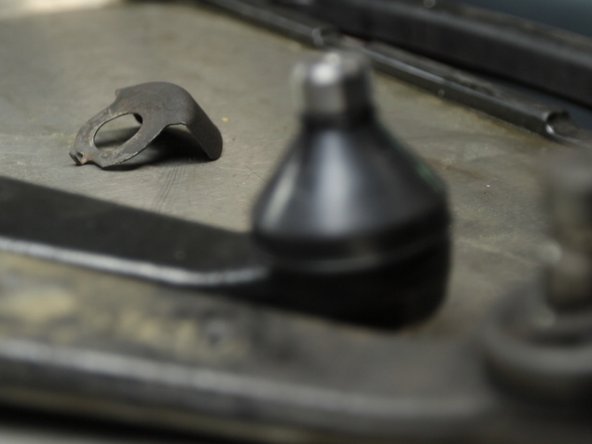
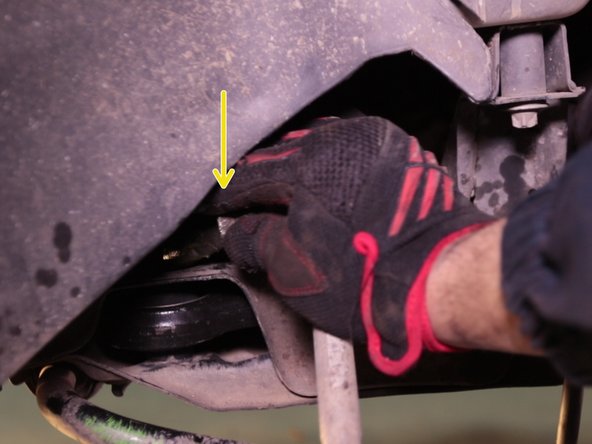
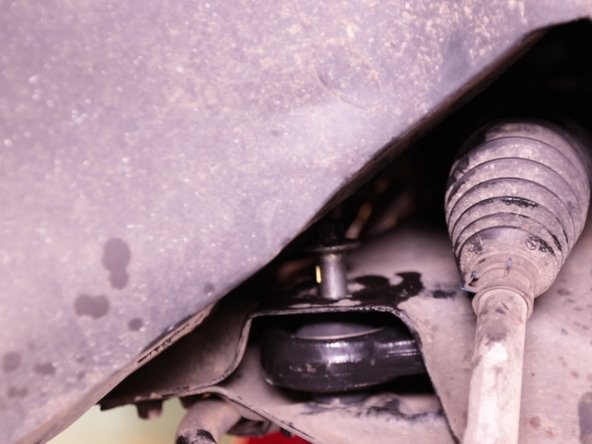
Retirer le cache de protection du soufflet de la rotule du triangle et placer la tôle pare-chaleur sur le soufflet
-
-
-
Placer la barre de force sous le triangle et refaire le noeud avec la sangle
-
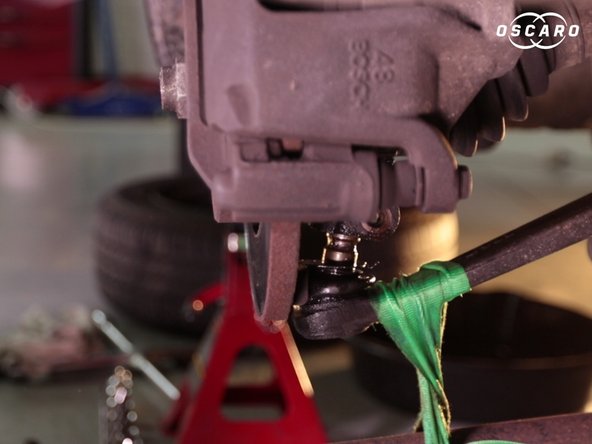
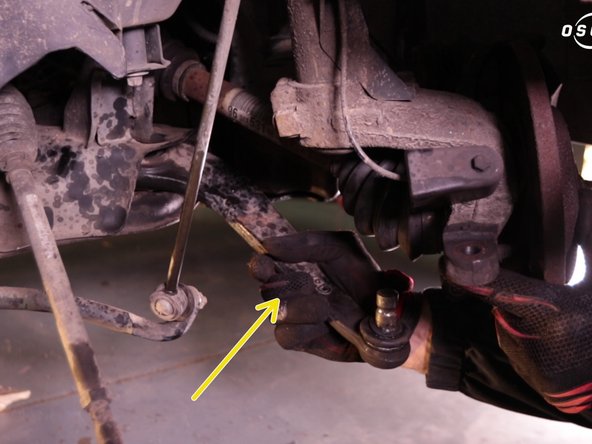
Aligner la rotule au trou de la fusée
-
-
-
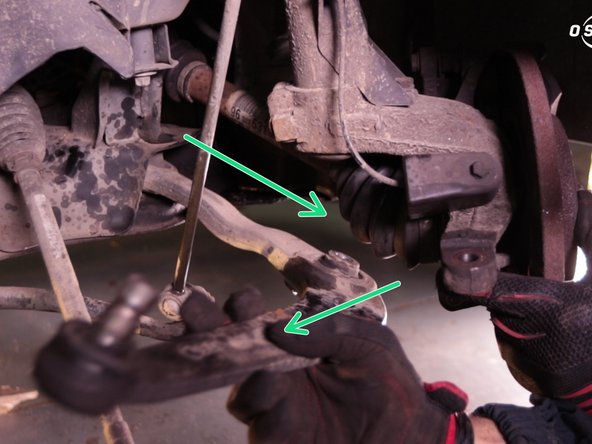
En faisant levier avec la barre, rentrer la rotule dans la fusée
-
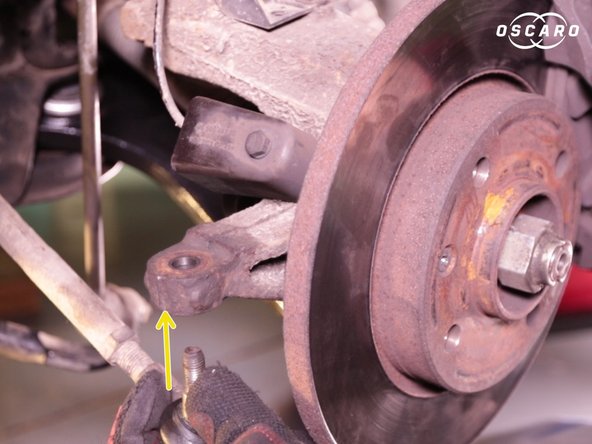
Une fois la rotule parfaitement emboîtée, placer la vis dans le trou se trouvant juste au dessus
-
-
-
Pousser sur la vis pour la faire dépasser de l'autre côté de la fusée
-
Placer l'écrou à l'autre bout de la vis
-
-
-
Resserrer la vis et l'écrou à l'aide du cliquet et de la clé à pipe
-
-
-
Replacer la rotule de direction sur la fusée
-
Placer l'écrou sur la rotule
-


Annulation : je n'ai pas terminé ce tutoriel.
8 autres ont terminé cette réparation.

Équipe

5 commentaires
Bonjour,
Ma PEUGEOT 206 CC CC 1.6 i 16V Coupé Cabriolet 110cv Quiksilver de 2005 a subi un mauvais coup. Circulant dans mon quartier, voulant éviter un véhicule roulant au milieu de la chaussée, j'ai été obligé pour éviter la "rencontre" de serrer sur ma droite et là mes deux roues droites avant et arrière ont heurté la pointe d'un trottoir. Résultat deux pneus éclatés et depuis j'ai constaté un bruit anormal sur la roue avant droite.
Un ami me dit qu'il pourrait s'agir d'un triangle. Mais comment pouvoir le vérifier ?
Merci pour vos réponses.
Cordialement et bonne journée.
michel-georges.p - Résolu à la publication Réponse
Bonjour ce qui serait bien c’est d’indiquer les serrages au couple pour chaque vis/écrou.
sebastien Lallart - Résolu à la publication Réponse
J’ai également remplacer mes triangles avant gauche et droit et maintenant mon volant reste incliner vers la gauche et si je le met à son axe 0 la voiture part à droite….. c ‘est la première fois que je vois ça
Romain Leroy - Résolu à la publication Réponse