


Introduction
Comment changer les hauts parleurs avant sur votre Peugeot 106 phase 1
Pièces
Vidéo d'introduction
-
-
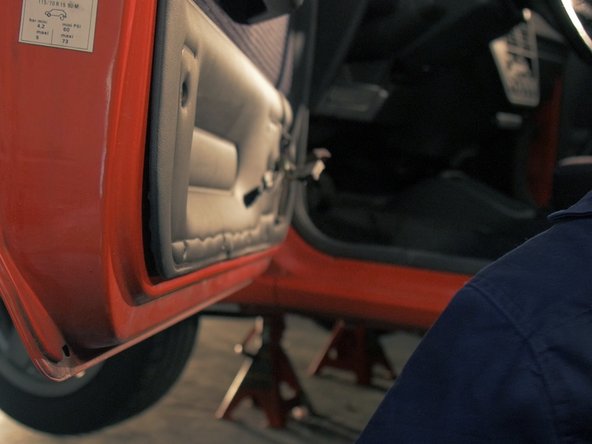
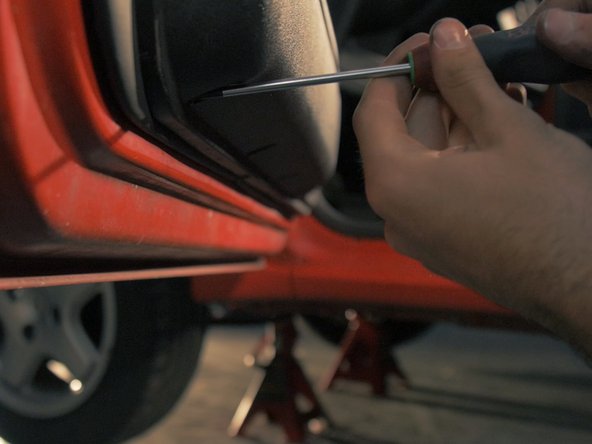
Dévisser et retirer les 8 vis du vide poche avec un tournevis Torx T20
-
-
-
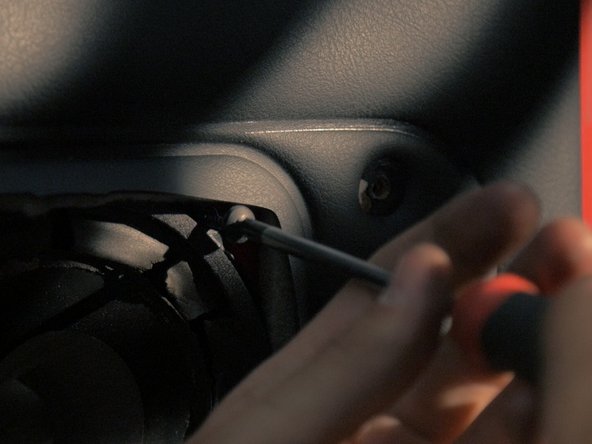
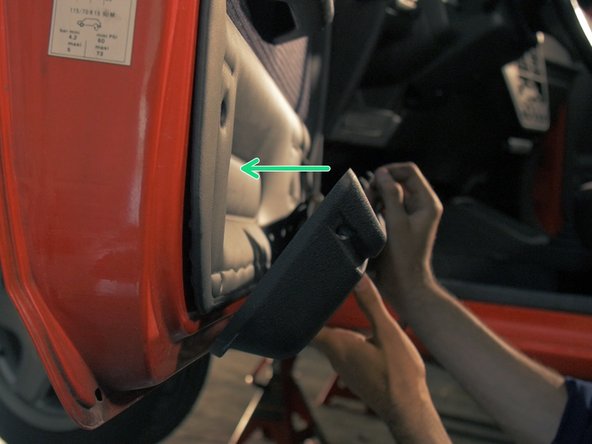
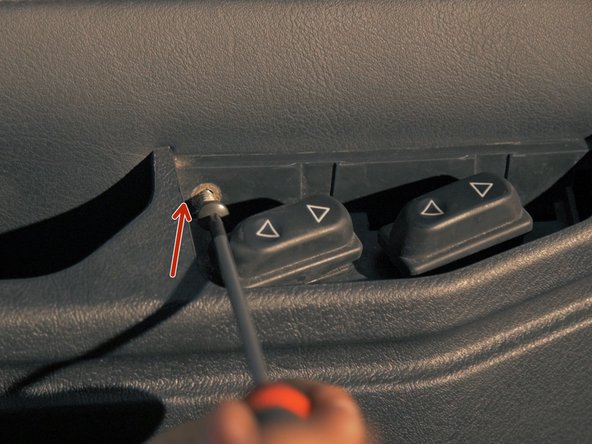
Retirer le plastique entourant les commandes de lève vitre à l'aide d'un petit tournevis plat
-
Retirer la dernière vis Torx de 20
-
-
-
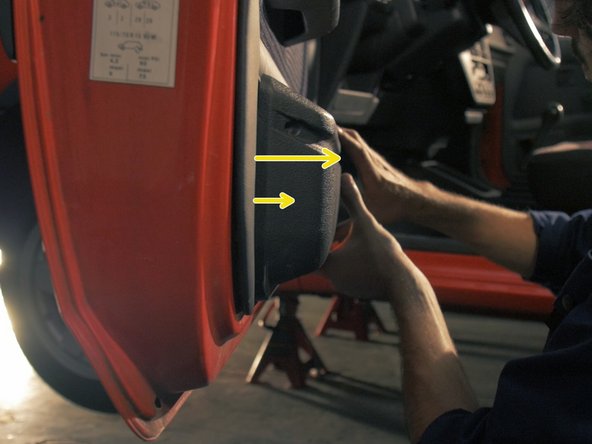
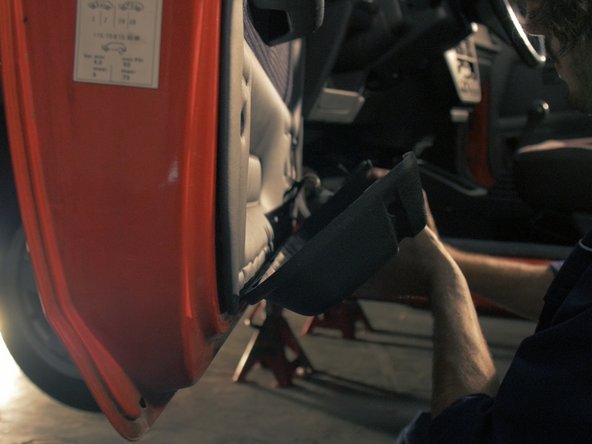
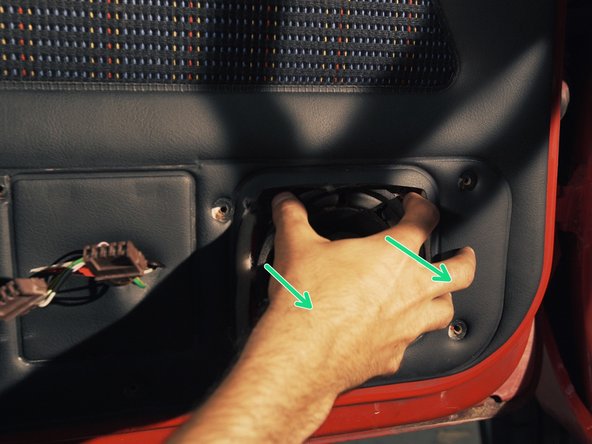
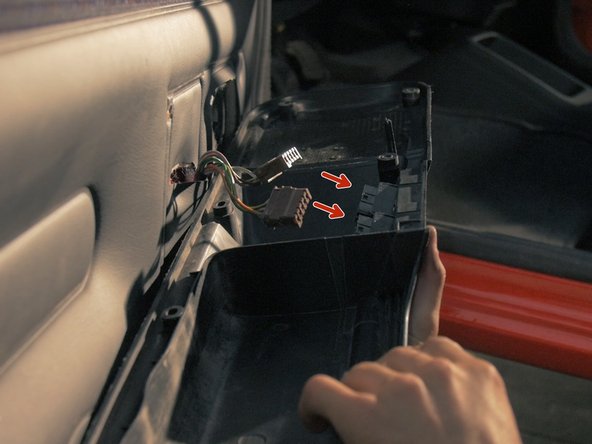
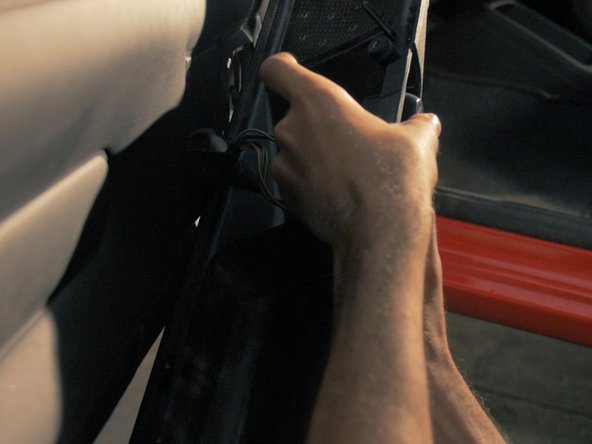
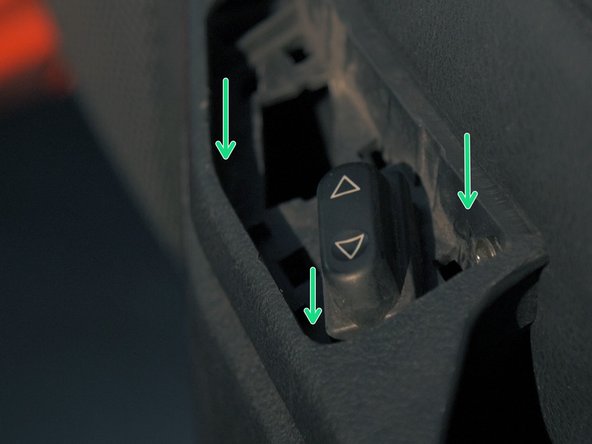
Tirer légèrement sur le vide poche pour le retirer
-
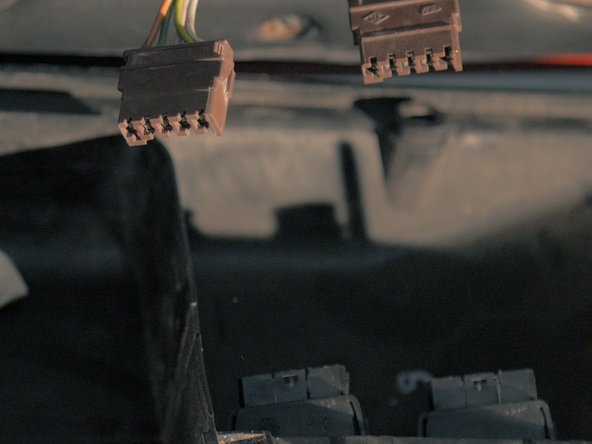
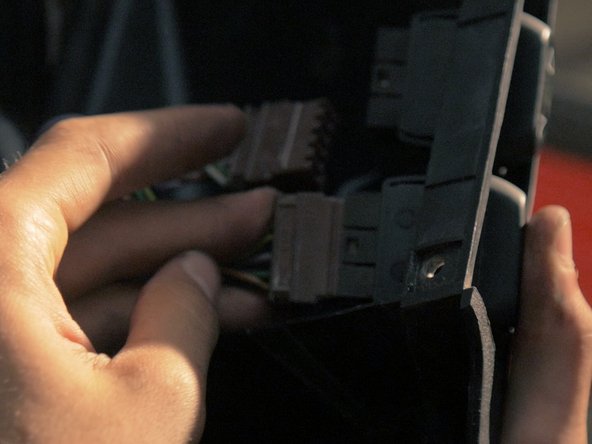
Les connecteurs retiennent le vide poche, tirer dessus pour les déconnecter des commandes de lève vitre
-
-
-
L'haut parleur est retenu par 4 vis
-
Retirer les 4 vis avec un tournevis cruciforme
-
-
-
Tirer sur l'haut parleur pour le sortir de son emplacement
-
-
-
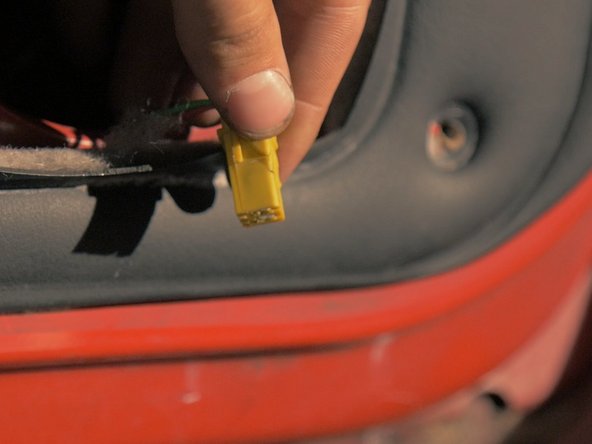
Tirer sur le connecteur à l'arrière de l'haut parleur pour le retirer
-
-
-
Comparer les dimensions du nouveau haut parleur avec l'ancien, les haut parleurs avant sur la 106 sont de diamètre 13cm
-
Le nouveau haut parleur doit comporter un aimant au dos et 4 oreilles pour accueillir les 4 vis de fixation
-
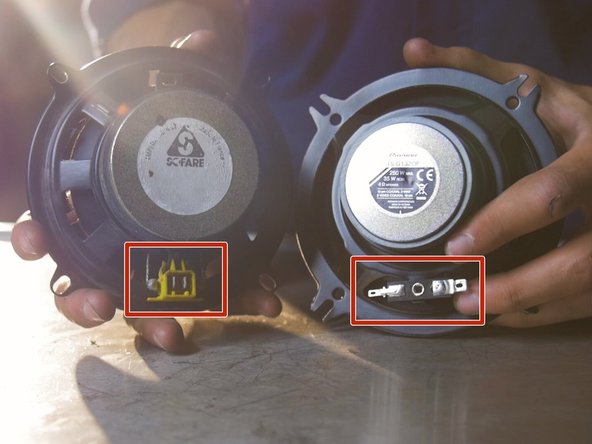
L'ancien haut parleur d'origine (à gauche) possède une connectique propriétaire Peugeot, le nouveau haut parleur ne possède pas la même connectique
-
-
-
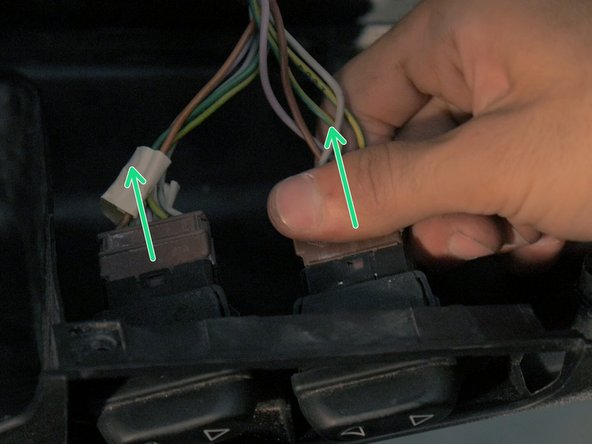
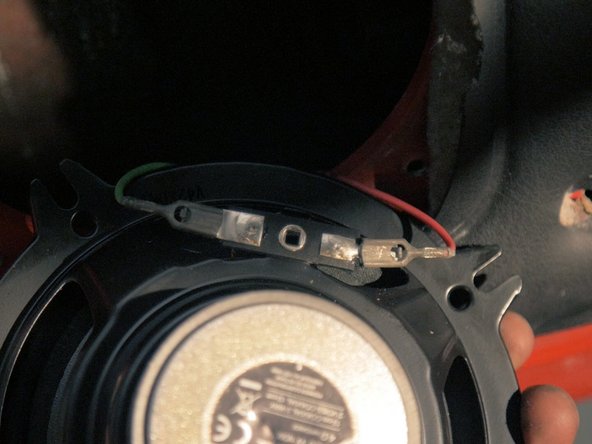
Retourner au connecteur présent dans à l'emplacement du haut parleur
-
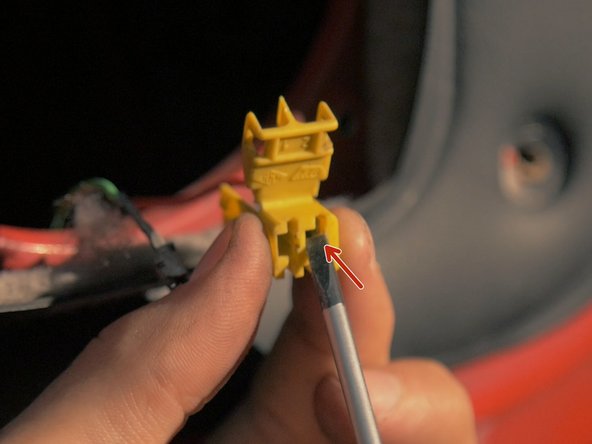
A l'aide d'un petit tournevis plat, ouvrir le boitier du connecteur. 2 cosses sont présentes dans le connecteur, les même cosses nécessaires à la connectique de votre nouvel haut parleur
-
-
-
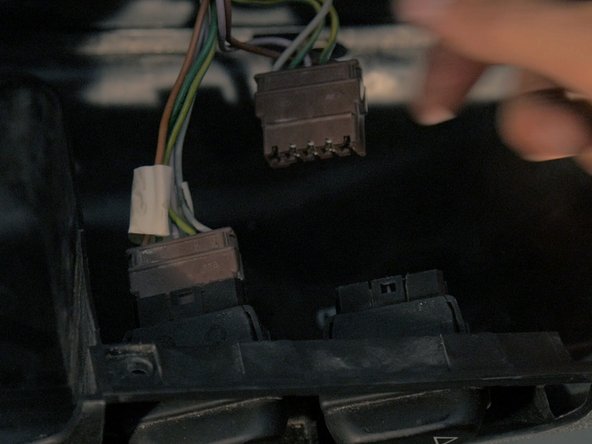
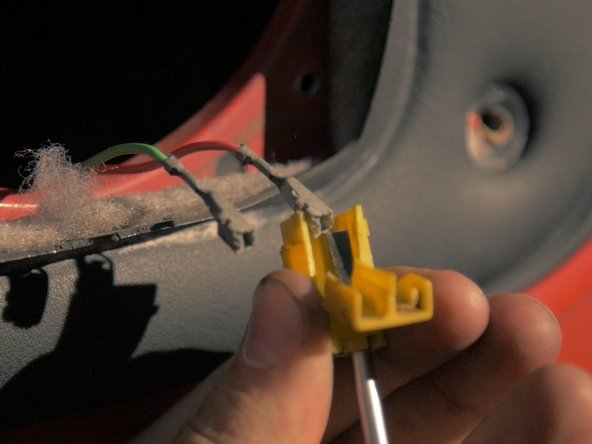
Toujours à l'aide du petit tournevis plat, pousser les cosses depuis l'intérieur du connecteur
-
Expulser les 2 cosses
-
-
-
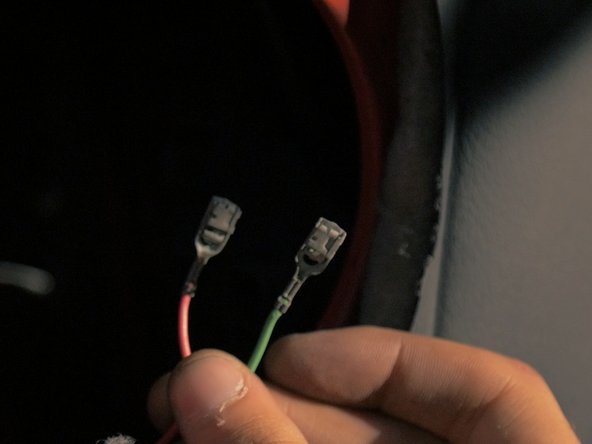
Placer les deux cosses sur la connectique du haut parleur,
-
Le rouge sur la petite prise et la verte sur la grosse prise
-
-
-
Replacer les 4 vis du haut parleur avec le tournevis cruciforme
-
Essayer le haut parleur avant de remonter le vide poche
-
-
-
Replacer le vide poche
-
Resserrer les 8 vis à l'aide du tournevis Torx T20
-
-
-
Resserrer la dernière vis au dessus des commandes de lève vitre
-
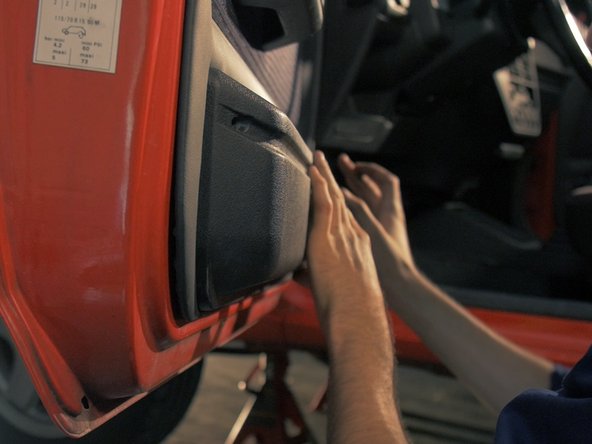
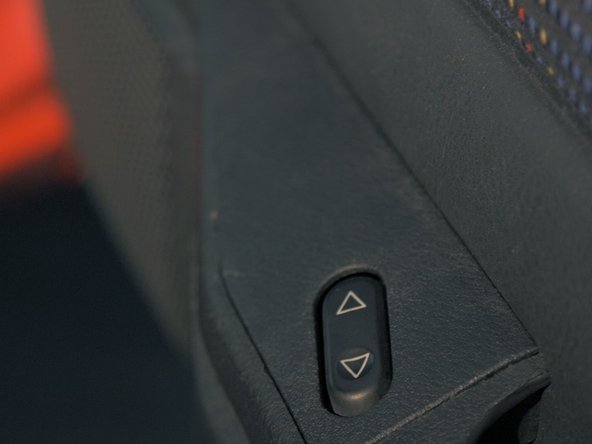
Replacer le cache des commandes de lève vitre en appuyant simplement desus
-


Annulation : je n'ai pas terminé ce tutoriel.
Une autre personne a terminé cette réparation.

Équipe
