


Vidéo d'introduction
-
-
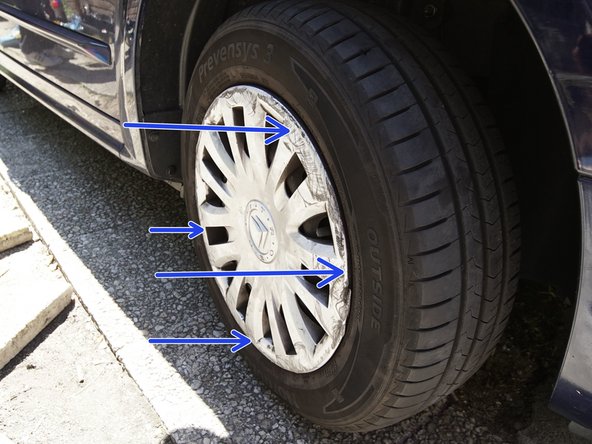
Retirez l'enjoliver à l'aide d'un burrin
-
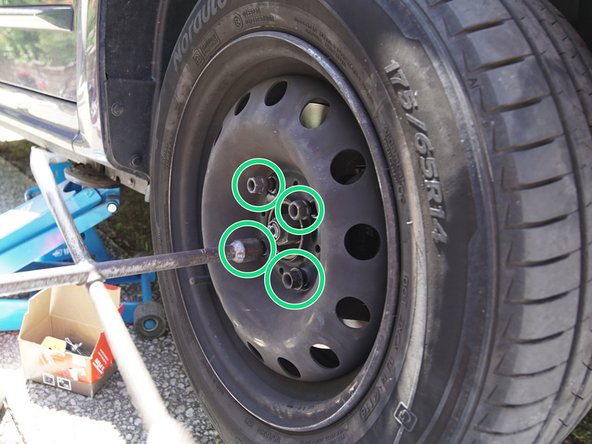
Débloquez les écrous de roue
-
-
-
Levez la voiture à l'aide d'un cric, suffisamment pour lever la roue du sol
-
N'oubliez pas, pour plus de sécurité placez une chandelle sous la voiture
-
Terminez de dévisser les écrous et retirez-les
-
Retirez la roue en la tirant vers vous, vous avez désormais accès aux freins
-
-
-
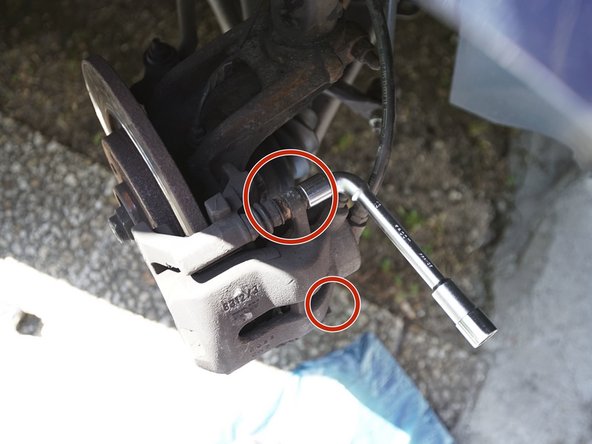
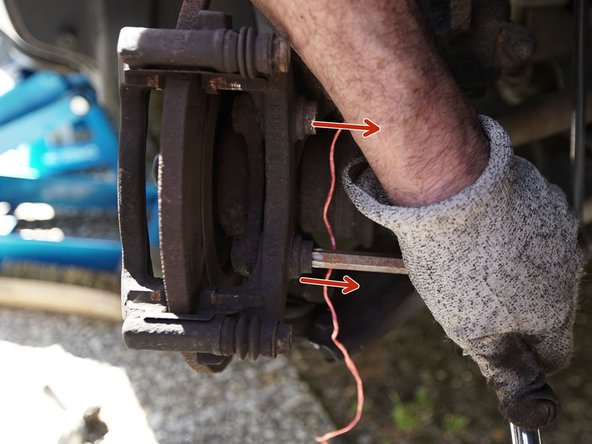
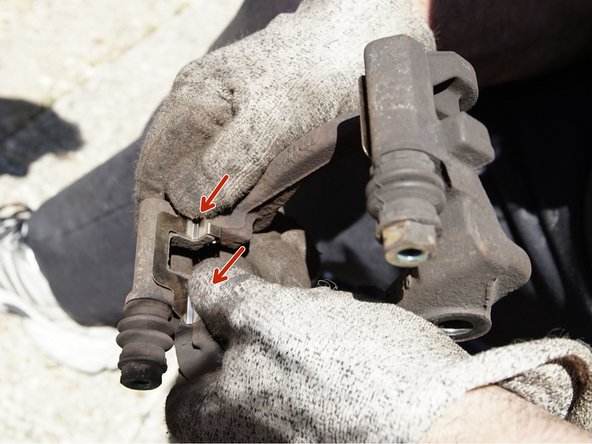
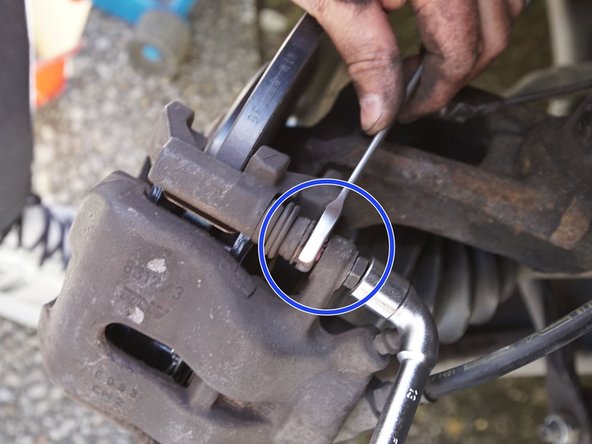
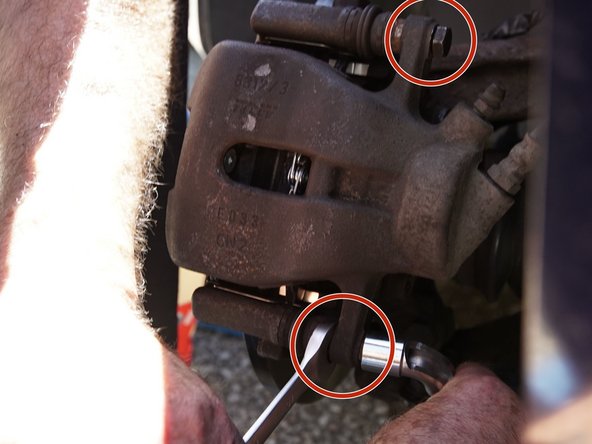
Retirez les deux vis de l'étrier à l'aide d'une clé plate de 13 et d'une clé à pipe de 13
-
-
-
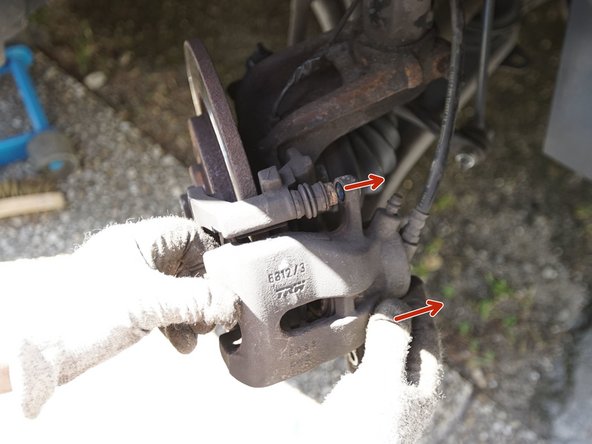
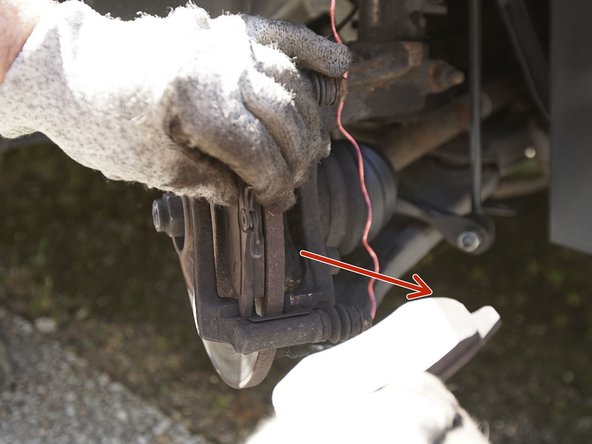
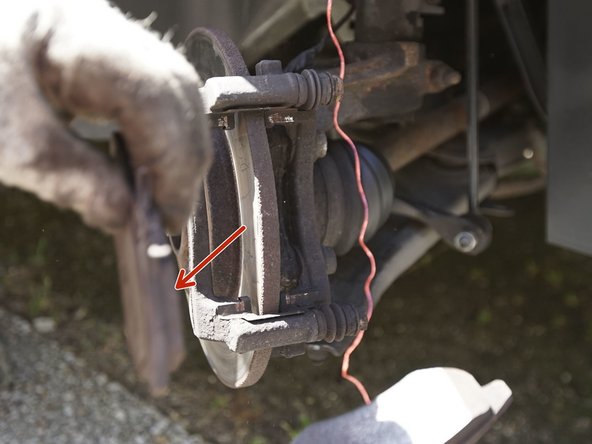
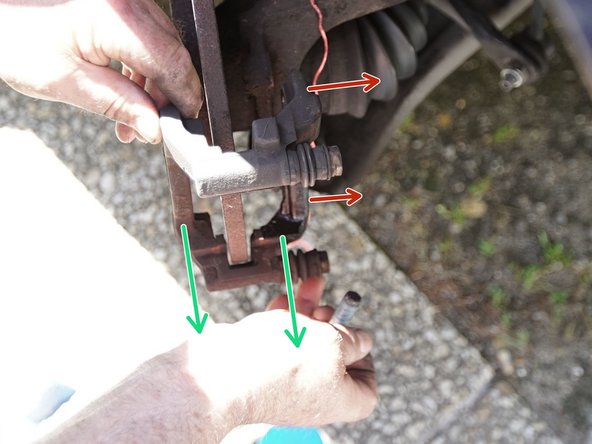
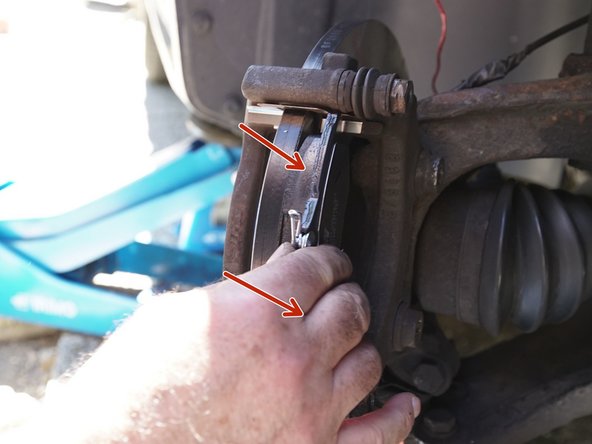
Retirer l'étirer
-
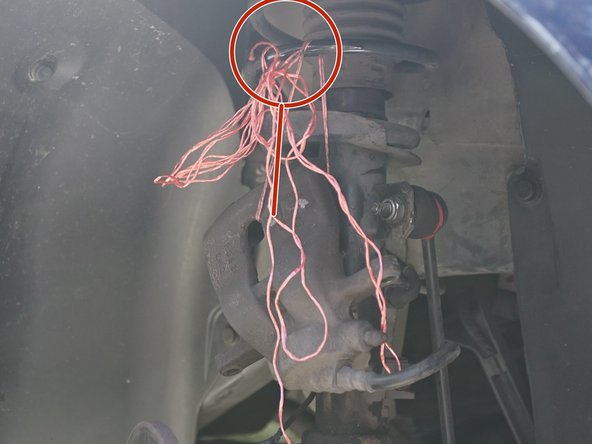
Faites attention au câble de l'étrier, attachez l'étrier avec un tendeur ou une ficelle au ressort pour éviter de le fragiliser.
-
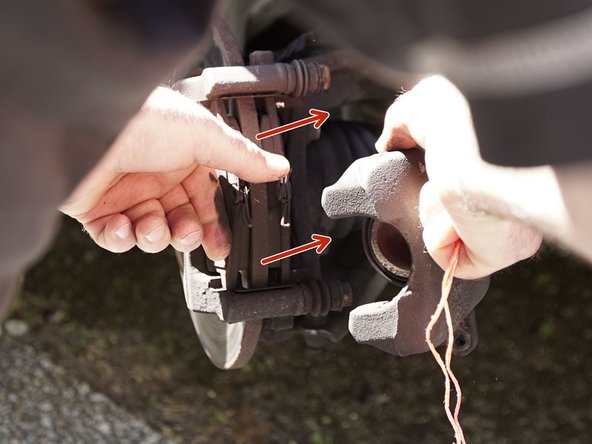
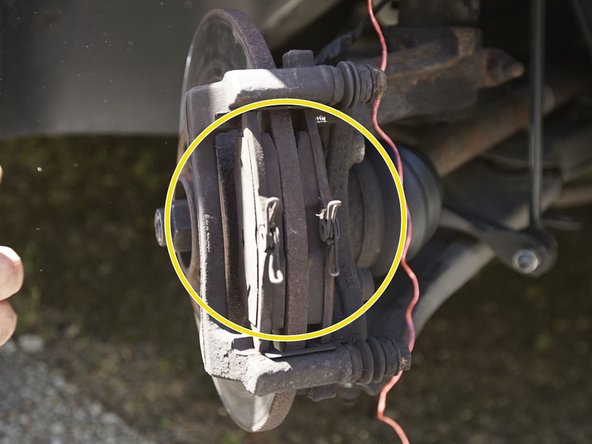
Vous avez maintenant accès aux plaquettes
-
-
-
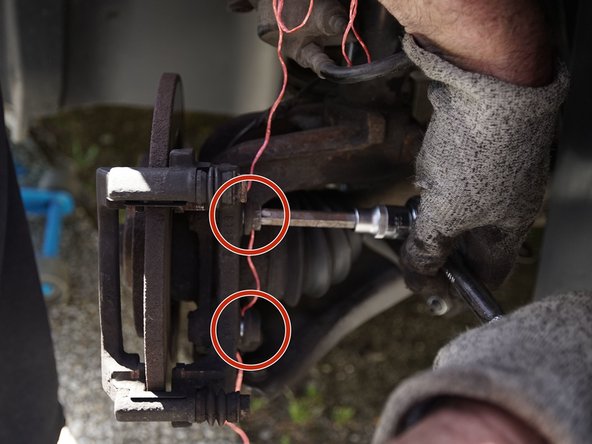
Retirez les 2 vis retenant la chape à l'aide d'une clé Torx 55
-
Retirez la chape en tirant vers l'exterieur
-
-
-
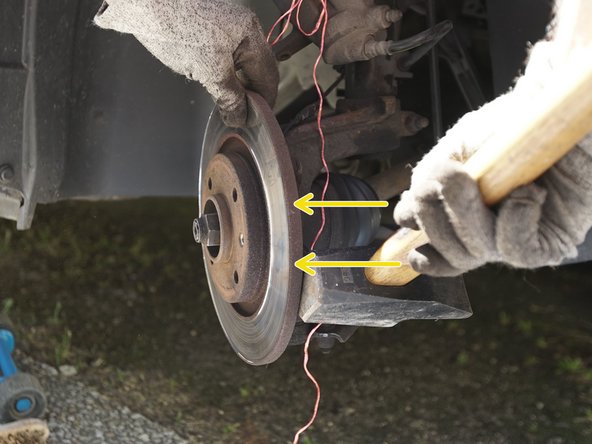
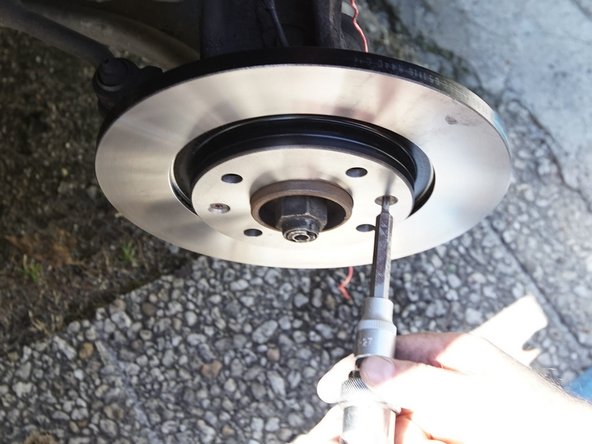
Dévissez et retirer les deux vis de maintient du disque avec une clé Torx 30
-
Tapez sur le disque avec un marteau si nécessaire pour le faire sortir de son emplacement
-
Retirez le disque en tirant vers vous
-
-
-
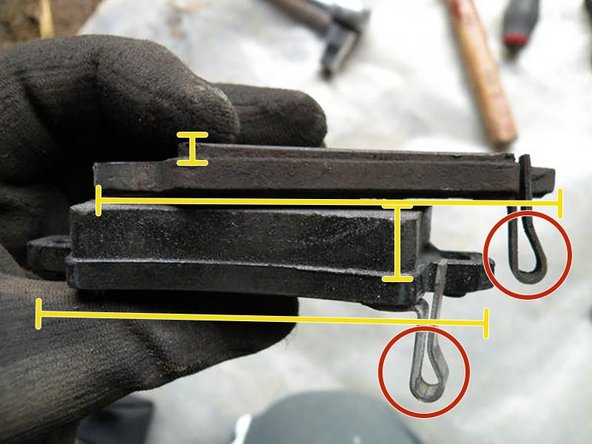
Comparer les nouveaux disques avec les anciens, hauteur, largeur et épaisseur
-
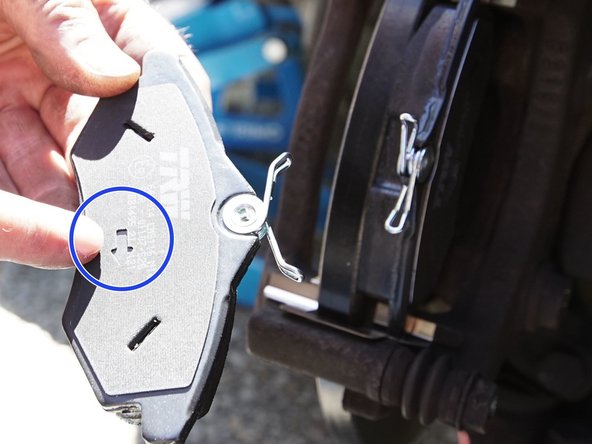
Comparer l'épaisseur des plaquettes, longueur et système d'accroche
-
-
-
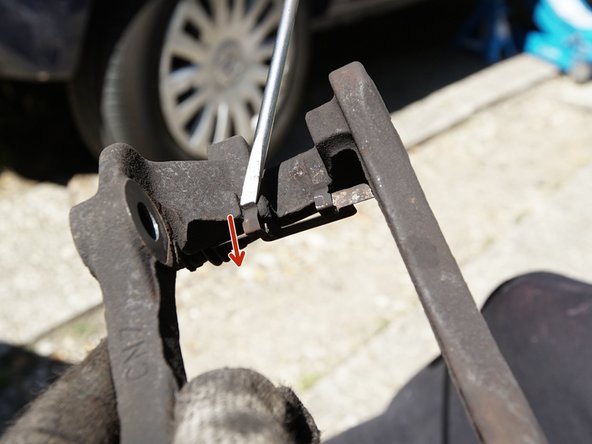
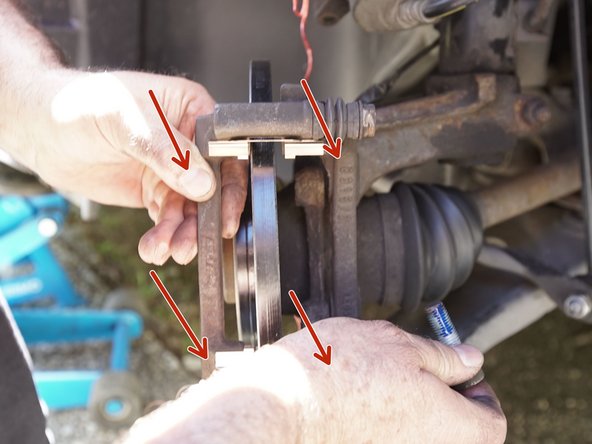
Retirer les 2 accroches accueillant les plaquettes.
-
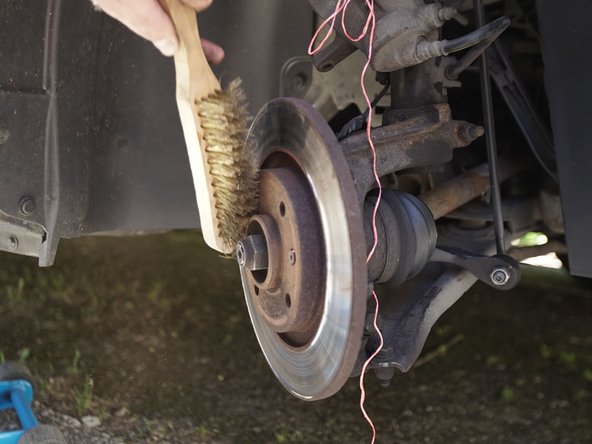
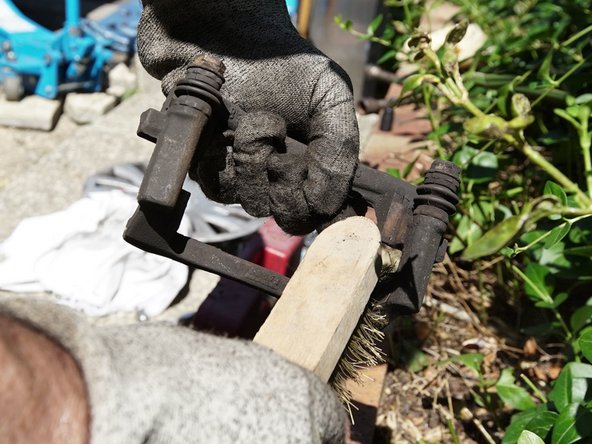
A l'aide d'une brosse métallique frottez les emplacements des accroches
-
-
-
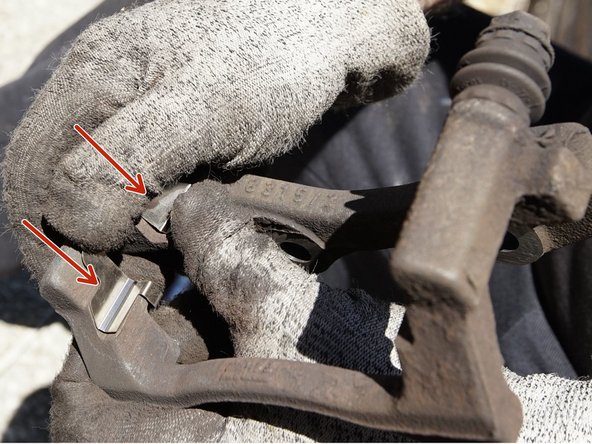
Clipsez les nouvelles accroches à la place des anciennes
-
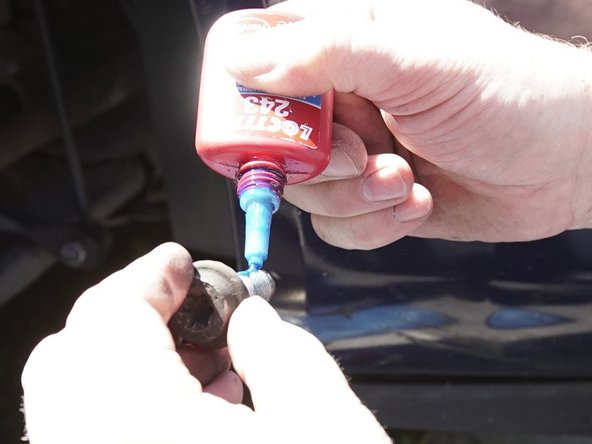
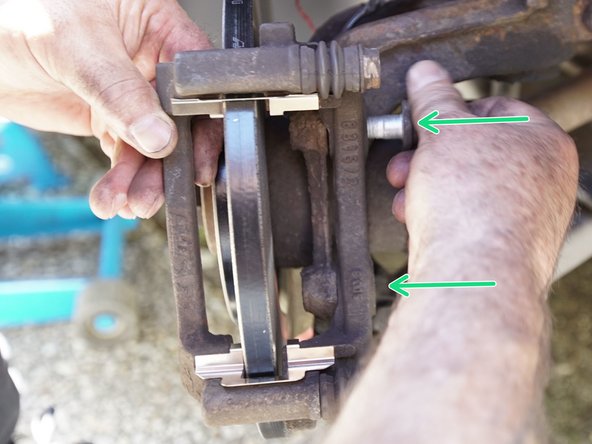
Placez du frein-filet sur les vis de la chape avant de les reposer
-
-
-
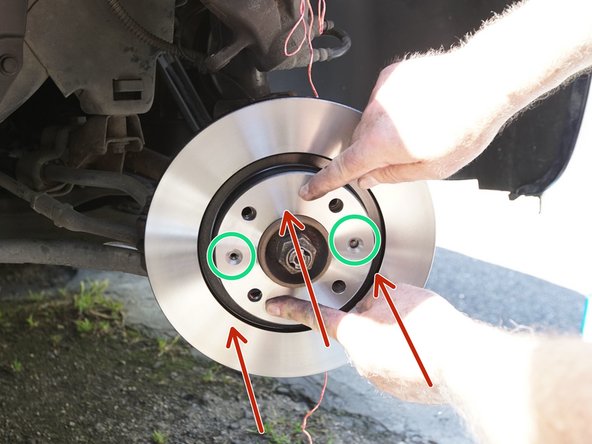
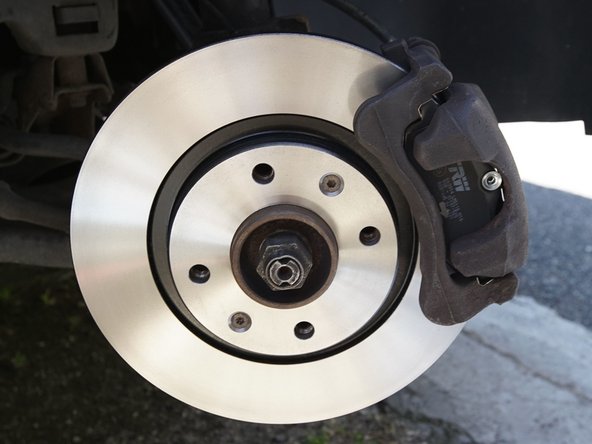
Reposez le nouveau disque
-
Alignez les trous du disque avec ceux du moyeux
-
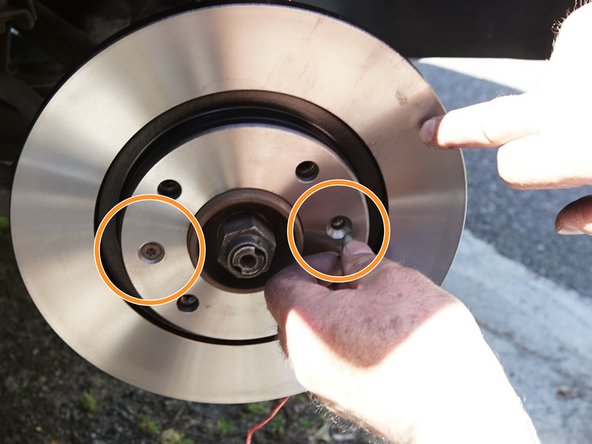
Replacez les deux vis de support du disque dans les deux trous
-
Resserrez les deux vis avec une clé Torx 30
-
-
-
Reposez la chape sur le disque
-
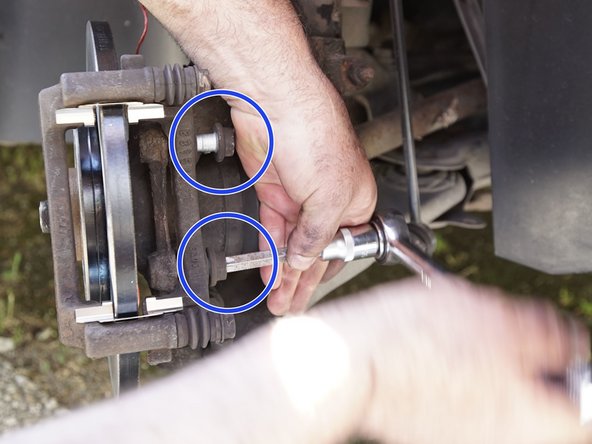
Reposez les deux vis avec le frein-filet
-
Resserrez les deux vis à l'aide d'une clé Torx de 55
-
-
-
Reposez les nouvelles plaquettes sur la chape
-
Le sens de la plaquette est indiqué au dos de celle-ci, la flèche montre le sens dans le quel la roue tourne
-
Placer les plaquettes sur la chape, dans les nouvelles accroches
-
-
-
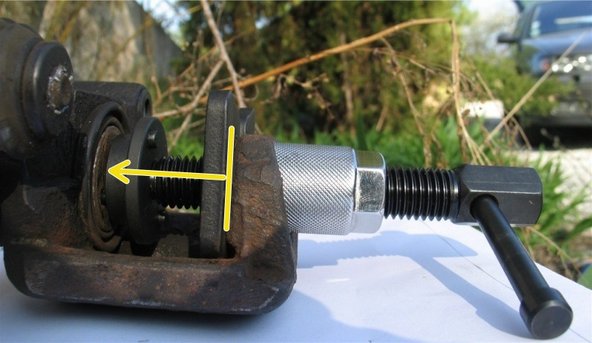
Repoussez le piston de l'étrier à l'aide d'un repousse piston
-
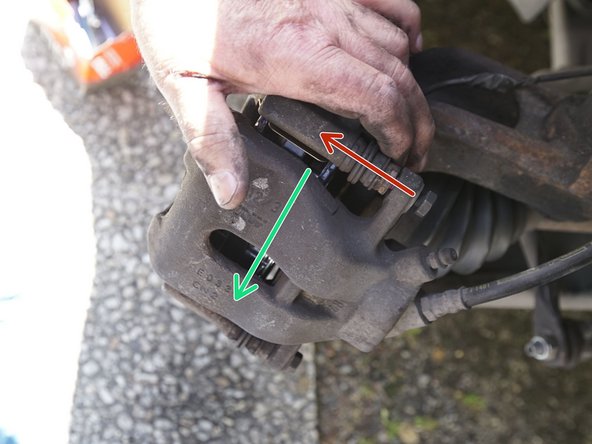
Reposez l'étrier au dessus de la chape, commencez par positionner le haut et refermez le pour caler le bas
-
A l'aide d'une clef plate de 13 et d'une clef à pipe de 13 resserrez les deux vis de l'étrier
-
-
-
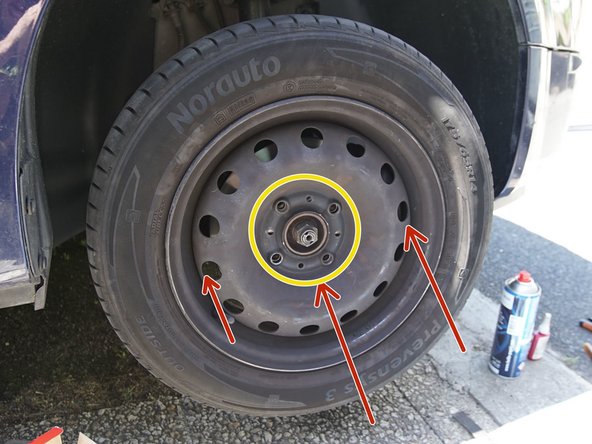
Reposer la roue sur le moyeu
-
Alignez les trous du moyeu avec ceux de la roue, insérez les 4 écrous
-
Resserrez les 4 écrous
-
Replacez vos enjoliver en les clipsant
-


Annulation : je n'ai pas terminé ce tutoriel.
10 autres ont terminé cette réparation.

Équipe

2 commentaires
Sans clé à chocs, les vis des chapes sont vraiment difficiles à enlever. Je suis arrivé avec une rallonge taillée sur mesure, car la place est reduite, et une clé coudée torx 55.
fr_laporte33 - Résolu à la publication Réponse
Merci pour ce tuto. Il faut chauffer si besoin les torckx 55. Entre grippage et stop frein, impossible à enlever sinon pour ma part.
Eric PALOMBO - Résolu à la publication Réponse