


Introduction
Vous souhaitez changé vos disques et plaquettes de frein avant sur Volkswagen Touran 1.9L TDI ? Ce tutoriel vous aidera à le faire rapidement et facilement.
-
-
Pour pouvoir démonter votre roue :
-
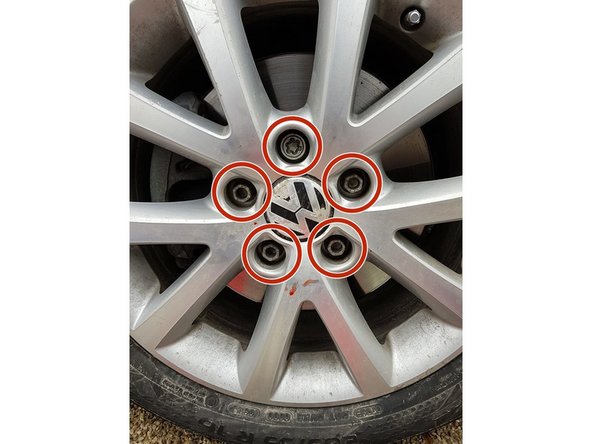
- Utilisez une croix ou regarder dans votre coffre en enlevant la moquette, vous y trouverez une clé prévue pour desserrer vos 5 écrous, sans les retirer entièrement.
-
- Utilisez un cric pour lever l'avant de votre véhicule.
-
Pensez à sécuriser votre véhicule en utilisant des chandelles ou autres.
-
Vous pouvez totalement enlever vos écrous qui tiennent la roue puis déposer la retirer la roue.
-
Ensuite, ouvrez votre capot moteur et dévisser le bouchon du remplissage de liquide de frein.
-
-
-
Pour pouvoir changer les plaquettes de freins nous devrons déposé une partie de l'étrier.
-
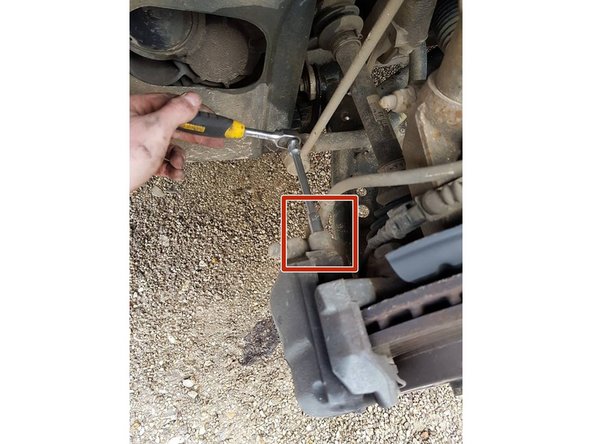
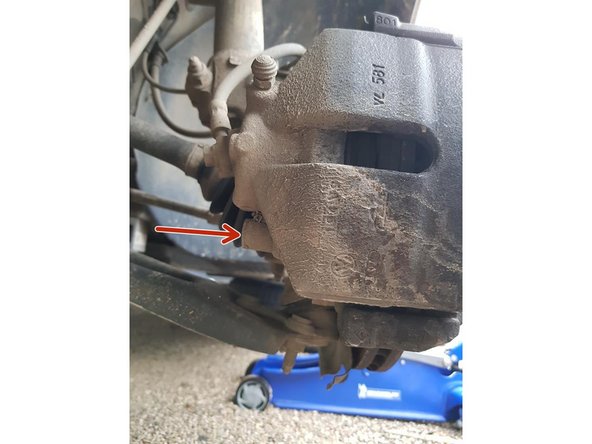
Repérez les 2 endroits des vis qui maintiennent l'étrier de frein, une sur le haut et l'autre en bas de l'étrier.
-
Grace à un petit tournevis plat, faites levier sur les caches de vis pour pouvoir les retirer sans les abîmer.
-
-
-
Nous allons maintenant utilisé un cliquet avec une petite rallonge et un embout TORX T55, dévisser les 2 vis qui maintiennent la partie de l'étrier.
-
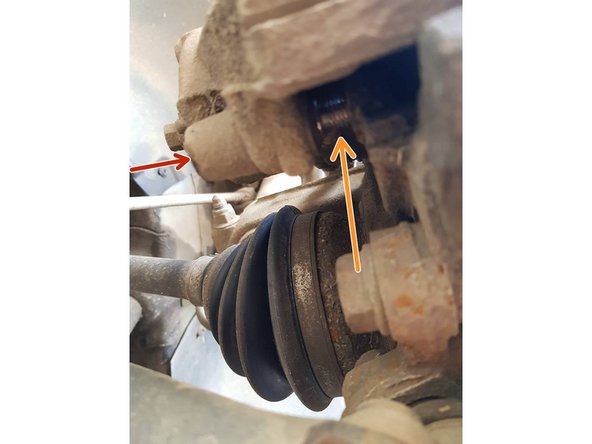
Une fois dévisser, vérifiez que la vis soit bien sorti de son support et qu'elle ne généra pas lors de l’extraction de l'étrier, si elle gène veuillez utilisé un petit tournevis plat pour pour la faire sortir de son logement.
-
-
-
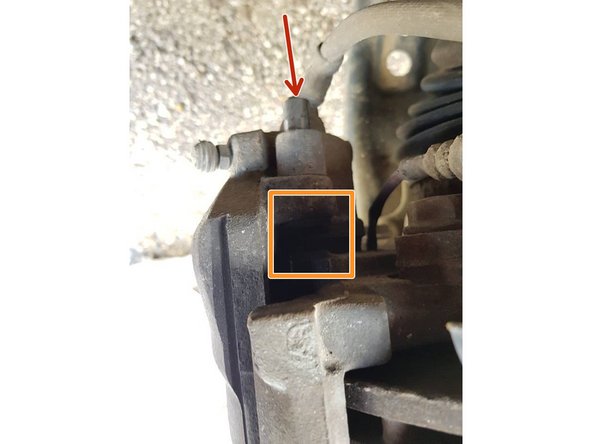
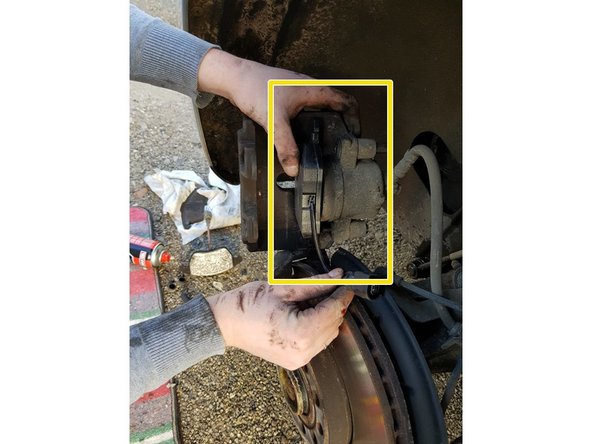
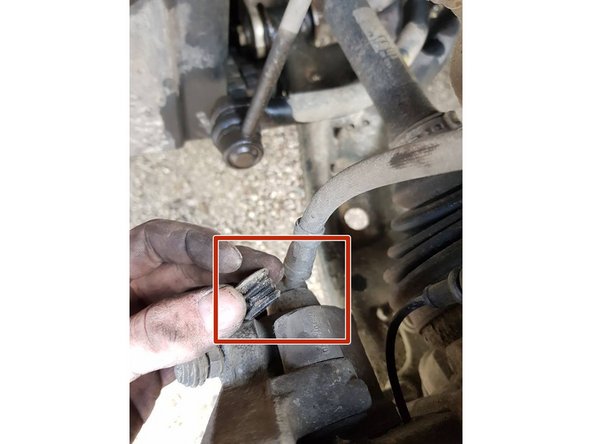
Nous allons maintenant déposer le ressort de l'étrier de frein, utilisez une pince multiprise puis tirer vers vous en prenant les 2 points d'accroche du ressort (il se retire sans forcer).
-
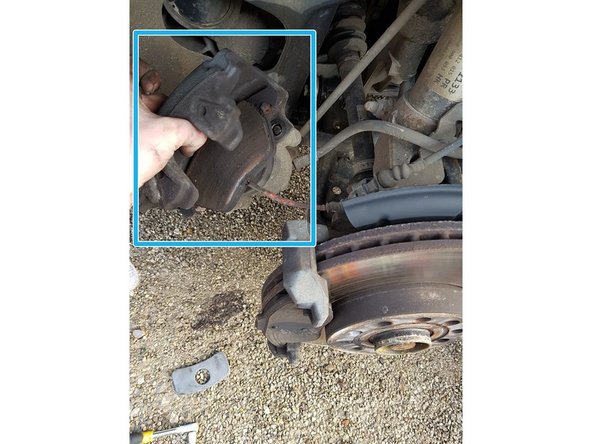
Vous pouvez maintenant enlevé la partie de l'étrier de frein en tirant dessus .
-
Accrochez cette partie de façon a ce que le flexible de frein ne soit pas en contrainte
-
-
-
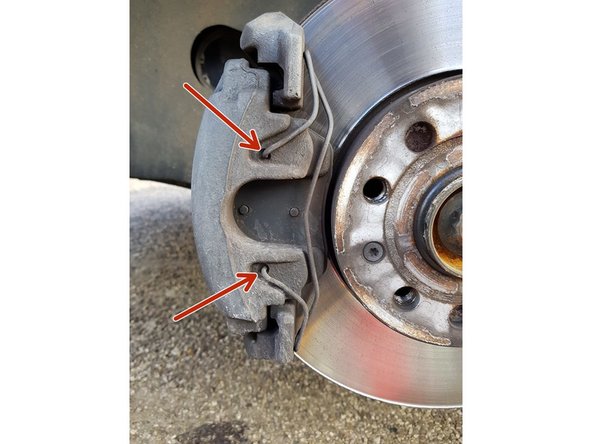
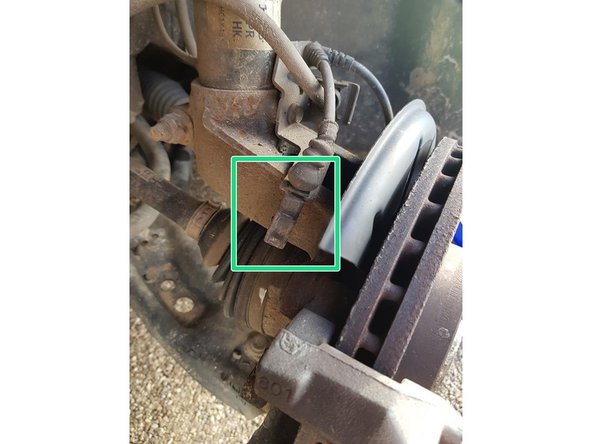
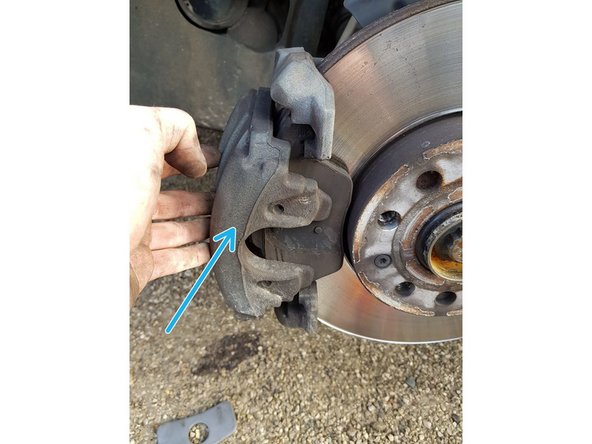
Pour la plaquette qui se trouve toujours dans le piston de la partie de l'étrier que l'on a enlever, tirer la fortement vers l'extérieur pour l'enlever intégralement.
-
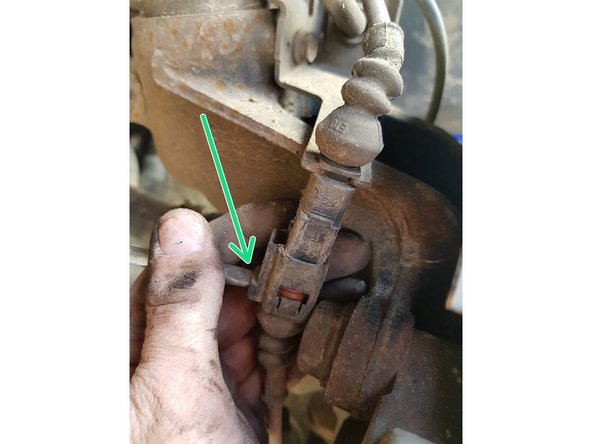
Ensuite, utilisez un petit tournevis plat puis appuyer sur la connectique d'usure des plaquettes de freins pour pouvoir la retirer.
-
-
-
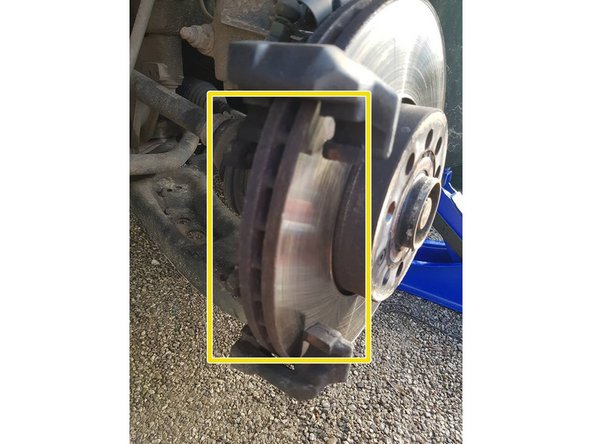
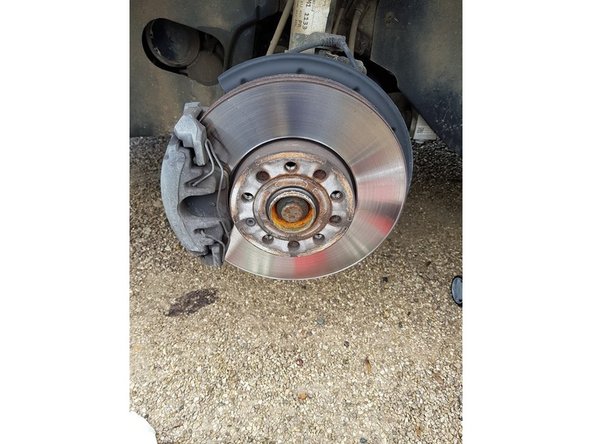
Vous pouvez maintenant déposé la deuxième plaquette qui est toujours posé contre le disque, pour cela, tirez vers vous.
-
-
-
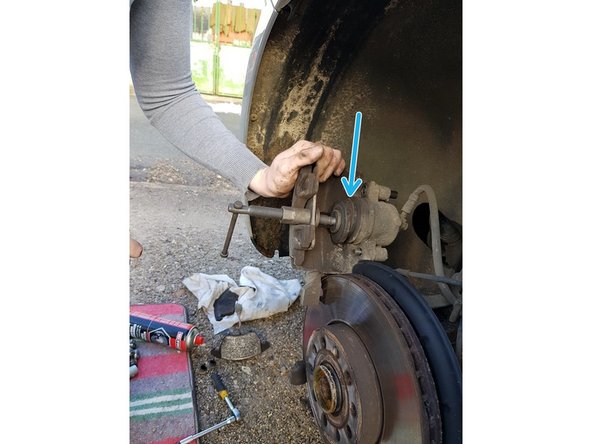
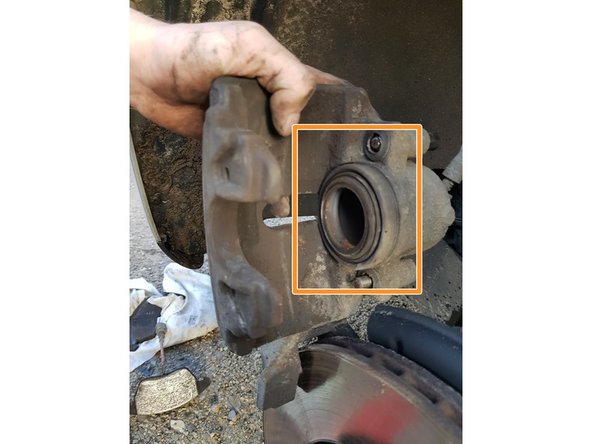
Nous allons maintenant repousser le piston, certaine personne utilise une pince multiprise pour le faire, pour ce véhicule vous ne pourrez pas le faire donc utilisez un repousse piston.
-
Placez votre repousse piston puis faites le rentrer jusqu'au maximum.
-
Vérifiez qu'il ne dépasse pas dans l'étrier car il pourrait gèné lorsque l'on va remettre les plaquettes de freins.
-
-
-
Pour commencer, utilisez la plaquette de frein qui dispose des supports qui entre dans le piston, placez la dans le bon sens puis appuyez fortement pour l'insérer dans le piston.
-
Placez la deuxième plaquette de freins face au disque de frein en respectant son sens et en l'insérant dans son logement.
-
-
-
Nous pouvons maintenant reposé la partie de l'étrier de freins dans son logement.
-
Vous pouvez maintenant remettre le ressort qui aide à maintenir l'étrier de frein grâce à votre pince multiprise.
-
-
-
Vérifiez que les vis soient bien en face du pas de vis de l'étrier de freins.
-
Nous allons maintenant utilisé un cliquet avec une petite rallonge et un embout TORX T55, visser les 2 vis qui maintiennent la partie de l'étrier, fortement.
-
-
-
Nous allons maintenant remettre les 2 caches en plastique des vis de l'étrier de frein.
-
-
-
Replacez votre roue dans son logement puis visser les 5 goujons fortement.
-
Le travail est maintenant terminé, vous devrez vous rendre dans votre véhicule puis appuyer une dizaine de fois sur votre pédale de frein avant de prendre le volant pour que le piston se remette en place.
-
Refermez votre bouchon de réservoir liquide de frein
-


Annulation : je n'ai pas terminé ce tutoriel.
5 autres ont terminé cette réparation.

Un commentaire
c’est un Torx 45 et pas un T55 sur mon touran
jean-sebastien PADOAN - Résolu à la publication Réponse