


Introduction
Motorisation Toyota Aygo 1.0 VVTi 12V 68 cv
Vidéo d'introduction
-
-
Mise en sécurité du véhicule : démontage et remontage de la roue
-
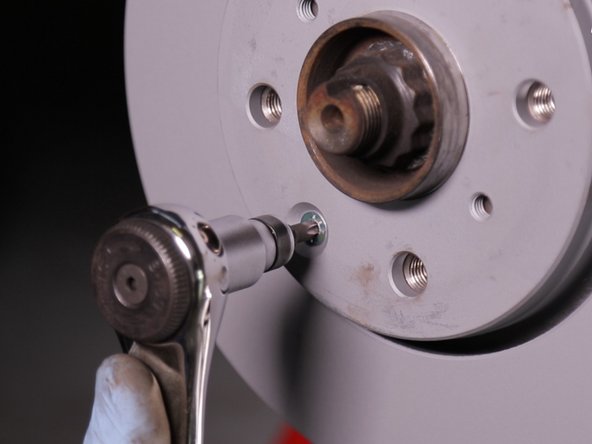
Une fois la roue retirée dévissez la vis retenant le disque et retirez-la
-
-
-
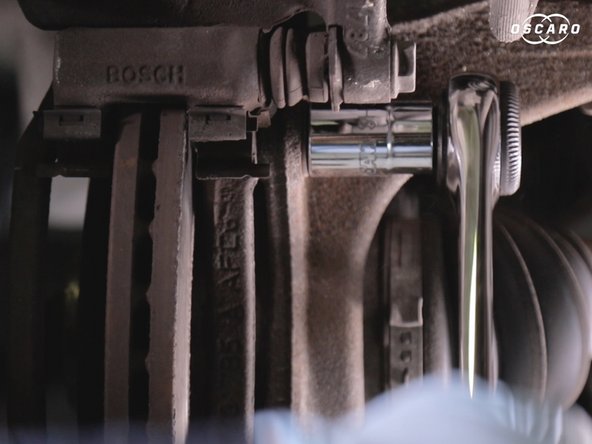
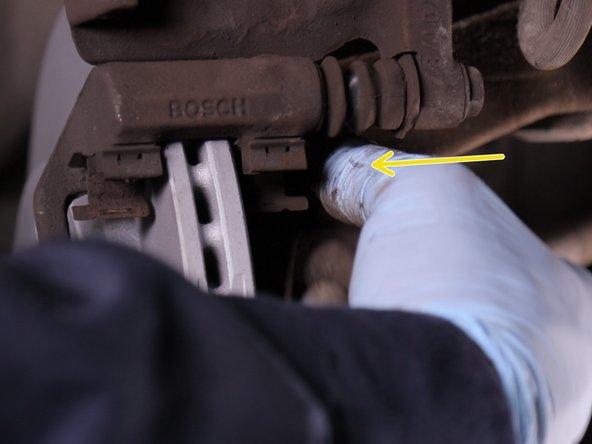
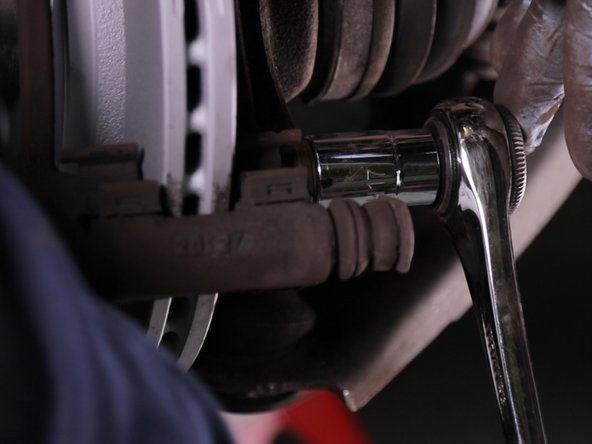
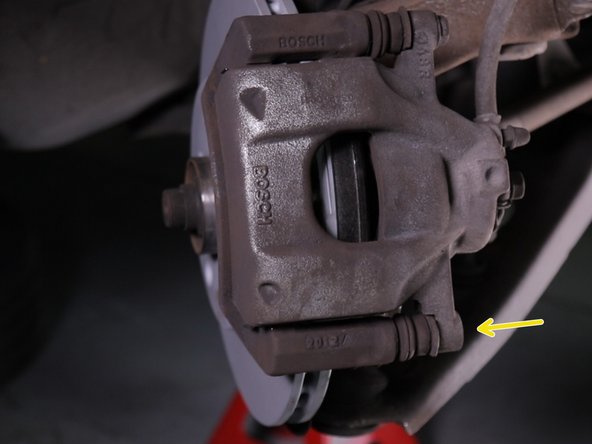
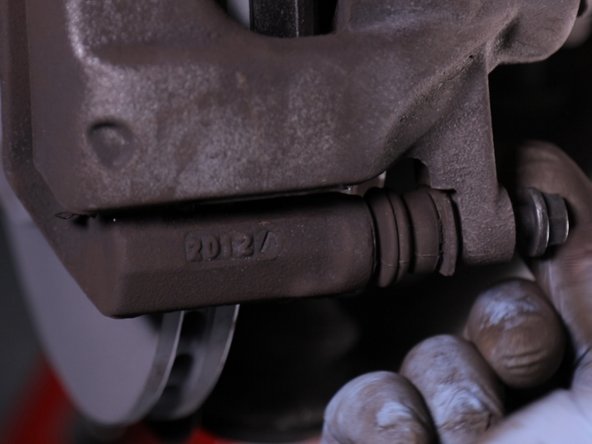
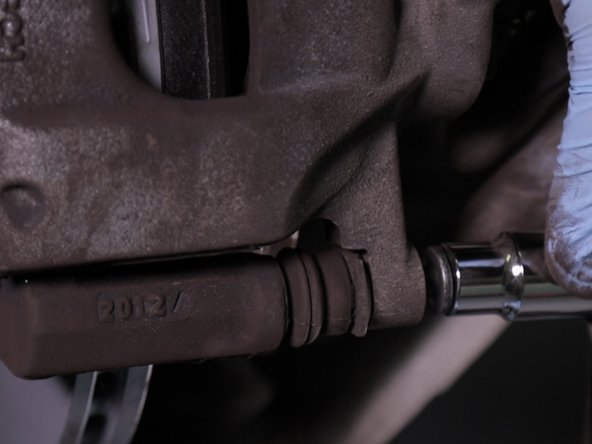
Dévissez la vis du bas de la chape à l'aide d'une douille et d'un cliquet
-
Retirez-la
-
-
-
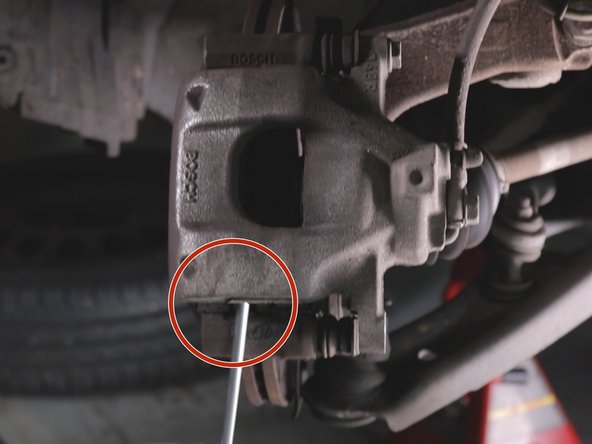
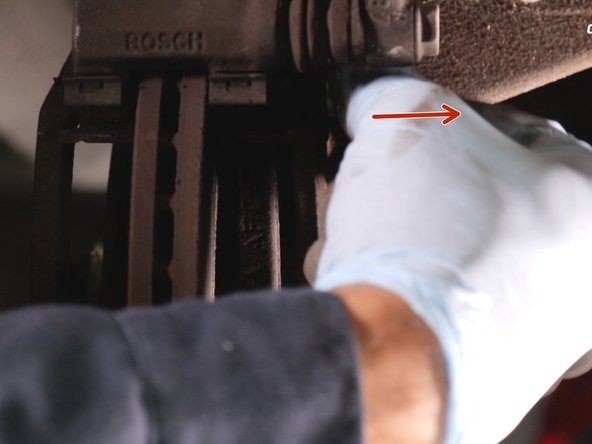
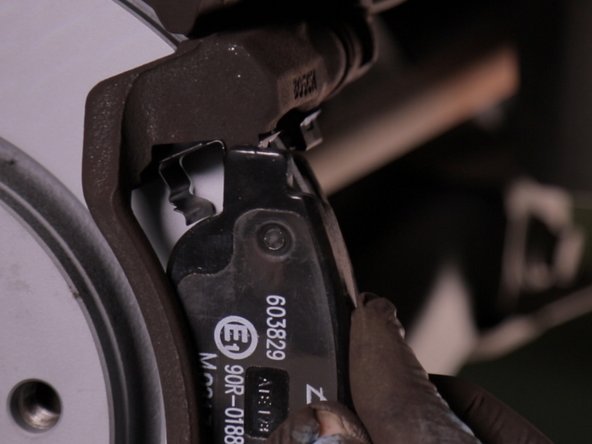
A l'aide d'un tournevis plat faite levier pour écarter l'étrier du disque
-
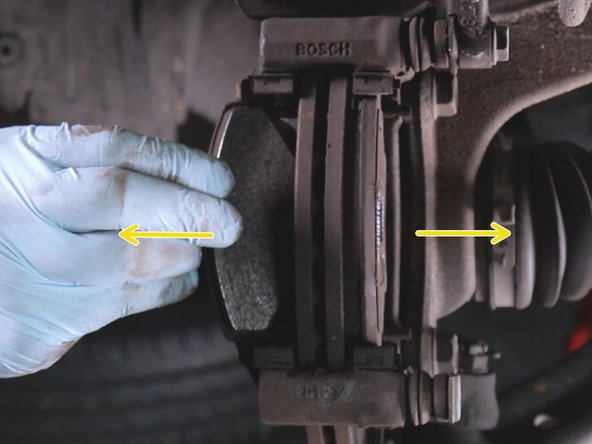
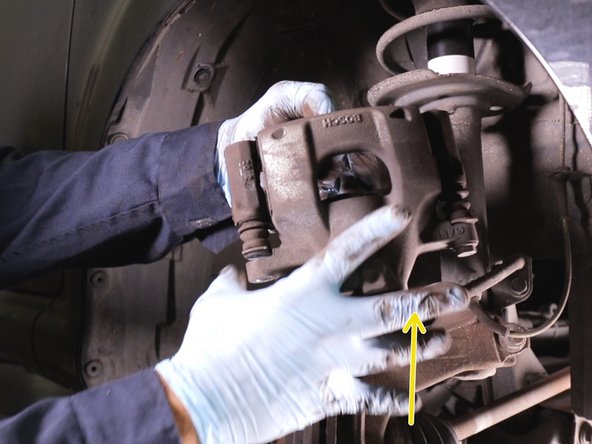
Vous avez maintenant accès aux plaquettes, vous pouvez les retirer
-
-
-
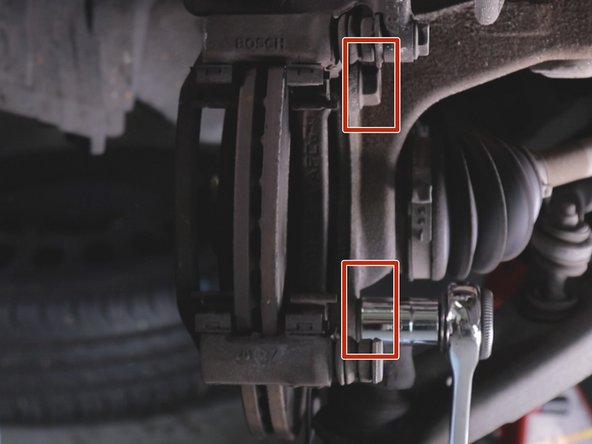
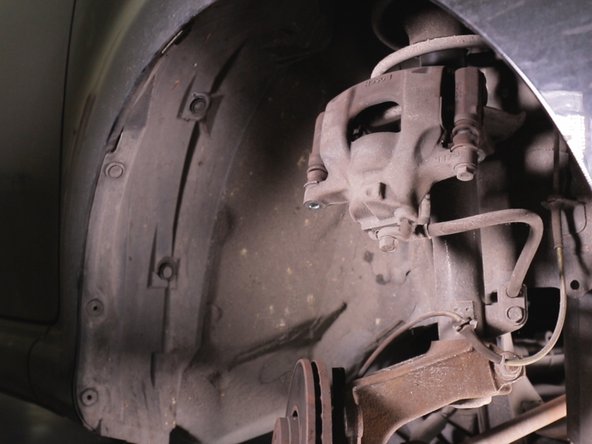
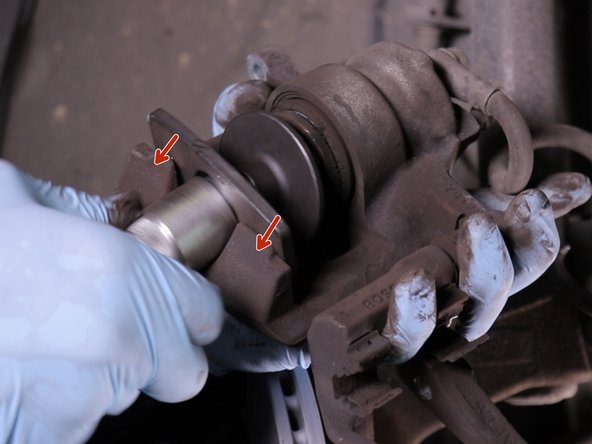
Vous devez maintenant retirer la chape, pour se faire dévissez les 2 vis du haut et du bas à l'aide du cliquet
-
Puis retirez-les
-
-
-
Retirez les 2 vis
-
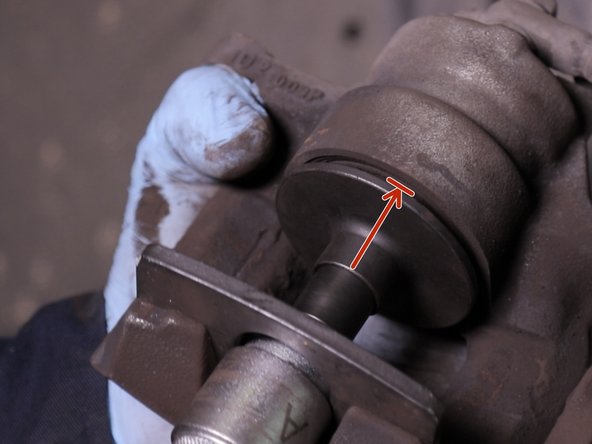
Placez la chape et l'étrier sur le ressort afin d'éviter de tendre le câble de frein
-
-
-
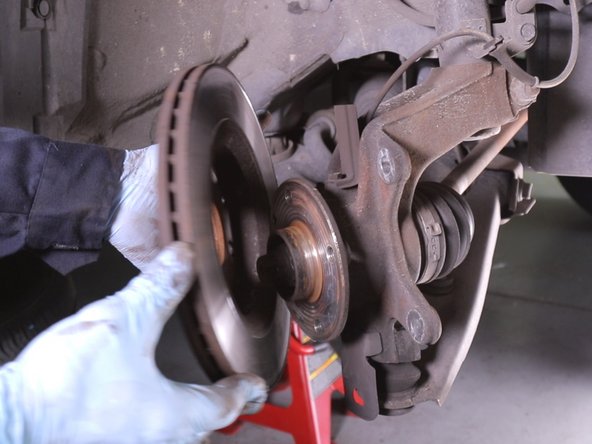
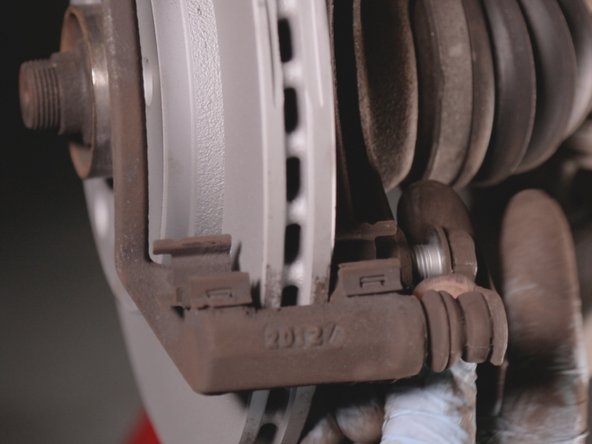
Vous avez maintenant accès au disque
-
Retirez-le simplement avec vos mains en tirant vers vous
-
-
-
Comparez les anciennes et le nouvelles pièces (largeur, hauteur et diamètre)
-
-
-
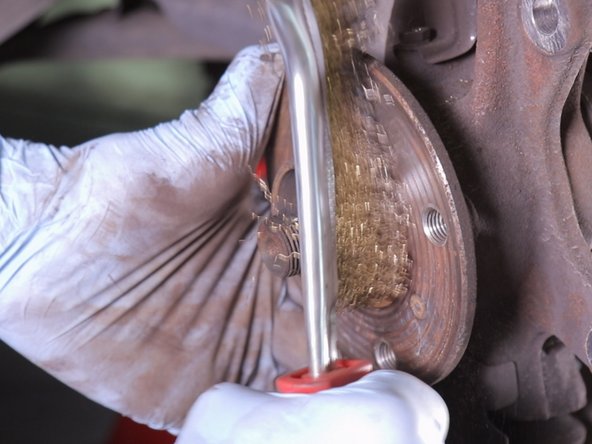
Nettoyez le moyeu à l'aide de la brosse métallique avant de reposer le nouveau disque
-
-
-
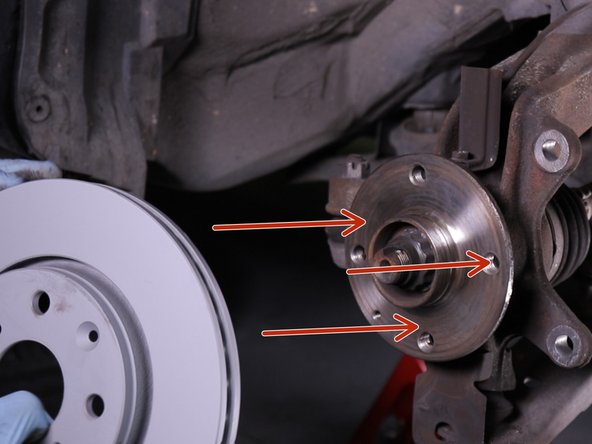
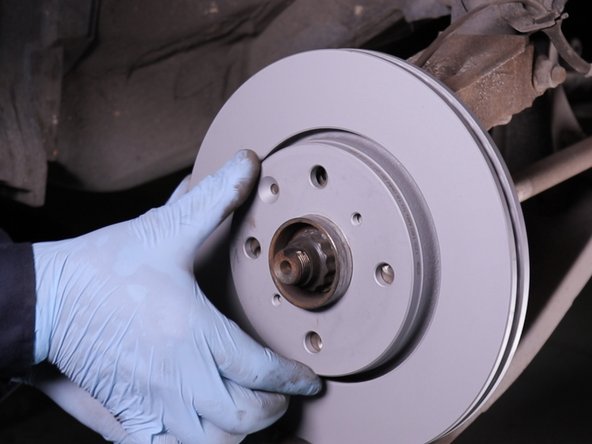
Reposez le nouveau disque sur le moyeu
-
Veilliez à bien aligner les trous du disque avec celui du moyeu pour la repose de la vis
-
-
-
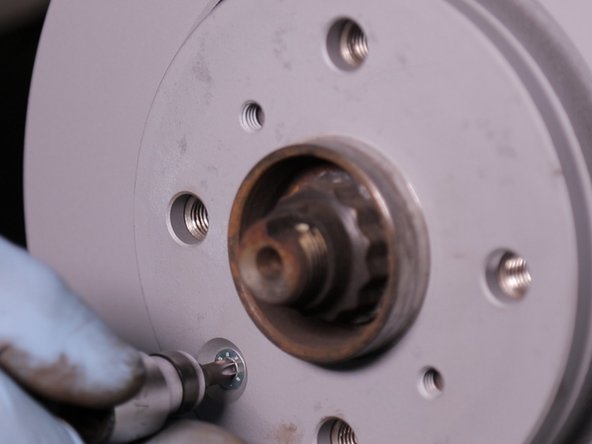
Reposez la vis sur le nouveau disque
-
Revissez-la à l'aide du cliquet
-
-
-
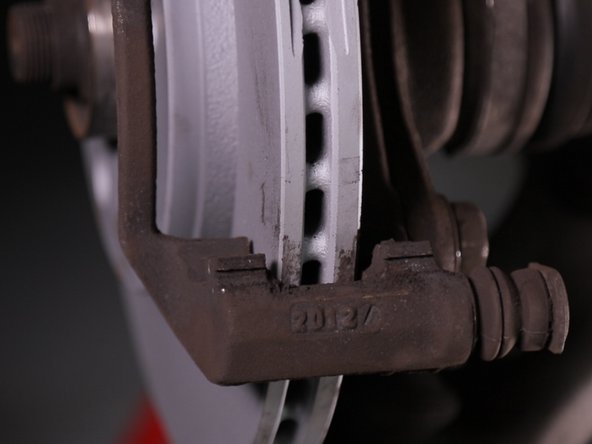
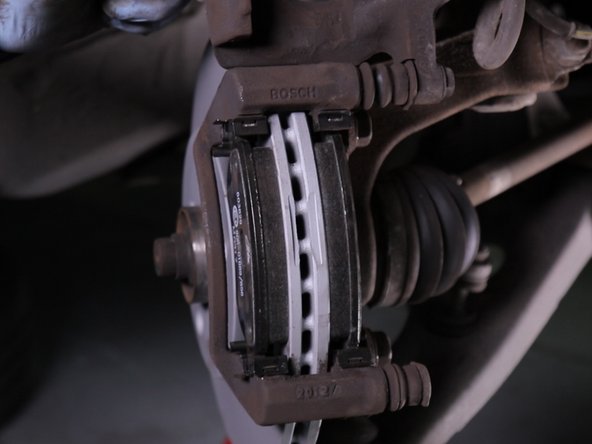
Replacez la chape sur le disque
-
Revissez la vis du bas pour fixer la chape
-
-
-
Revissez la vis du haut de la chape
-
Resserrez ces deux dernière à l'aide du cliquet pour fixer la chape
-
-
-
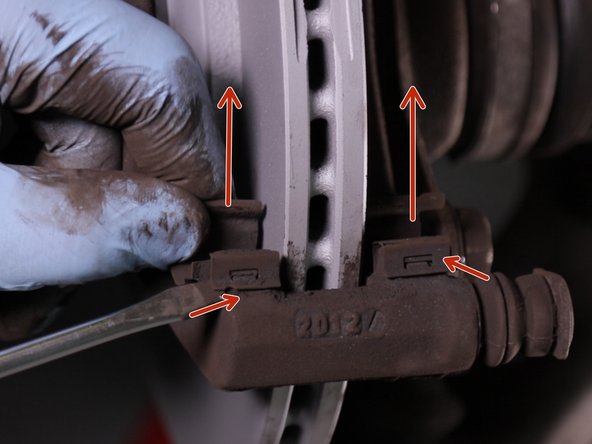
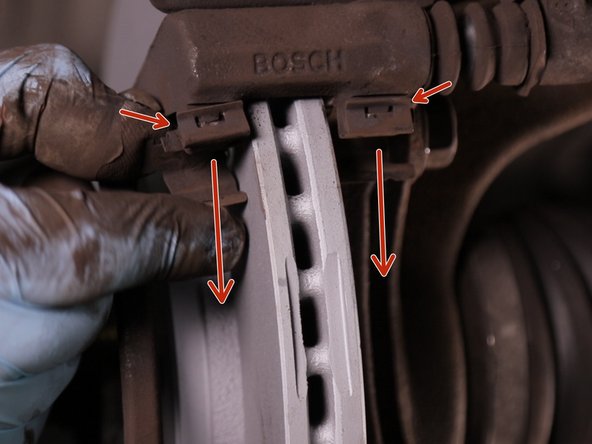
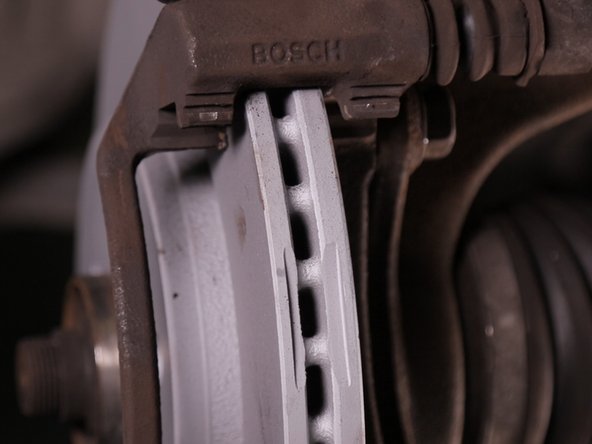
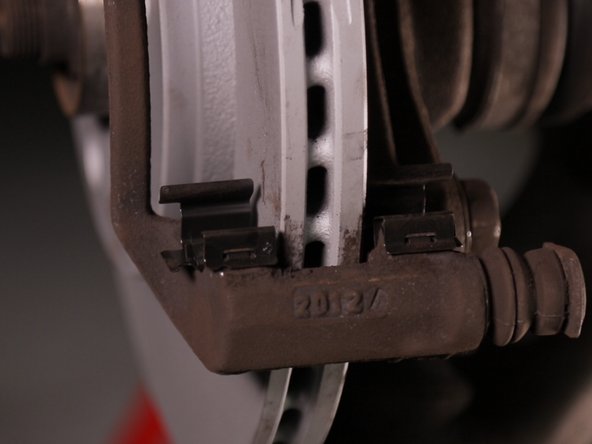
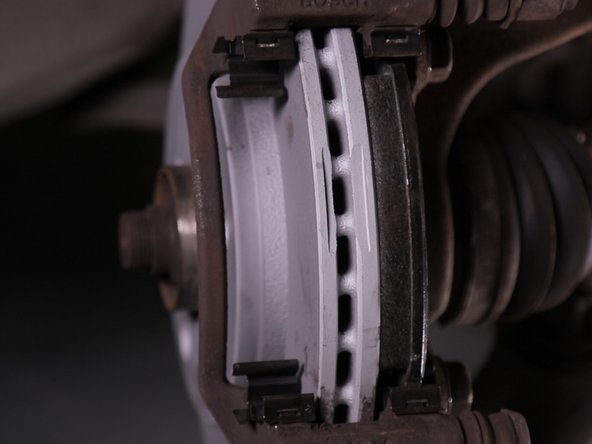
Retirez les 4 accroches plaquettes sur la chape à l'aide d'un tournevis plat
-
-
-
Resserrez la vis à l'aide du cliquet
-
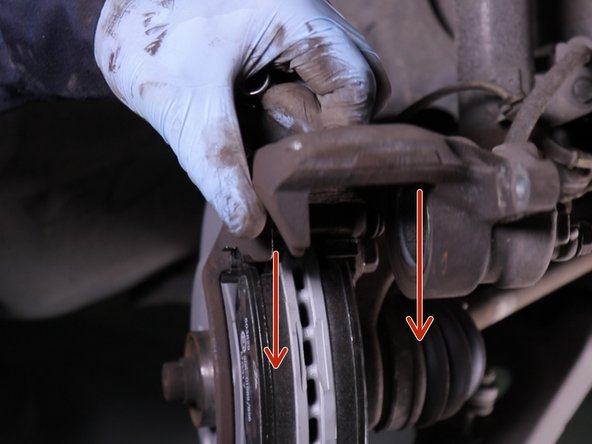
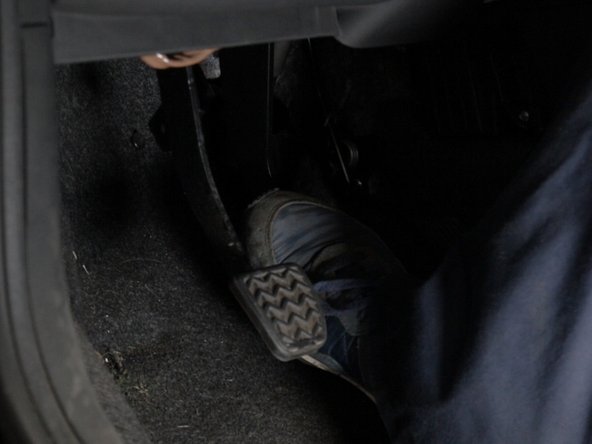
Pressez la pédale de frein pour repousser le piston
-


Annulation : je n'ai pas terminé ce tutoriel.
2 autres ont terminé cette réparation.

Équipe
