


Difficulté
Modérée
Étapes
11
Temps nécessaire
02:00:00
- Changement lève vitre conducteur 11 étapes

En cours
Ce tutoriel est en cours de création. Revenez de temps en temps pour voir les modifications.

Ce tutoriel a été créé par la communauté
User contributed

-
-
Voici la porte tel qu'elle se trouve avant démontage. Il vous faudra descendre la vitre afin de pouvoir la dévisser au moment voulu.
-
-
-
Commencez par enlever les 2 vis sur le coté (torx) ainsi que la vis sous le caoutchouc du bouton poussoir de vitre.
-
-
-
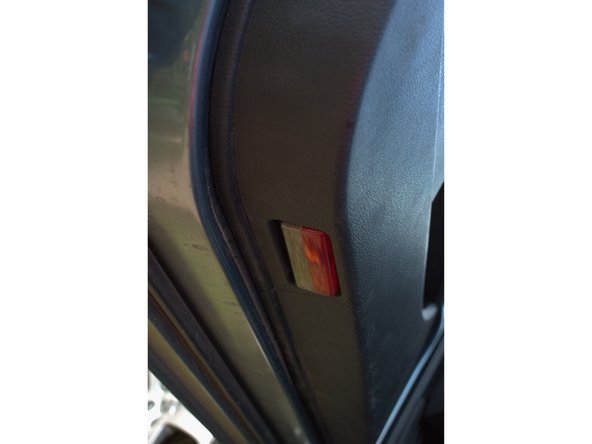
Puis dé-clipser la lumière du bas de la porte et le bouton poussoir en insérant un tournevis plat et en effectuant un effet le levier. Attention a ne pas rayer la garniture de porte avec le tournevis.
-
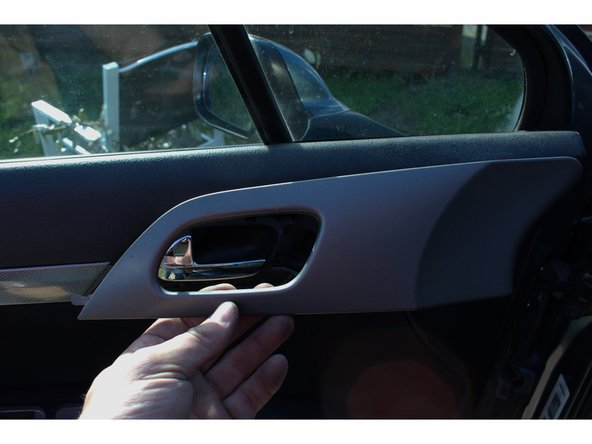
Dé-clipser l'enjoliveur de la pognée de porte en effectuant un effet de levier avec un tournevis plat en commençant par le bas puis le tirer délicatement vers l'intérieur de la voiture.
-
-
-
débrancher les prises de connexion du bouton de lève vitres.
-
-
-
Tirer délicatement la garniture de porte vers vous en commençant par le bas. (je mets ma main au niveau de la lumière pour avoir une meilleure prise). Une fois dé-clipser pour sortir la garniture il faudra la pousser vers le haut car elle est prise das une fente au niveau du joint d’étanchéité de la vitre.
-
-
-
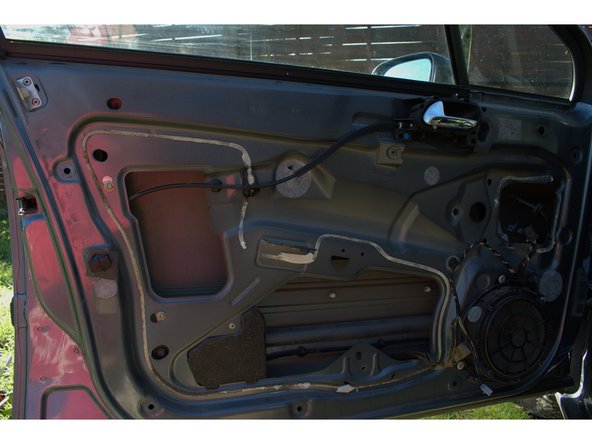
Dévisser les 3 vis du moteur du lève vitre et désaccoupler le du mécanisme du lève vitre et débrancher les connexion électrique de celui-ci. Puis enlever l'isolant (au niveau du trait rouge sur a photo) en coupant le mastic qui le maintient. (Attention il faudra le remettre par la suite ne pas l'arracher)
-
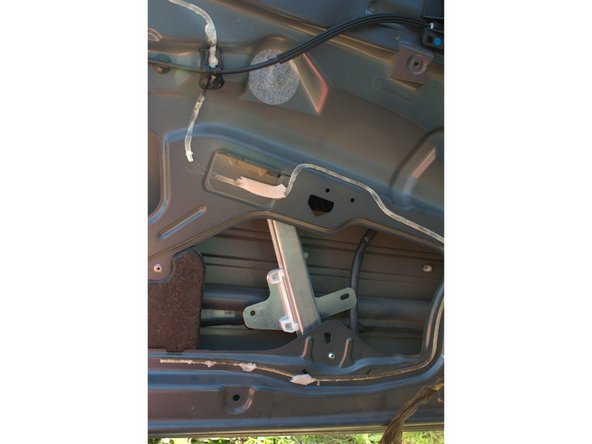
A l'aide d'une perceuse enlever les rivet qui maintienne l'ancien lève vitre ainsi que celui du guide de la vitre (flèche bleu) afin de facilité le montage du nouveau lève vitre.
-
-
-
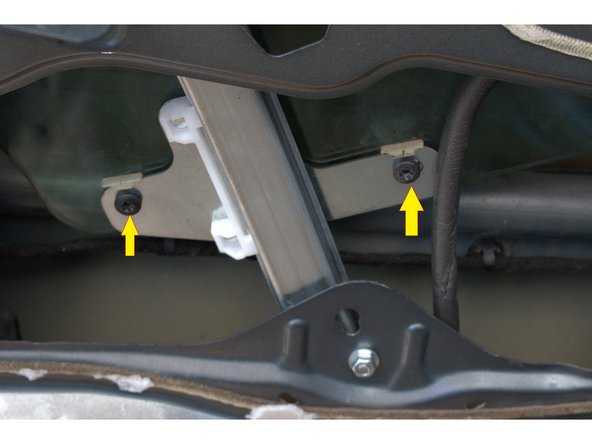
Dévisser les vis qui maintiennent la vitre. Ensuite poussez le mécanisme du lève vitre vers l’intérieur de la portière afin de le désolidariser de celle-ci puis l'incliner afin de le sortir
-
Remontez la vitre et pensez a mettre un cale ou a la bloquer. Cela facilitera le remontage.
-
-
-
Mettre en place le nouveau mécanisme. Ne pas enlever le collier (il faudra le faire à la prochaine étape) pour le fixer utilisé les vis fournit avec le nouveau mécanisme.
-
Remettre un rivet au guide de la vitre (flèche jaune) cela vous aidera à maintenir le mécanisme pour visser le moteur dessus.
-
Maintenant enlever le collier présent sur le mécanisme à l'aide d'une pince coupante. Puis remettez l'isolant et ensuite visser le moteur du lève vitre. Pensez à rebrancher électriquement votre moteur de lève vitre
-
-
-
Descendez votre vitre et remettre les 2 vis en place.
-
Vous pouvez remettre l'isolant en place.
-
Voila le plus gros du travail est fait. Il faut maintenant remonter la garniture de porte
-
-
-
Pensez à faire passer les cables du bouton poussoir et de la lumière du bas de la porte en présentant votre garniture.
-
Clipser la garniture depuis le haut vers le bas.
-
clipser la lumière du bas de la porte, puis l'enjoliveur de la poignée en respectant le sens de montage.
-
-
-
Remettre les vis qui maintiennent la garniture
-
Voila le travail est terminé. Compter au moins 2 heures. J'espère que ce tutoriel vous aidera.
-









Annulation : je n'ai pas terminé ce tutoriel.
15 autres ont terminé cette réparation.

19 commentaires
Tuto super complet et détaillé. Prévoir le rivet pour le guide de la vitre ø4,8/10mm fait l’affaire. Pour le reste c’est nickel moins de 2 h et c’est reparti pour 150000km😁
thibaud.sail - Résolu à la publication Réponse
Super tuto je les fait en moins de 2h quelques galère mais en général parfait merci beaucoup
tancrezjulien145 - Résolu à la publication Réponse
@ florenceleblanc ,
bonjour , c’est peut être juste un mauvais contact dans votre bouton , généralement un problème de lève vitre fait que la vitre descend dans la porte , ou alors c’est un problème de moteur…
eric.barbereux - Résolu à la publication Réponse