


Introduction
Remplacement des flexibles de frein arrière sur Toyota Carina E 2.0 D 67cv
Changement des flexibles et purge du circuit. Portez des gants pour vous protéger du liquide de frein (attention à ne pas abîmer la peinture avec le liquide de frein également). C'est une intervention délicate et qui touche un élément de sécurité : les freins.
-
-
Les flexibles de frein sont des éléments de sécurité. Il faut vérifier l'absence de craquelures sur le flexible. Si le flexible présente des craquelures il faut le remplacer !
-
Les flexibles de freins sont situés sur le circuit de freinage, le plus souvent ils sont au nombre de 4 et se trouvent derrière les roues.
-
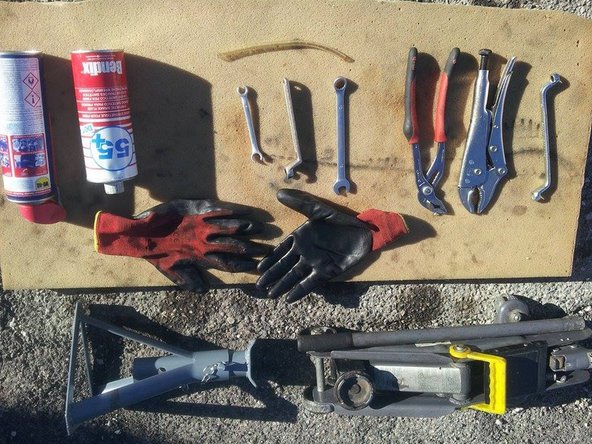
Vous aurez besoin d'une clé à tuyauter pour démonter vos flexibles. (Voir les 2 exemples en photo ci-contre).
-
-
-
Lors du remplacement des flexibles il faut commencer par celui qui est le plus éloigné du maître cylindre. (ordre : roue arrière droite, puis gauche, roue avant droite et enfin roue avant gauche).
-
Levez votre véhicule en sécurité (caler la roue opposée, cric et chandelles).
-
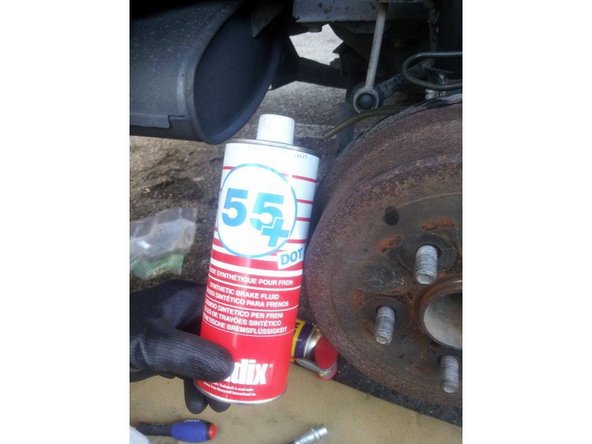
Vous pouvez profiter de cette intervention pour changer votre liquide de frein (à changer tout les 2 ans).
-
Le liquide de frein que vous allez utiliser doit correspondre à la norme requise par votre véhicule (exemples : DOT 3, DOT 4, DOT 5, etc.).
-
-
-
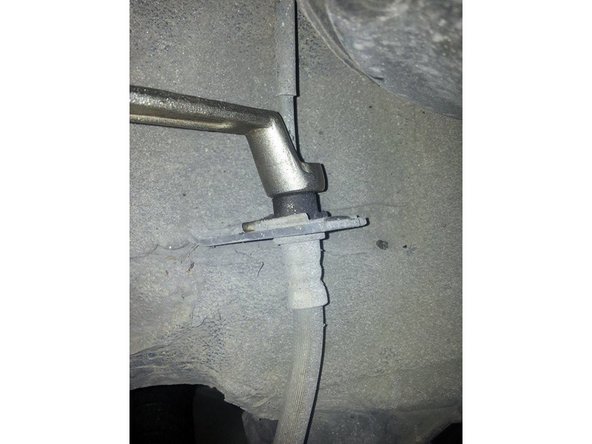
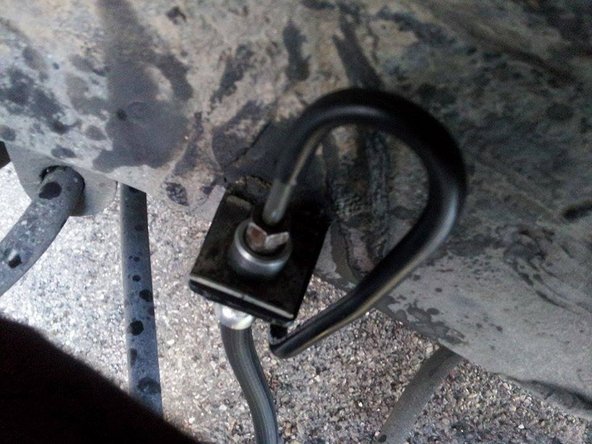
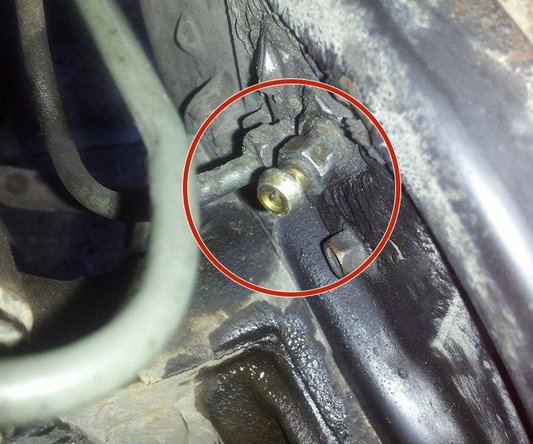
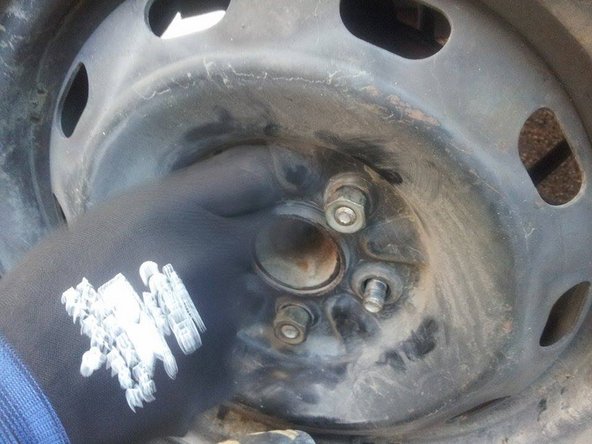
Repérez votre flexible de frein et ses raccords. Nettoyez à la brosse métallique les raccords et utilisez du dégrippant.
-
Afin de ne pas répandre trop de liquide de frein au sol et surtout de ne pas vider votre bocal de remplissage il est préférable de pincer la durite. Vous pouvez utiliser une pince spéciale ou une pince étau avec précaution.
-
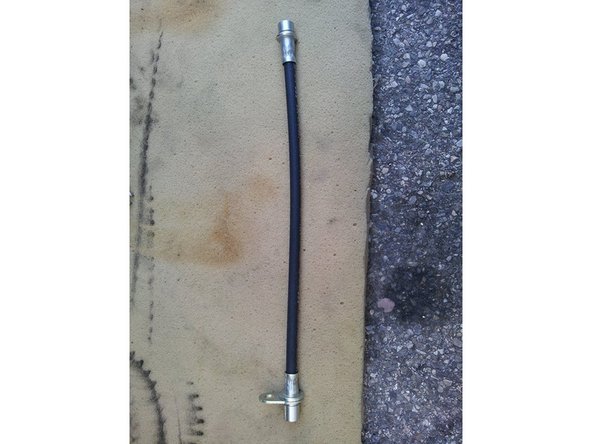
Avant démontage assurez vous que le flexible de frein neuf et bien identique à celui présent sur votre véhicule.
-
-
-
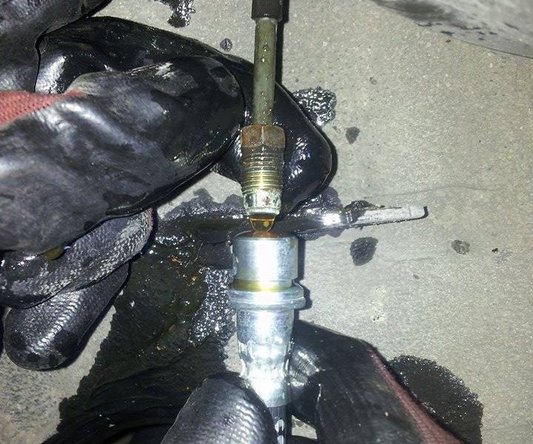
En utilisant impérativement une clé à tuyauter de la bonne taille (sous peine d'arrondir l'écrou) déposer l'écrou du raccord de la conduite rigide.
-
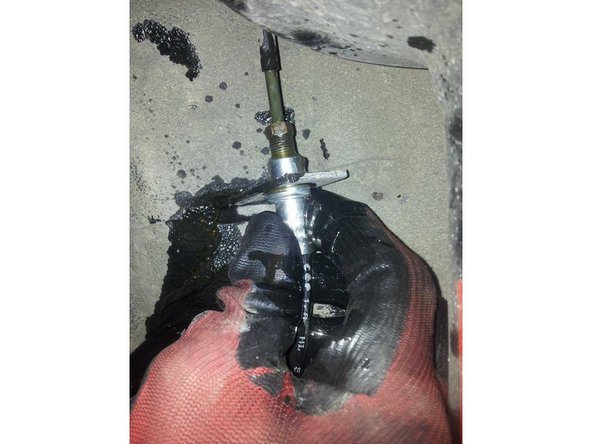
Retirez ensuite le flexible en retirant son agrafe de maintien.
-
-
-
Démontez le second raccord pour pouvoir démonter votre flexible.
-
Remontez votre nouveau flexibles en serrant modérément les raccords rigides. Toujours en utilisant la clé à tuyauter.
-
Repositionnez les agrafes et dispositifs de maintien.
-
-
-
En changeant votre flexible vous avez introduit de l'air dans votre circuit hydraulique, il faut donc le purger.
-
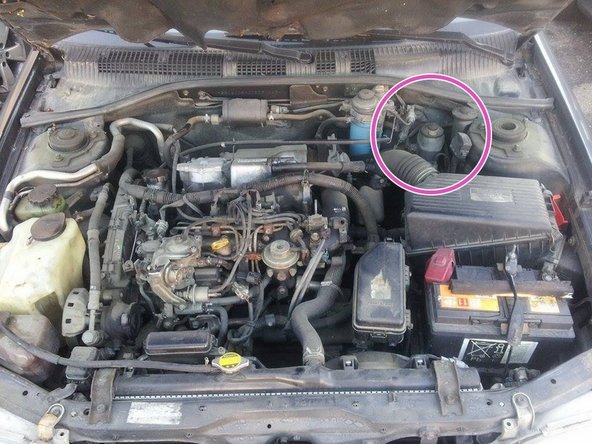
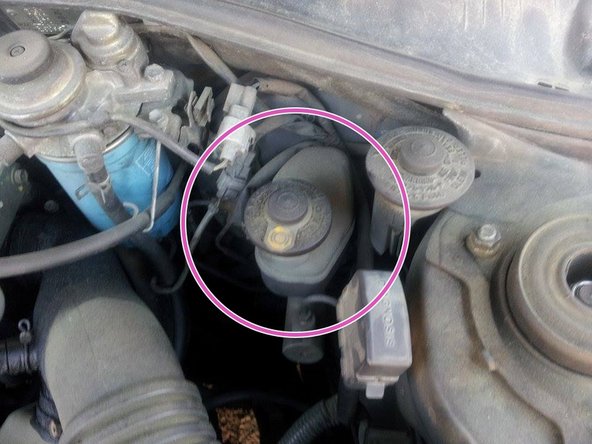
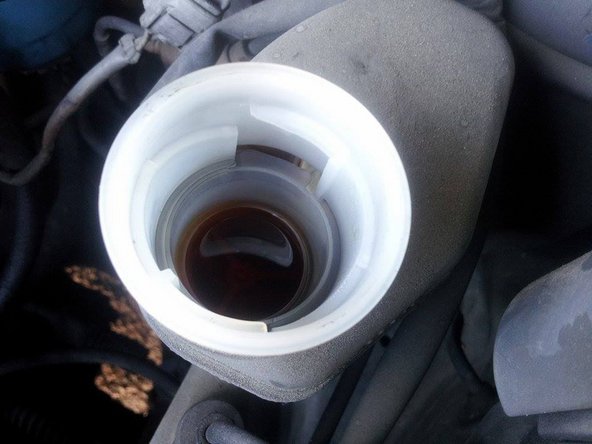
Vous devez repérer le bocal de liquide de frein dans le compartiment moteur.
-
Repérez les niveaux min et max et remplissez votre bocal au fur et à mesure afin de rester entre ces deux niveaux.
-
-
-
Un assistant doit pomper sur la pédale de frein lorsque que vous allez agir sur le purgeur de votre système.
-
Le purgeur se situe sur l'étrier ou le tambour de frein, il est très fragile et doit être serré modérement avec une clé à oeil.
-
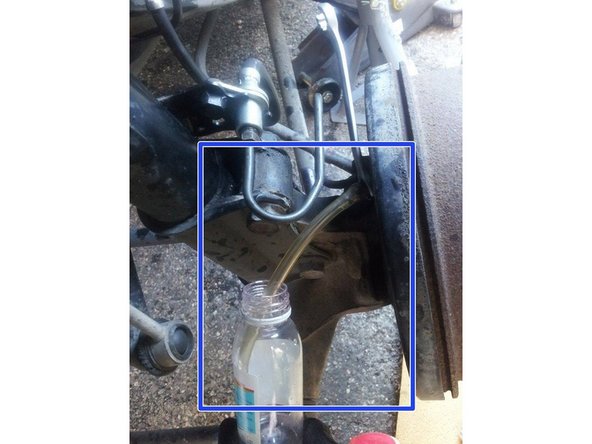
Utilisez un tuyau flexible afin de voir les bulles d'air sortir du circuit. Quand il n'y en a plus vous pouvez passer au cylindre suivant.
-
Pour la purge également procéder en commençant par le cylindre le plus éloigné du Maitre cylindre soit la roue ARD
-
-
-
Lorsque vous aurez terminé le changement et la purge de chaque flexible il faut vérifier l'absence d'air dans le circuit : votre pédale de frein ne doit pas être molle et ne doit en aucun cas pouvoir toucher le plancher lorsque vous appuyez à fond.
-
Remontez vos roues, serrez les au couple, et éliminez les déchets en déchetterie (liquide de frein, flexibles, etc.).
-


Annulation : je n'ai pas terminé ce tutoriel.
Une autre personne a terminé cette réparation.