


Introduction
Le modèle présenté est une Volkswagen Golf VII 1.6 TDI Blue Motion 16V 105 cv
Outils
Pièces
-
-
Grace à ce tutoriel vous allez apprendre à changer vos ampoules du plafonnier avant puis pour l'arrière.
-
Pour ma part, je vais changer les ampoules d'origine (éclairage jaune) par des ampoules à led (éclairage blanc).
-
Bleu : Ampoule d'origine (éclairage jaune).
-
Rouge : Ampoule led (éclairage blanc).
-
Vous aurez besoin de 4 ampoules W5W ou appelées T10.
-
-
-
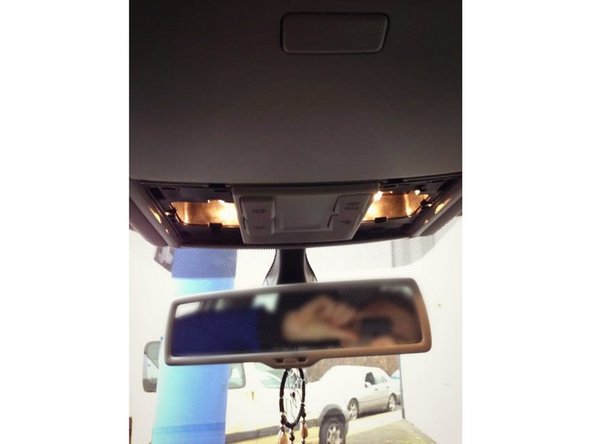
Pour pouvoir déclipsser le cache transparent sur votre plafonnier avant, vous devrez ouvrir à 45° votre porte lunette.
-
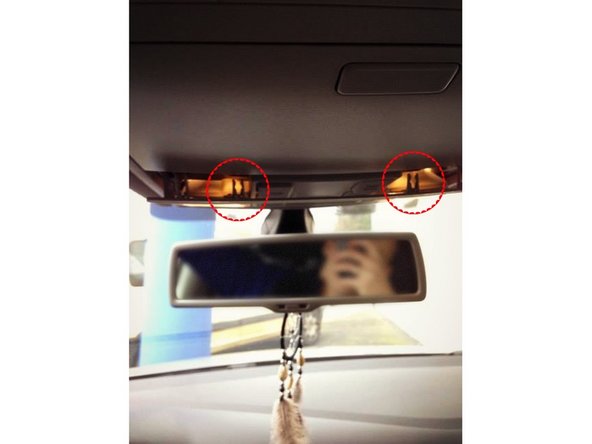
Passez votre doigt sur le haut du plafonnier et tirez vers le bas délicatement en commençant par le milieu puis sur le côté droit ainsi que le gauche.
-
Prenez votre temps pour déclipsser le cache transparent pour ne pas casser les clips.
-
-
-
Vous pouvez maintenant passer vos doigts pour déclipsser le cache transparent tout autour du plafonnier en allant.
-
Prenez votre temps pour déclipsser le cache transparent pour ne pas casser les clips.
-
-
-
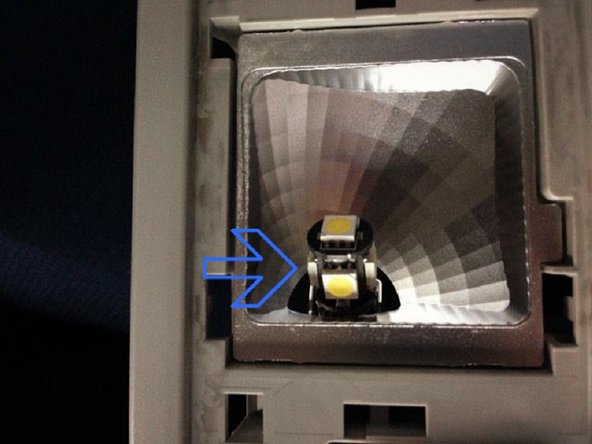
Une fois le cache transparent enlevé entièrement, vous voyez les ampoules d'origine, vous devrez simplement tirer dessus vers le bas.
-
Placez maintenant votre nouvelle ampoule dans le même sens que l'ancienne puis appuyez fortement pour bien la clipser dans son logement.
-
Violet : Ampoule à led (éclairage blanc).
-
Jaune : Ampoule d'origine (éclairage jaune).
-
Pensez à éteindre votre plafonnier pour ne pas que les ampoules soient allumées pendant la manipulation.
-
Une fois les ampoules mises, vérifier leur fonctionnement en allumant le plafonnier avant.
-
Si une ampoule ne s'allume pas c'est qu'il faut la retirer en la mettant dans le sens inverse pour inverser les bornes négative et positive.
-
-
-
Une fois les ampoules installées et la vérification du fonctionnement des ampoules faite.
-
Remettez le cache transparent en respectant son sens et en ouvrant votre porte lunette à 45° puis appuyez fortement sur tout le contour pour mettre les clips.
-
-
-
Vos ampoules du plafonnier avant sont maintenant changées, vous pouvez constater la différence d'éclairage entre les ampoules d'origine puis à led.
-
-
-
Pour pouvoir changer les ampoules du plafonnier arrière, vous devrez déposer entièrement le plafonnier.
-
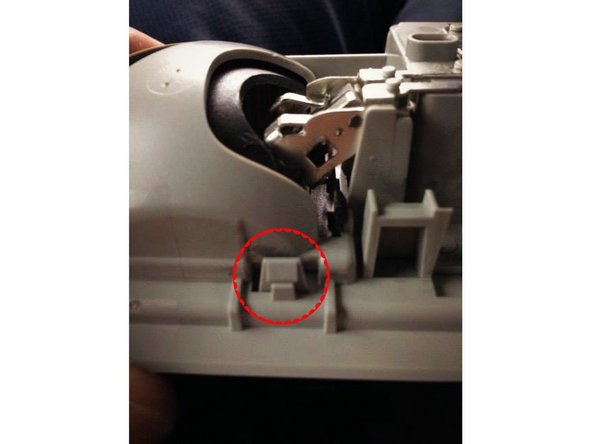
Pour cela, utilisez un tournevis plat ou un ustensile de démontage plastique puis déclipssez le en commençant par le côté vers la lunette arrière.
-
Maintenant, utilisez votre main pour pousser le plafonnier vers le pare brise avant tout en le descendant vers le bas pour le retirer entièrement.
-
Prenez votre temps pour enlever le plafonnier arrière pour ne pas casser les clips.
-
-
-
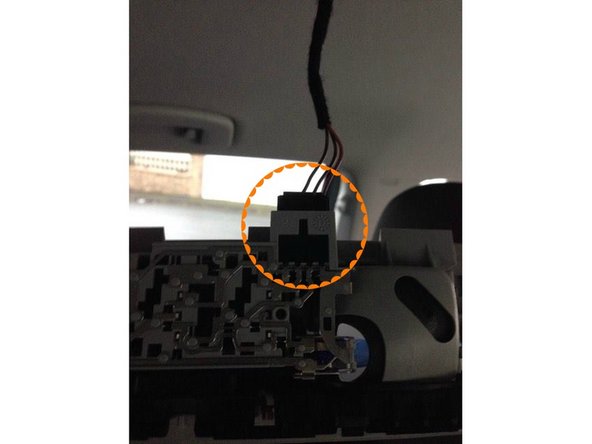
Une fois le plafonnier arrière retiré entièrement, vous constaterez qu'il est alimenté par une connectique, pour le retirer, utilisez un petit tournevis plat pour soulever le petite sécurité rouge sans la retirer et retirer la connectique en la pinçant à chaque extrémité.
-
Pensez à bien éteindre le plafonnier avant de le débrancher pour éviter tout soucis.
-
-
-
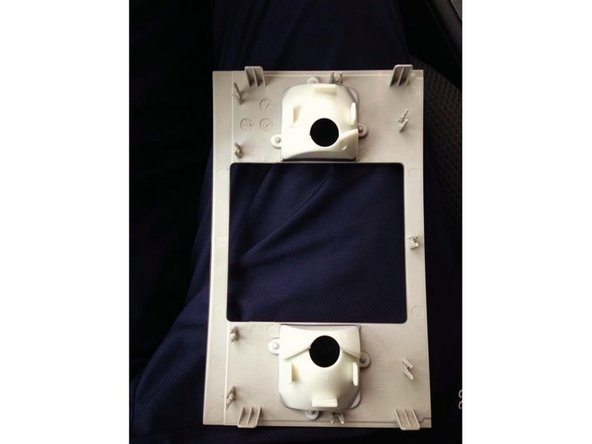
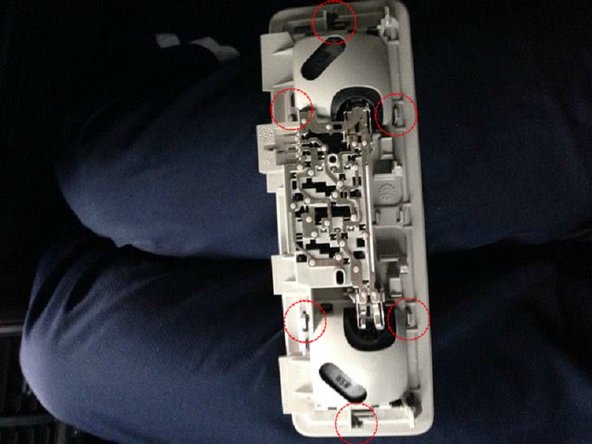
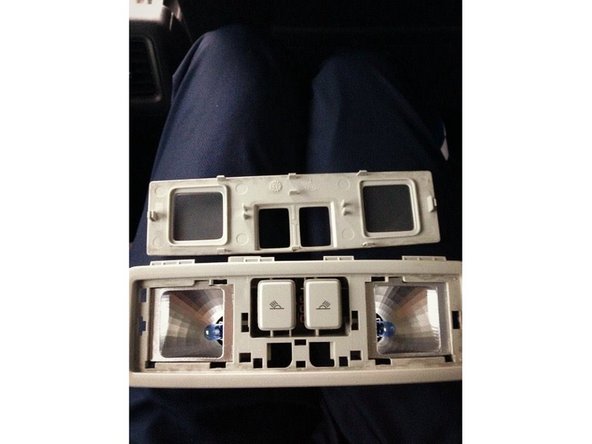
Vous avez maintenant le plafonnier entre vos mains, autour de celui ci vous trouverez 6 petits clips qu'il faut retirer avec un tournevis plat tout en poussant vers le cache pour l'enlever.
-
Prenez votre temps pour déclipsser le cache d'ampoules pour ne pas casser les clips.
-
-
-
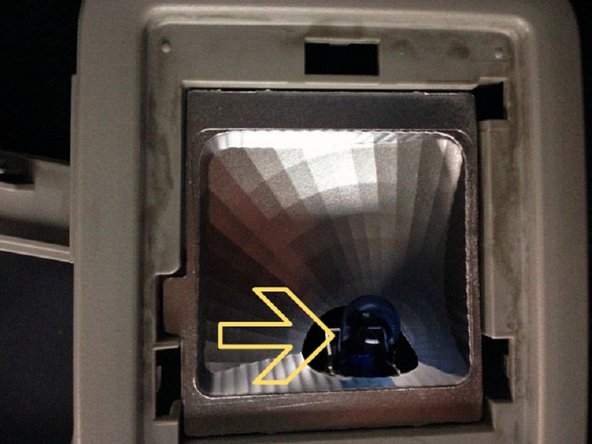
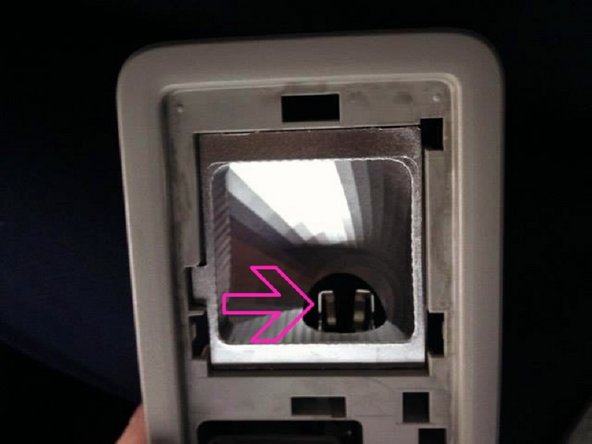
Vous avez maintenant accès aux ampoules, retirez les avec vos doigts ou à l'aide d'un petit tournevis plat puis mettez vos autres ampoules à la place et dans le même sens.
-
-
-
Une fois les ampoules changées, ne remettez pas le cache des ampoules maintenant.
-
Remettez la connectique d'alimentation dans le bon sens avec la sécurité rouge, vérifier le bon fonctionnement des ampoules en allumant le plafonnier arrière.
-
Si une ampoule ne s'allume pas c'est qu'il faut la retirer en la mettant dans le sens inverse pour inverser les bornes négative et positive.
-
-
-
Si les ampoules fonctionnent parfaitement, remettez le cache ampoules en respectant sons sens puis appuyez fortement dessus pour que chaque clips soient bien mis.
-
-
-
Vos ampoules du plafonnier arrière sont maintenant changées, vous pouvez constater la différence d'éclairage entre les ampoules d'origine puis à led.
-


Annulation : je n'ai pas terminé ce tutoriel.
6 autres ont terminé cette réparation.
