


Difficulté
Facile
Étapes
5
Temps nécessaire
00:10:00

Ce tutoriel a été créé par la communauté
User contributed
Introduction
Nous allons voir les étapes pour changer facilement une ampoule de clignotant avant sur Clio 3.
Outils
Pièces
-
-
Attention : Réaliser ces opérations à froid, sinon l'ampoule pourrait être brûlante.
-
Ouvrir la porte coté conducteur et actionner la manette d'ouverture du capot en la tirant vers le haut.
-
Une fois le capot légèrement soulevé repérer la manette d'ouverture sous le capot et la pousser vers le bas.
-
Penser bien à mettre en place la tige de sécurité afin que le capot reste bien ouvert.
-
-
-
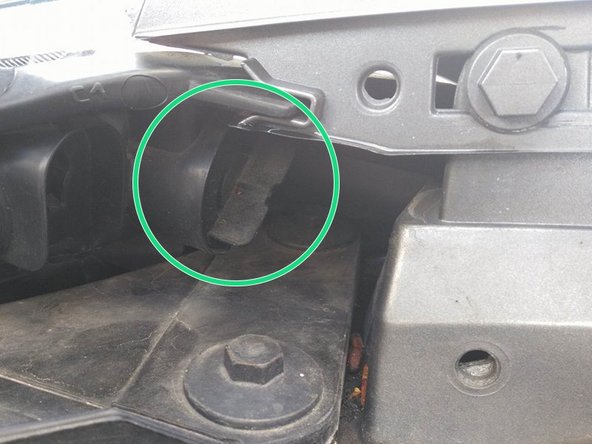
Repérer l'emplacement de l'ampoule de clignotant à changer.
-
Repérer derrière le cache situé juste derrière l'ampoule à remplacer.
-
-
-
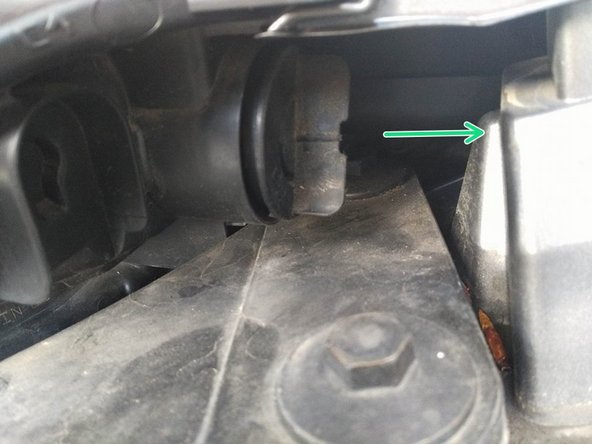
Tourner le support vers vous (même principe qu'une vis) afin de le déclipser.
-
Une fois le support déclipsé, le sortir de son emplacement.
-
-
-
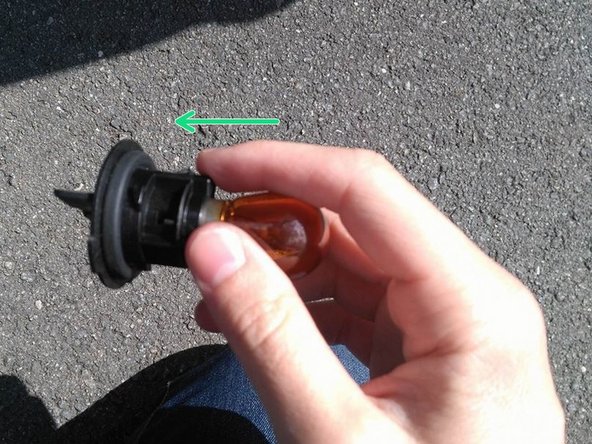
Pousser et tourner en même temps l'ampoule dans son support afin que celle-ci en sorte facilement.
-
Comparer l'ancienne et la nouvelle ampoule (taille, douille) afin de s'assurer qu'il s'agit bien de la bonne référence.
-
Mettre la nouvelle ampoule dans le support en la poussant et la tournant jusqu'à ce celle-ci soit bien en place dans son emplacement.
-


Annulation : je n'ai pas terminé ce tutoriel.
Une autre personne a terminé cette réparation.