


Introduction
Comment changer les biellettes de barre stabilisatrice (ou de barre antidevers) sur votre véhicule,
Pour limiter les efforts de torsion sur la barre stabilisatrice, il est préférable d'avoir les deux roues avant levées.
-
-
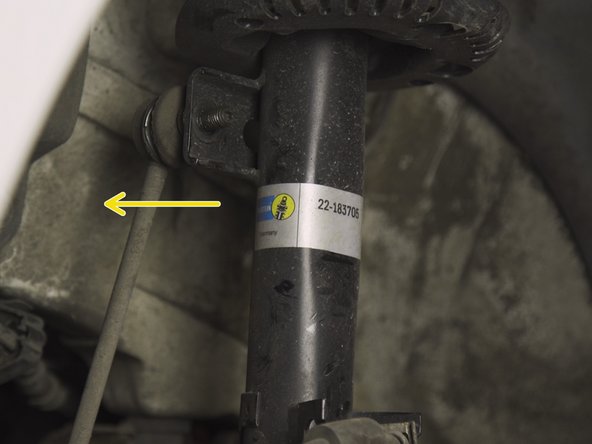
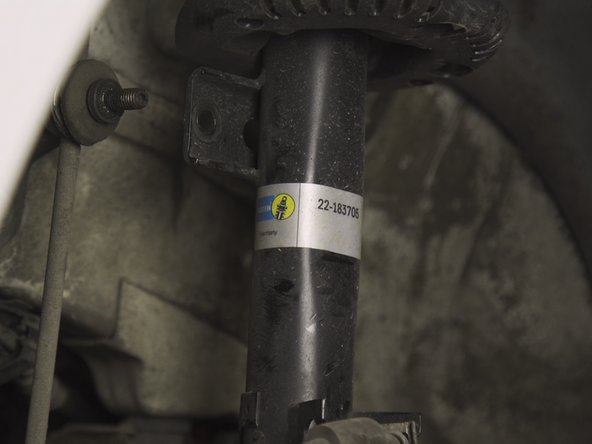
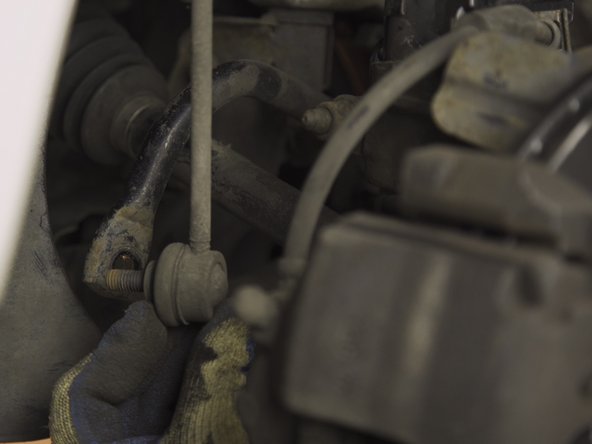
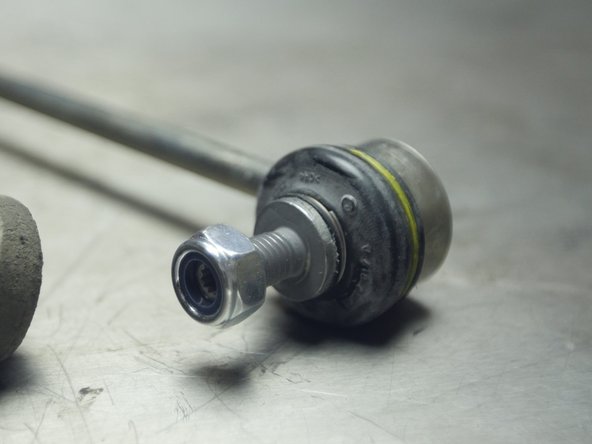
La biellette de barre stabilisatrice se trouve dans le passage de roue ; elle relie la barre antidevers à la jambe de force de votre véhicule, elle possède une rotule à chaque extrémité. La dépose de la roue et la mise en sécurité du véhicule sont obligatoires
-
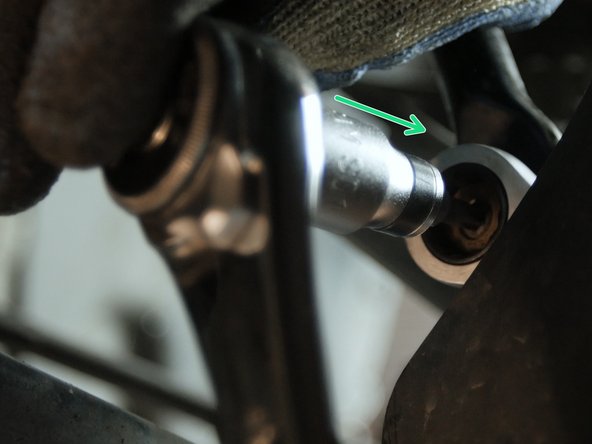
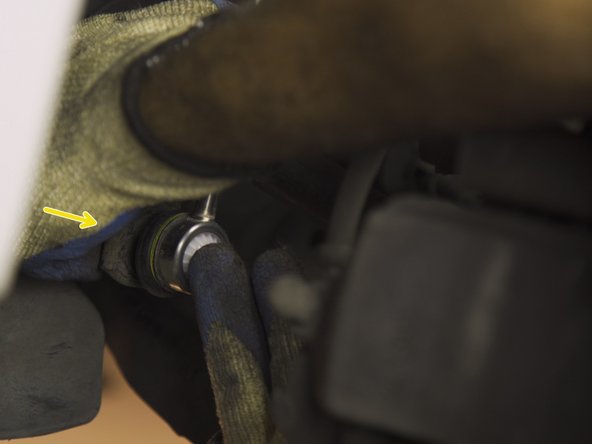
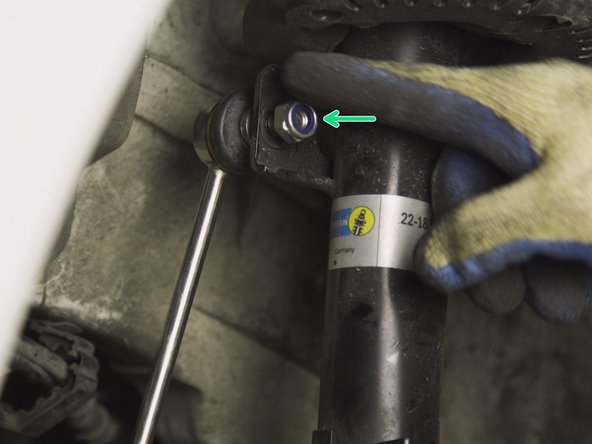
Commencer par dévisser l'écrou présent sur la jambe de force avec une clé mixte de 16
-
L'application de dégrippant sur les écrous est fortement conseillée
-
-
-
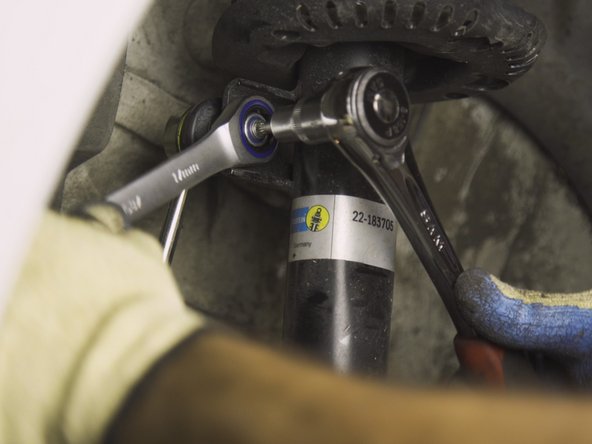
Une fois l'écrou dévissé, la rotule de biellette tournera dans le vide.
-
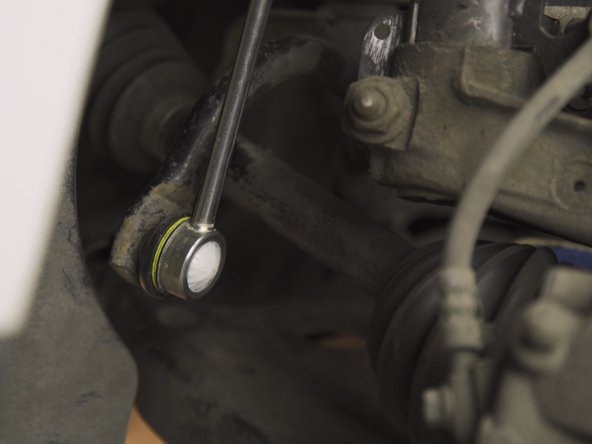
Placer un embout Torx 30 et un cliquet dans la tige filetée pour bloquer la rotule et déposer l'écrou
-
Retirer l'écrou
-
-
-
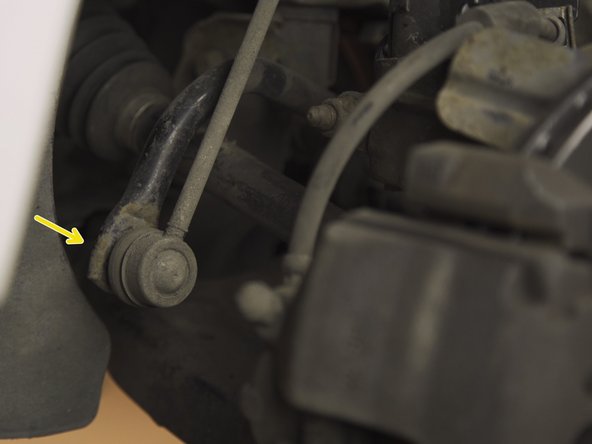
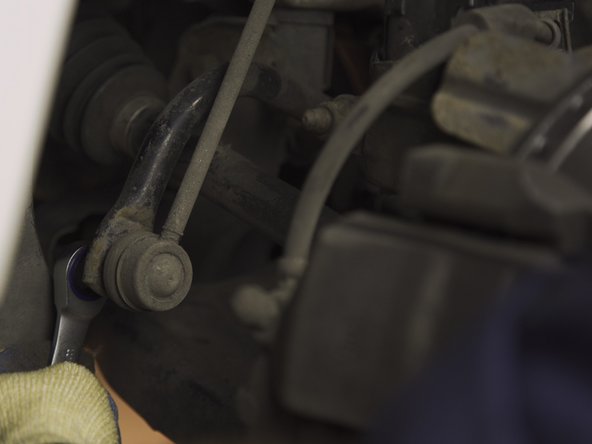
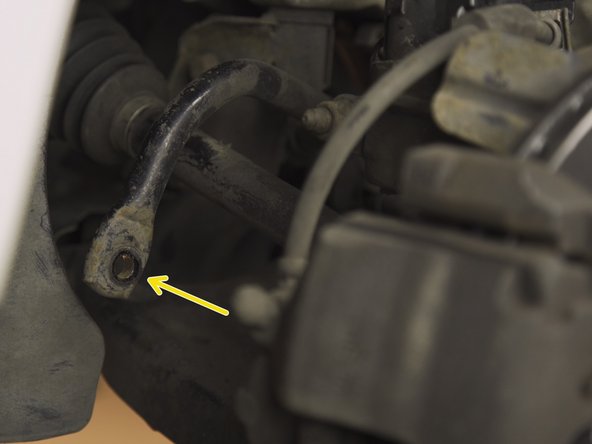
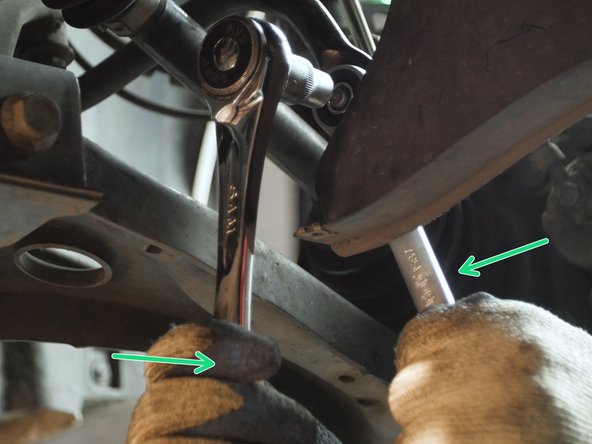
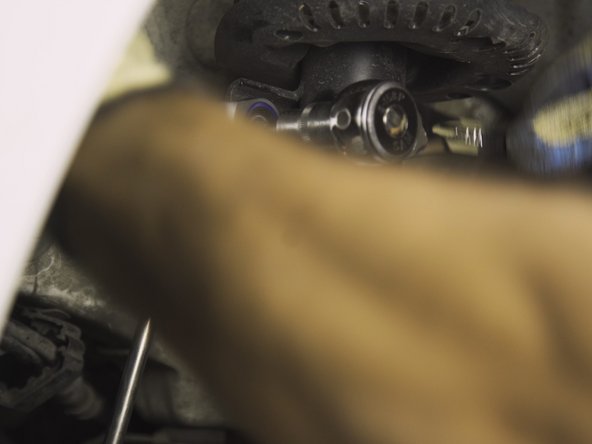
Placer la clé mixte de 16 sur l'écrou se trouvant derrière la rotule, en bas de la biellette
-
Desserrer l'écrou jusqu'à ce que la rotule tourne avec l'écrou
-
-
-
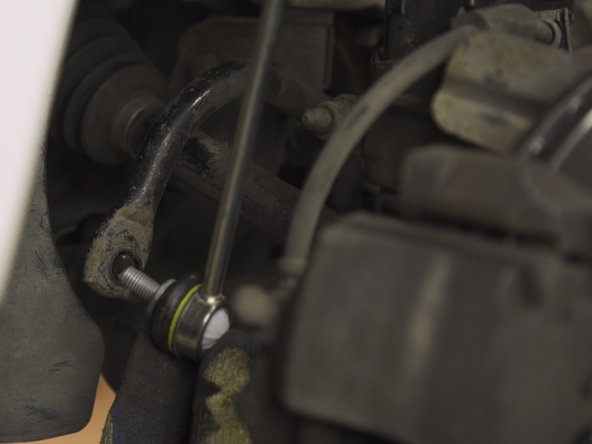
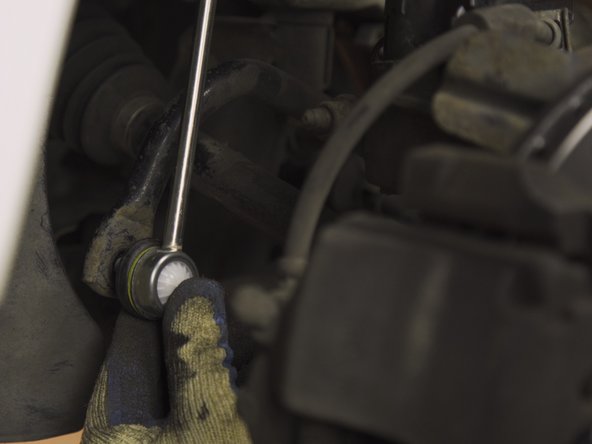
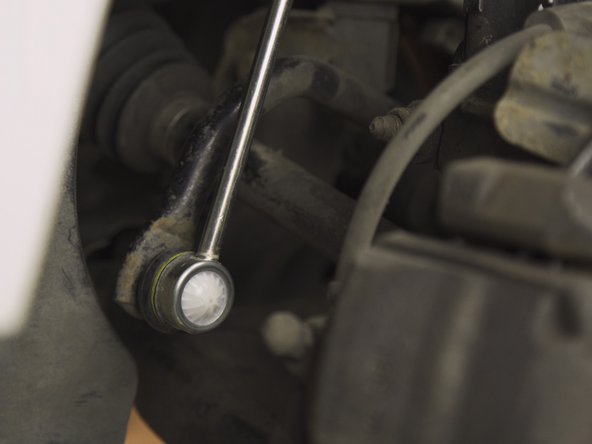
Placer l'embout Torx 30 dans la tige filetée pour bloquer la rotule et dévisser l'écrou
-
Tirer sur la biellette pour la déposer
-
-
-
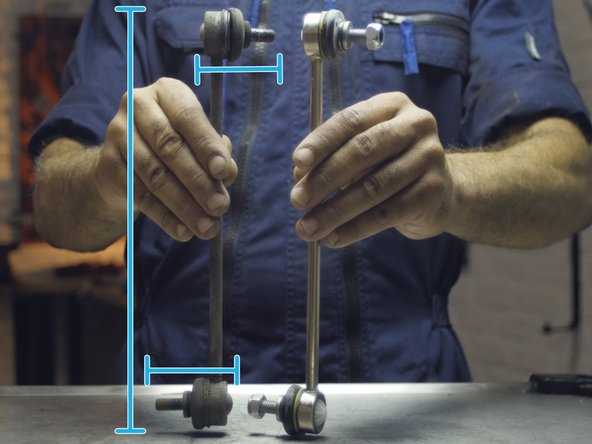
Comparer les dimensions de la nouvelle biellette par rapport à l'ancienne
-
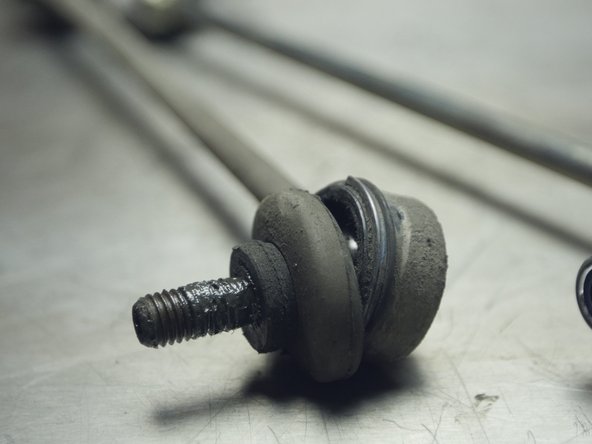
Exemple d'une rotule de biellette usée et d'une rotule neuve
-
-
-
Insérer la tige filetée de la nouvelle biellette dans la barre antidevers
-
Les biellettes de barre stabilisatrice peuvent avoir un sens de montage haut/bas et même gauche/droite sur votre véhicule. Ces informations sont présentes sur l'emballage de la pièce
-
-
-
Placer l'écrou sur la tige filetée
-
Resserrer l'écrou de la tige avec une clé mixte de 17 et l'embout Torx 30
-
Les nouvelles biellettes peuvent avoir des écrous plus gros, comme dans notre cas. Une clé mixte de 17 est maintenant nécessaire
-
Bloquer l'écrou
-
-
-
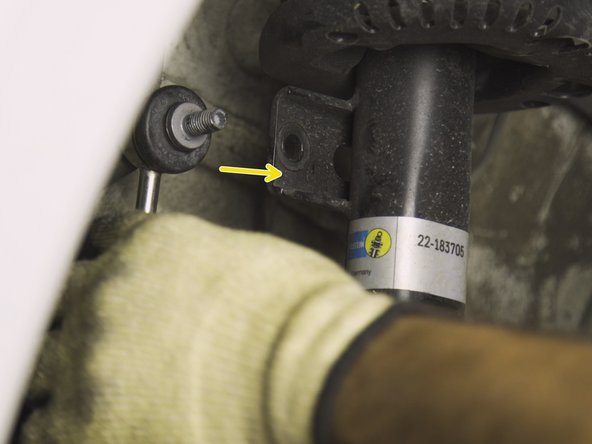
Insérer la seconde tige filetée dans l'emplacement prévu sur la jambe de force
-
Visser l'écrou sur la tige
-
-
-
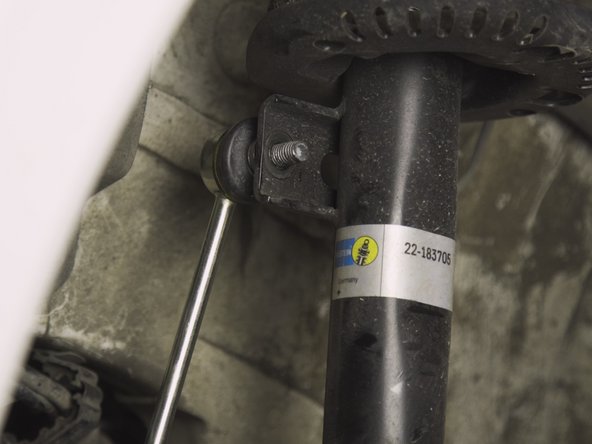
Toujours avec la même opération, resserrer et bloquer le second écrou
-
-
-
Vous pouvez tourner vos roues pour constater le bon fonctionnement de la nouvelle biellette
-


Annulation : je n'ai pas terminé ce tutoriel.
6 autres ont terminé cette réparation.

Équipe

7 commentaires
cette opération nécéssite t-elle un controle de parallélisme?