


Difficulté
Facile
Étapes
8
Temps nécessaire
00:25:00

Ce tutoriel a été créé par la communauté
User contributed
Outils
Pièces
-
-
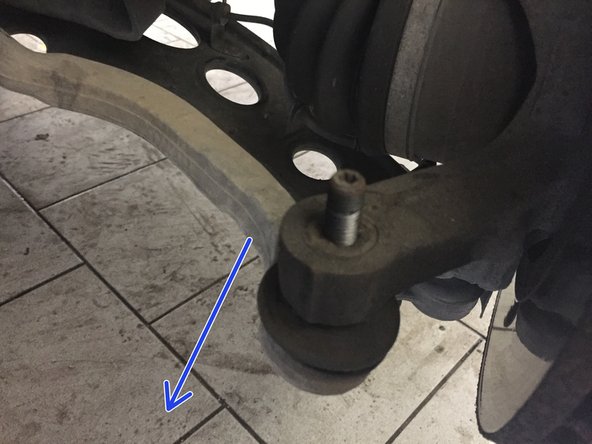
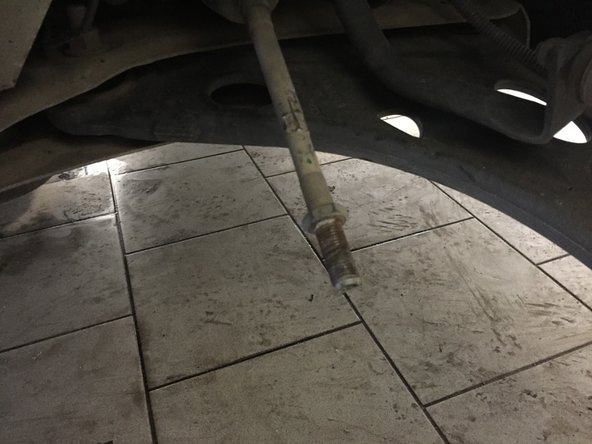
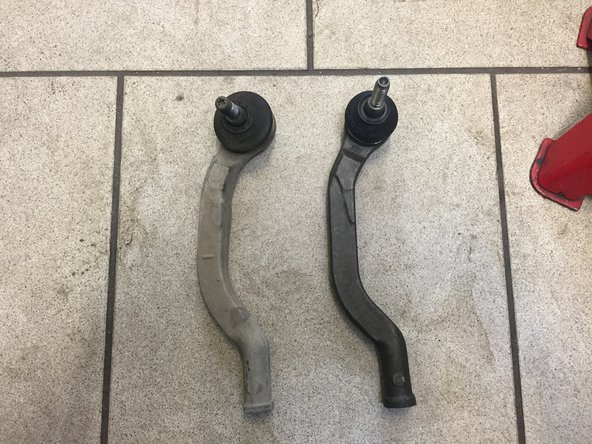
Monter la rotule
-
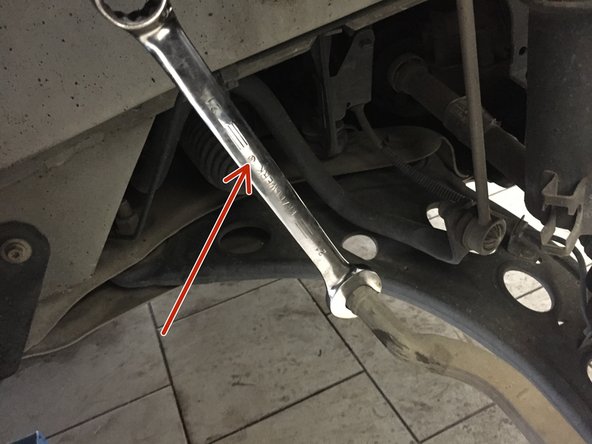
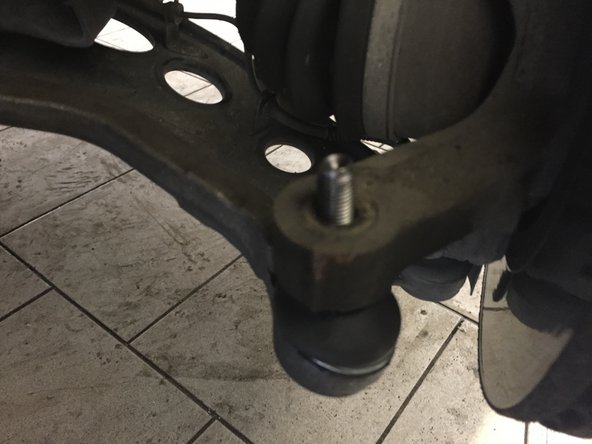
Serrer l'ecrou de 16
-
Serrer l'ecrou de 21
-
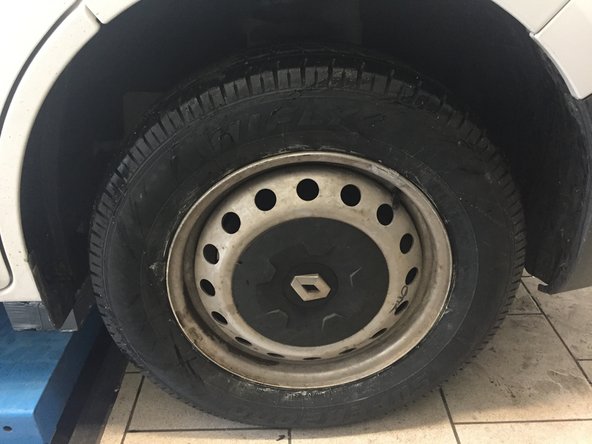
Remonter la roue
-
Faire régler la parallélisme par un garage
-


Faite régler la géométrie par un professionnel
Faite régler la géométrie par un professionnel
Annulation : je n'ai pas terminé ce tutoriel.
2 autres ont terminé cette réparation.
Un commentaire
Et la principale manipulation de ce tuto QUI A ETE OUBLIEE est surtout qu’il faut compter les tours quand vous dévissez la rotule de direction sinon pour aller faire la géométrie, vous risquez d’avoir un gros problème pour rouler en y allant!!
Frédéric GAY - Résolu à la publication Réponse