


Difficulté
Facile
Étapes
5
Temps nécessaire
00:10:00

Ce tutoriel a été créé par la communauté
User contributed
Introduction
Voici un tutoriel pour changer seul son bloc d'optique arrière (gauche ou droite) de votre Renault Twingo Phase 2 (2007 à 2011)
Matériel nécessaire :
- Un bloc optique neuf de Renault Twingo 2
- Une pince multiple (ou clé plate 10)
Outils
Pièces
-
-
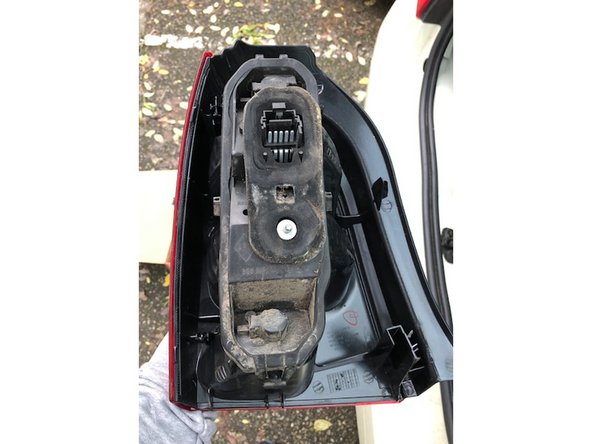
Pour démonter votre optique arrière il faut dans un premier temps accéder à la partie arrière de l'optique. Pour cela, il suffit d'ouvrir votre coffre et de regarder derrière le bloc.
-
Dans l'ordre, il faut débrancher la prise électrique des lampes (faire pression au dessus de la fiche (1) puis tirer la fiche (2). Ensuite, dévisser la rondelle (3) à l'aide d'une clé plate (taille 10) ou bien d'une pince multiple.
-
-
-
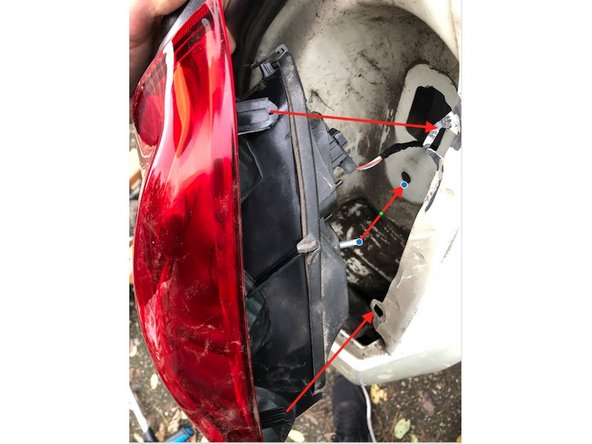
Une fois la fiche débranché et l'écrou dévissé, il suffit de tirer l'optique (tirer droit vers vous sans secousses).
-
-
-
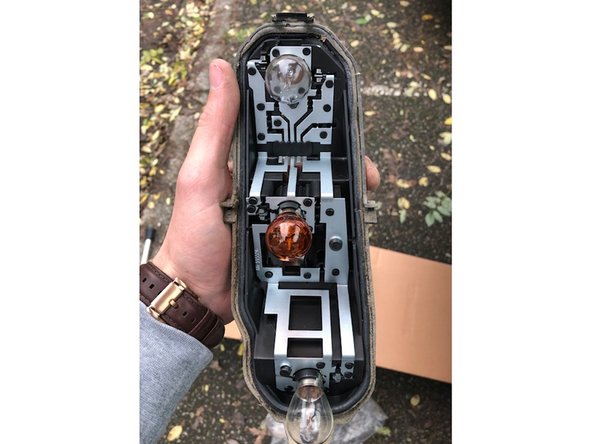
Enlever et récupérer le cercle de protection en mousse. Ensuite démonter le support des ampoules. Pour cela, il y a 2 ergots situés en haut et en bas de l'optique (voir cercles rouges sur la photo)
-
-
-
Remettez le support d'ampoules sur le nouveau bloc optique. Il suffit de clipser les 2 ergots en haut et en bas (attention à bien remettre le joint de caoutchouc pour assurer une bonne étanchéité). Ensuite, remettre la mousse de protection autour de la fiche électrique (voir photo)
-
-
-
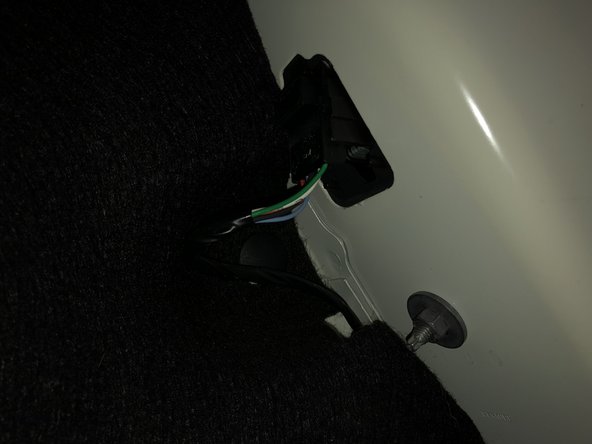
1 : Rebranchez le fiche électrique
-
2 : Positionnez correctement l'optique. Pour cela, il suffit de viser correctement les 2 ergots en plastique et le trou au milieu pour positionner la vis
-
N'oubliez pas de visser l'optique avec votre clé plate ou clé multiple. Ne pas forcer ! Le bloc rentre tout seul.
-
Vérifier vos lampes (feu, frein et clignotant)
-


Annulation : je n'ai pas terminé ce tutoriel.
3 autres ont terminé cette réparation.
Un commentaire
bonjour
j’aurais besoin des écrous de 10 qui serve a tenir les feux arrière mais je les trouvent pas en vente sur ce site ,a moins que j’ai pas bien regarder .avez vous une connaissance ,une adresse ,un site qui pourrais me les vendre svp ? merci par avance