


Difficulté
Modérée
Étapes
6
Temps nécessaire
01:00:00

En cours
Ce tutoriel est en cours de création. Revenez de temps en temps pour voir les modifications.

Ce tutoriel a été créé par la communauté
User contributed
-
-
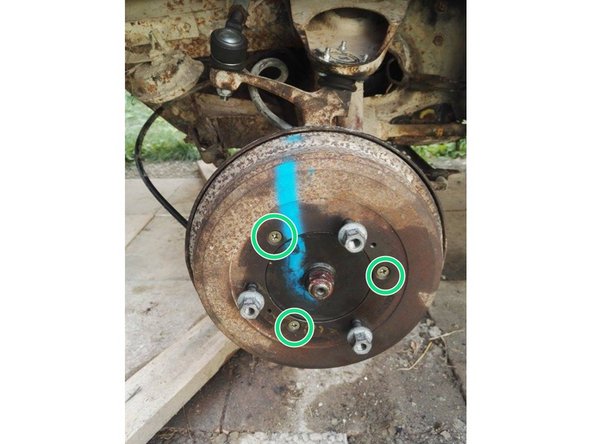
Véhicule au sol, desserrer d'un tour les écrous de fixation de la roue
-
Lever le véhicule, sécuriser le levage à l'aide d'une chandelle et terminer la dépose de la roue
-
-
-
Dans le cas de rattrapage manuel, dévisser les 2 excentriques à 'laide d'une clé carré (1/2 tour vers le haut)
-
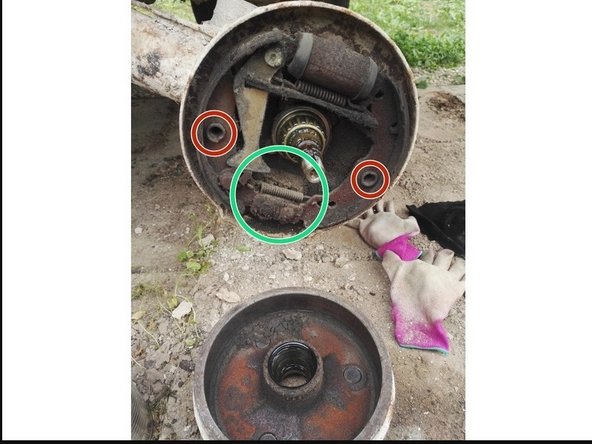
Repérer la position du tambour et dévisser les 3 vis cruciformes de maintiens du tambour et l'extraire en tirant vers soit (Le tambour, pas les goujons !)
-
-
-
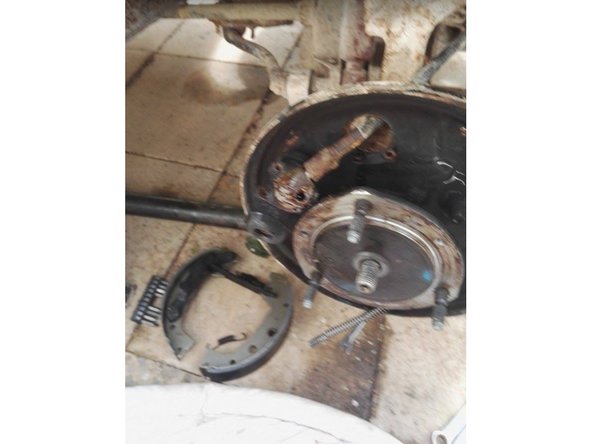
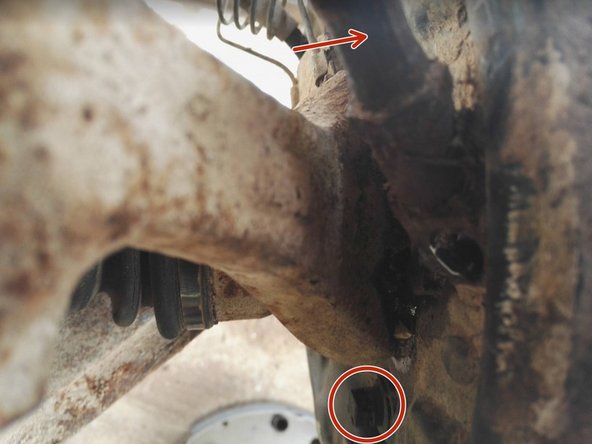
Déposer les 2 machoires (même technique pour l'arrière, insérer un tournevis dans le ressort pour le déconnecter CF photo 2), déconnecter le ressort inférieur et déposer les mâchoires
-
-
-
-
Desserer simplement le flexible de frein (sans la dévisser)
-
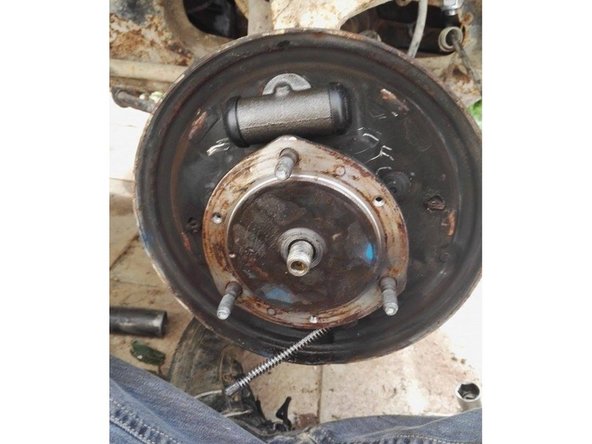
Dévisser les 2 vis de maintiens du cylindre de roue
-
Pousser le cylindre de roue vers l'intérieur de la flasque puis terminer le dévissage du flexible en tournant le cylindre de roue
-
Mettre en place le nouveau cylindre de roue de la même manière, visser d'abord le flexible (en prenant bien soin de changer le joint cuivre) puis le fixer à l'aide des 2 vis sur la flasque. Terminer le serrage du flexible à l'aide d'une clé plate
-
-
-
Comme pour l'arrière, remontez les mâchoires en prenant soin de déconnecter les ressorts (inférieur/supérieur) pour pouvoir les mettre en place, et les reconnecter une fois les mâchoires dans la flasque. (CF Etape 6 mâchoires arrières)
-
Ré-accrocher les mâchoires à l'aide des 2 ressorts (Utiliser la même technique du tournevis)
-
Remonter le tambour et revisser les vis cruciformes
-
Terminer par resserer les excentriques (en tournant vers le bas). Commencer par celui de derrière (côté voiture) puis l'avant (coté pare choc). Les resserrer jusqu'à sentir un frottement dans le tambour puis desserrer légèrement.
-
-
-
Effectuer une purge du liquide de frein.
-
Remonter les roues, les serrer, reposer le véhicule au sol et contrôler le serrage des roues.
-
-


Annulation : je n'ai pas terminé ce tutoriel.
Une autre personne a terminé cette réparation.