Introduction
Si votre freinage n'est plus efficace mais que vos garnitures de frein ne sont pas usées, le problème vient sûrement du liquide de frein.
Il faut alors le purger afin de retirer les bulles d'air et l'eau qui peuvent se trouver dans le circuit.
Il est recommandé de changer ce liquide tous les deux à quatre ans en fonction des préconisations du constructeur, car il est sensible à l'humidité.
-
-
Pour commencer, ouvrez le capot et localisez le réservoir de liquide de frein.
-
Dévissez et ouvrez le bouchon. Attention, le liquide de frein est très corrosif, il ne doit pas entrer en contact avec la carrosserie !
-
Si le bocal est plein, videz-le au maximum à l'aide d'une seringue.
-
-
-
A l'aide d'un entonnoir, remplissez le bocal jusqu'à la marque "Maxi" avec le nouveau liquide de frein. Attention, ça se remplit vite !
-
Pensez à vérifier la compatibilité. Sur Twingo 1, le DOT 4 convient parfaitement. 1L suffit amplement !
-
-
-
Nous sommes maintenant prêt à purger le circuit.
-
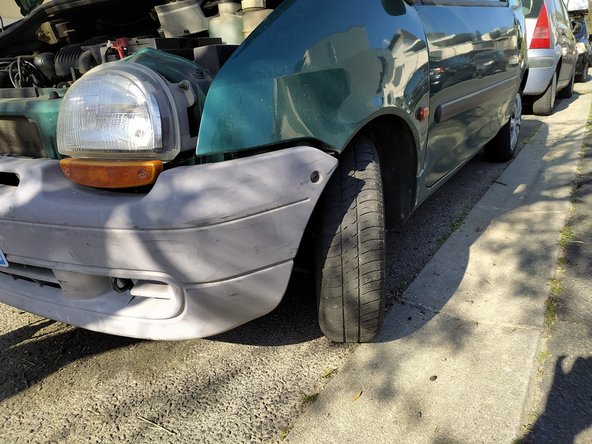
Un ordre précis est impérativement à respecter. Sur Twingo 1 Phase 1, il est le suivant : roue arrière droite, roue avant gauche, roue arrière gauche, roue avant droite.
-
Pour plus de facilité, vous pouvez bien-sûr lever la voiture et retirer les roues. Mais cela n'est pas forcément nécessaire pour réaliser cette opération !
-
-
-
Nous commençons par l'arrière droit. Localisez la vis de purge, puis, à l'aide d'un tournevis plat, retirez précautionneusement le cache plastique.
-
La vis de purge est maintenant accessible.
-
-
-
Nous allons maintenant commencer à purger le circuit. Nous aurons besoin d'une deuxième personne qui appuiera sur la pédale de frein quand ce sera nécessaire.
-
Deux méthodes sont possibles : Connecter le tuyau sur la vis, puis utiliser une clé plate de 8 pour dévisser la vis.
-
Sinon, utilisez une clé à cliquet avec une douille de 8 pour débloquer la vis, puis connecter le tuyau, et continuer à dévisser à la main.
-
Il n'est pas nécessaire de beaucoup dévisser la vis. Un quart voir un demi tour suffit.
-
Placer l'autre extrémité du tuyau dans un récipient pour récupérer le liquide usagé.
-
-
-
La personne au volant va maintenant pomper à répétition sur la pédale. Le liquide de frein va sortir par le tuyau. Maintenez bien le tuyau sur la vis.
-
Quand il n'y a plus de bulles et que la couleur change, c'est qu'il n'y a plus d'ancien liquide. Tout le circuit est remplit par le nouveau.
-
La personne au volant maintient alors la pédale enfoncée, pendant que vous revissez la vis. Avec une clé plate de 8 directement, ou avec les doigts puis avec une douille.
-
La personne peut alors relâcher la pédale. Replacez le cache plastique.
-
-
-
Nous allons maintenant répéter l'opération sur la roue avant gauche. Pour plus de facilité, tournez le volant vers la gauche.
-
Procédez de la même manière : localisez la vis puis retirez le cache plastique.
-
-
-
Puis connectez le tuyau, dévissez la vis. Attendez un changement de couleur et la disparition des bulles. Maintenez la pédale enfoncée puis revissez la vis.
-
Répétez maintenant les étapes avec la roue arrière gauche, puis la roue avant droite.
-
-
-
Rajoutez du liquide de frein si besoin, pour le situer entre les niveaux minimums et maximums. Revissez le bouchon.
-
Au besoin, pompez sur la pédale pour la rendre plus dure. La purge est terminée !
-
Testez impérativement le freinage du véhicule avant de vous engager sur une route !
-
Vous avez terminé, félicitations ! Votre voiture a retrouvé un freinage efficace !
Vous avez terminé, félicitations ! Votre voiture a retrouvé un freinage efficace !
Annulation : je n'ai pas terminé ce tutoriel.
2 autres ont terminé cette réparation.


