


Difficulté
Facile
Étapes
12
Temps nécessaire
00:30:00

Ce tutoriel a été créé par la communauté
User contributed
Introduction
Les étapes 1 à 6 concernent le changement du feu uniquement. Pour changer une ampoule, suivre les étapes du tutoriel dans l'ordre suivant:
1 à 4 (démontage du feu)
7 à 12 (remplacement d'une ampoule)
5 à 6 (remontage du feu)
-
-
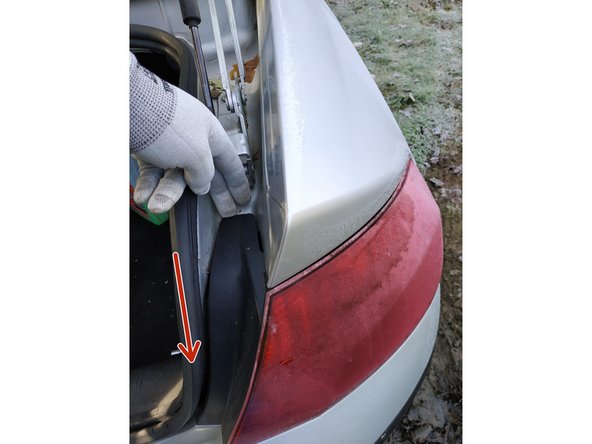
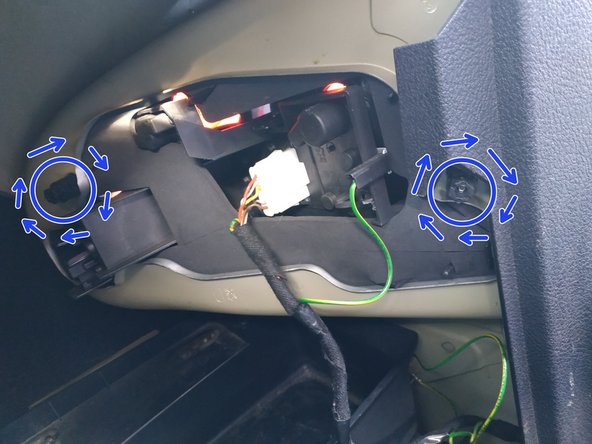
tourner les deux attaches du cache d'1/4 de tour dans le sens horaire
-
défaire le cache par le haut
-
et le faire basculer pour le retirer
-
-
-
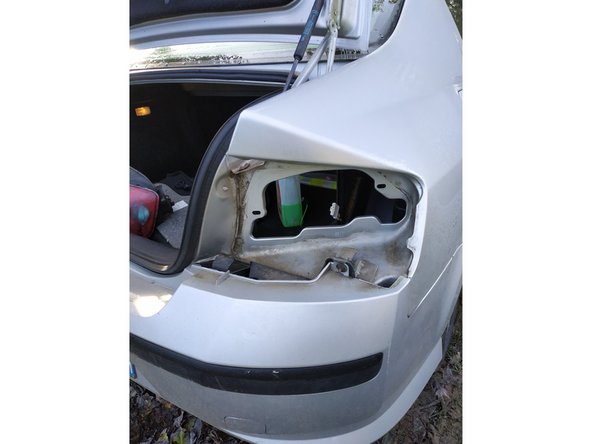
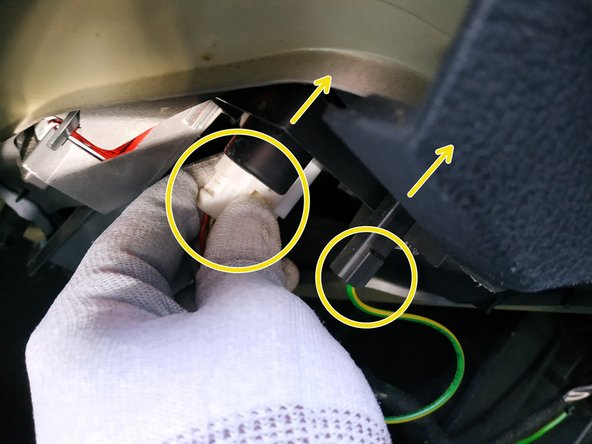
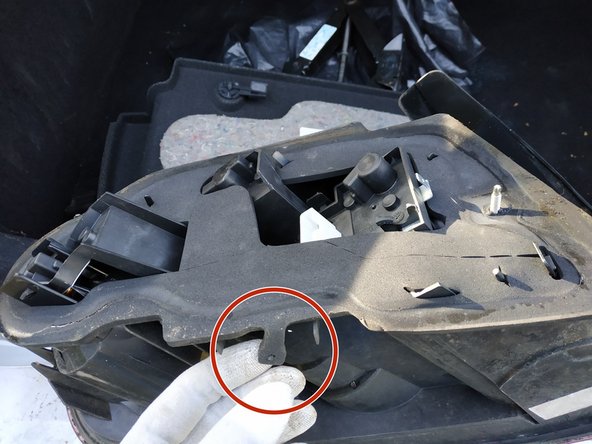
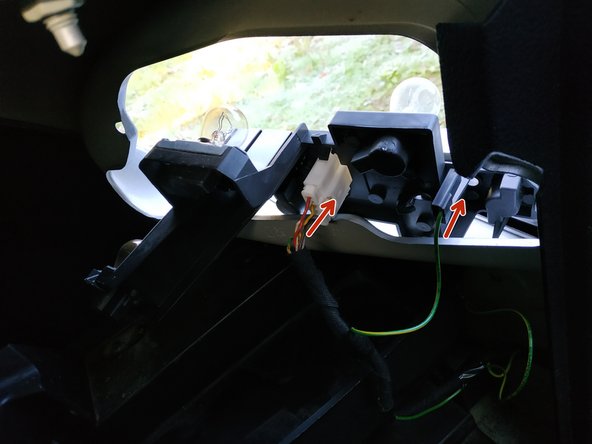
déconnecter la prise du feu en appuyant sur la languette centrale tout en tirant vers soi
-
si le feu est équipé d'une masse supplémentaire comme c'est le cas ici, la débrancher en tirant vers soi
-
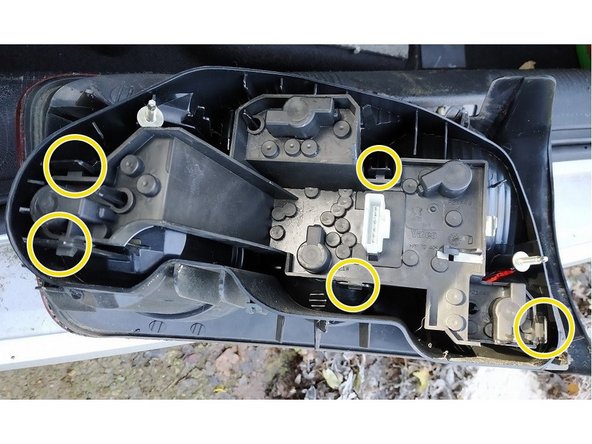
dévisser les deux écrous en plastique avec la clé de 10mm
-
-
-
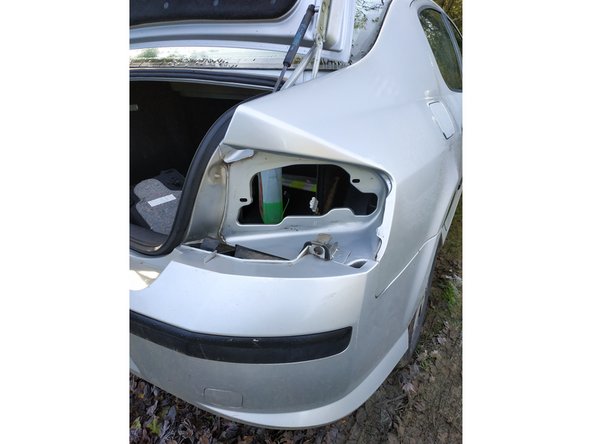
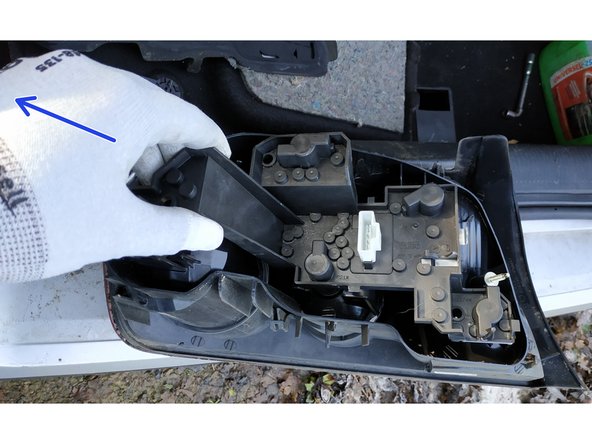
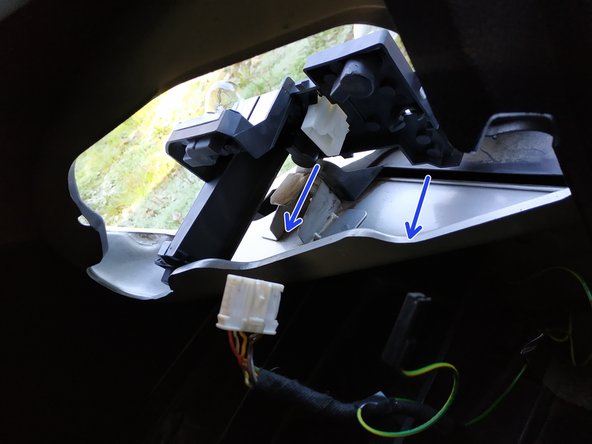
retirer le feu en tirant en arrière la partie intérieure
-
et extérieure
-
-
-
mettre le feu en place en faisant passer ses deux tiges filetées dans les emplacements de la carrosserie (c'est très simple, aucune chance de se tromper)
-
tenir le feu d'une main et reconnecter la masse et la prise du feu de l'autre main
-
vérifier que toutes les ampoules fonctionnent avant de poursuivre
-
visser les deux écrous de fixation du feu avec la clé de 10mm
-
-
-
présenter le cache par le bas
-
puis le faire basculer vers le haut
-
verrouiller les attaches en faisant 1/4 de tour dans le sens anti-horaire
-
-
-
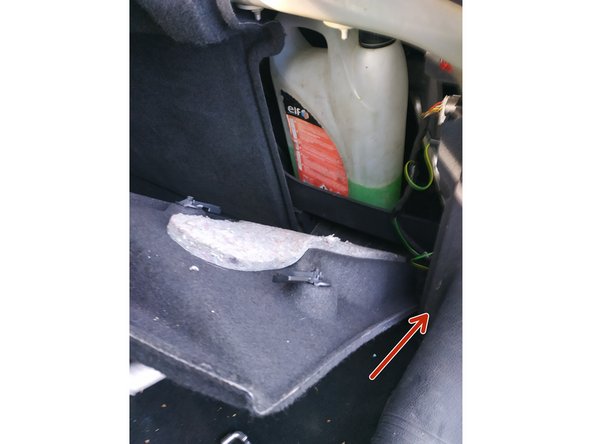
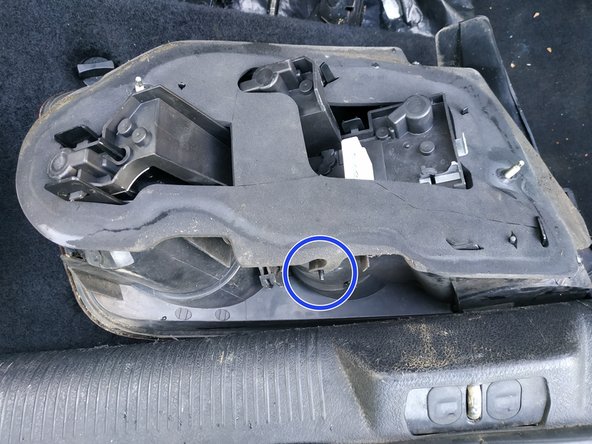
retirer le joint en mousse en commençant par le bas
-
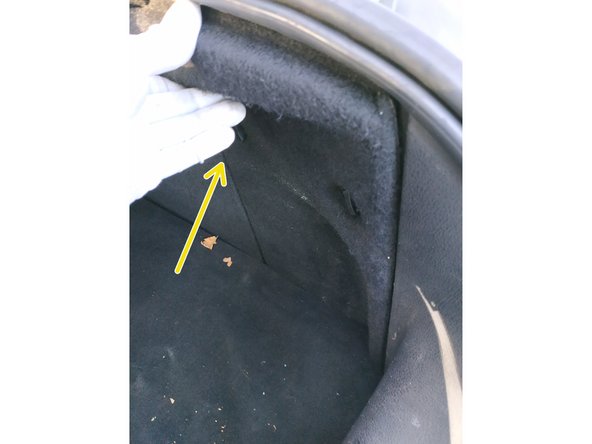
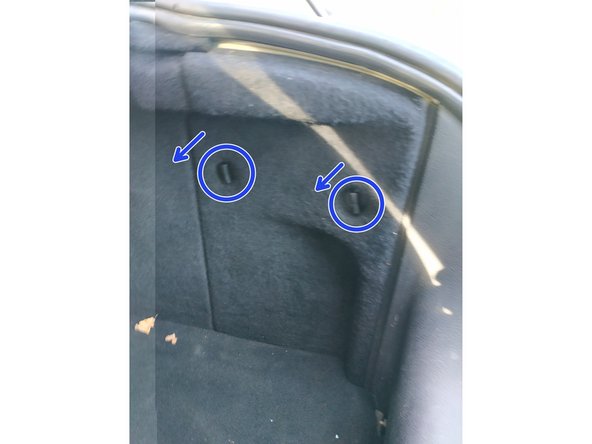
écarter les 5 clips pour libérer la platine (ne pas trop forcer)
-
tirer vers le haut pour retirer la platine
-
-
-
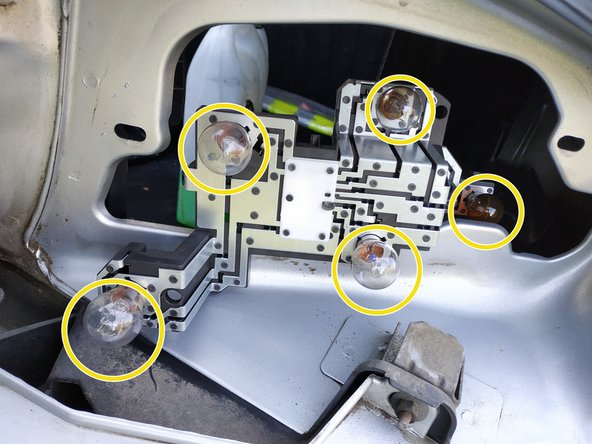
On sait en général quelle ampoule est défectueuse avant de démonter le feu mais il faut l'identifier sur la platine.
-
feu de position
-
clignotant
-
stop
-
feu de recul
-
feu antibrouillard
-
Nous avons la platine du feu droit mais ce schéma n'est pas nécessaire. On peut inspecter visuellement le filament de chaque ampoule. Un filament cassé se voit très bien en général.
-
-
-
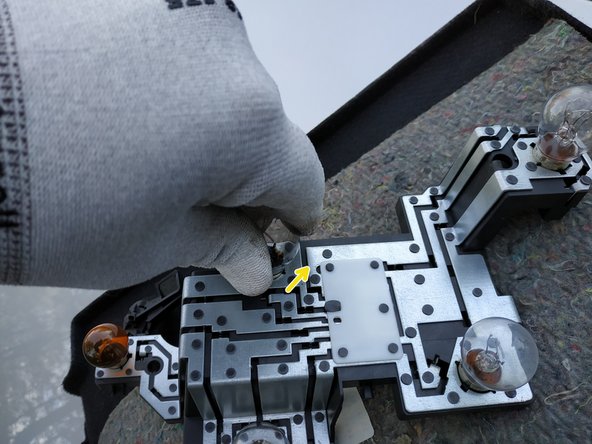
Eviter de toucher les ampoules avec les doigts. Il est préférable d'avoir des gants pour éviter de laisser des traces grasses sur le verre.
-
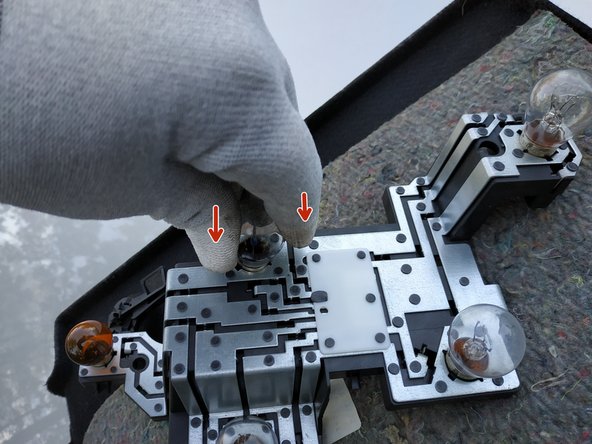
appuyer légèrement sur l'ampoule
-
et faire 1/4 de tour dans le sens anti-horaire
-
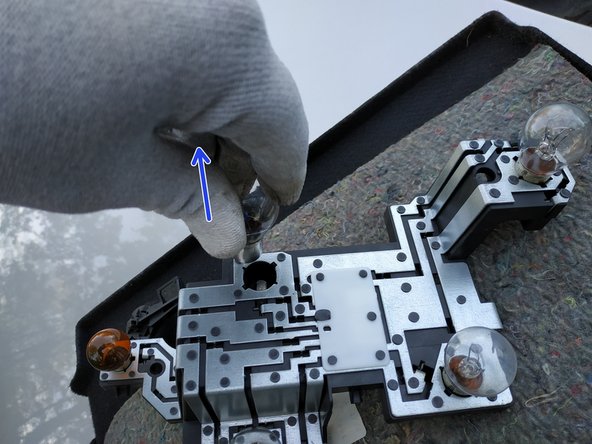
retirer l'ampoule
-
-
-
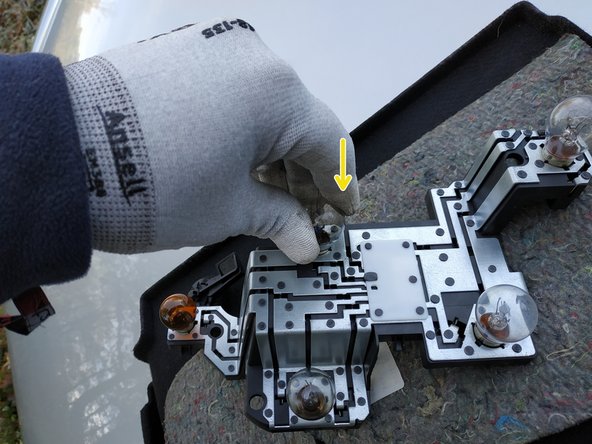
Les ampoules du feu arrière ne sont pas toutes les mêmes. On remplacera chaque ampoule défectueuse par une ampoule absolument identique.
-
insérer l'ampoule en présentant ses ergots dans dans les logements de la platine
-
appuyer légèrement
-
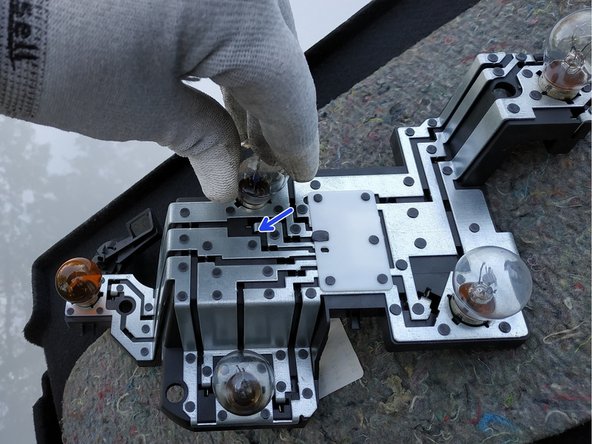
et faire 1/4 de tour dans le sens horaire
-
-
-
rebrancher la platine seule, en rentrant la fiche (on doit entendre un "clic") et le fil de masse
-
mettre le contact et tester toutes les ampoules
-
une fois qu'on sait que tout marche, couper le contact et débrancher la platine
-
-
-
présenter la platine sur le feu et appuyer dessus pour verrouiller les 5 clips
-
vérifier que les 5 clips sont bien verrouillés
-
remettre en place le joint en mousse en n'oubliant pas de rabattre la partie basse
-


Annulation : je n'ai pas terminé ce tutoriel.
Une autre personne a terminé cette réparation.