


Difficulté
Facile
Étapes
6
Temps nécessaire
00:40:00

Ce tutoriel a été créé par la communauté
User contributed
-
-
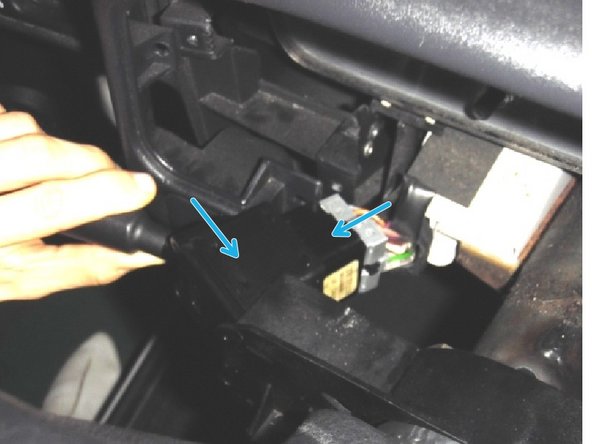
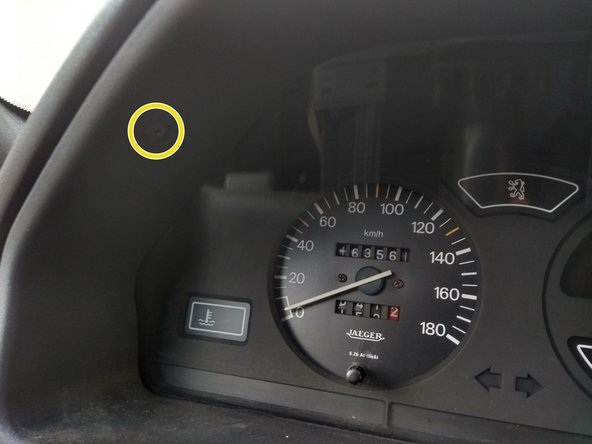
Déposer les 3 vis cerclées en bleu
-
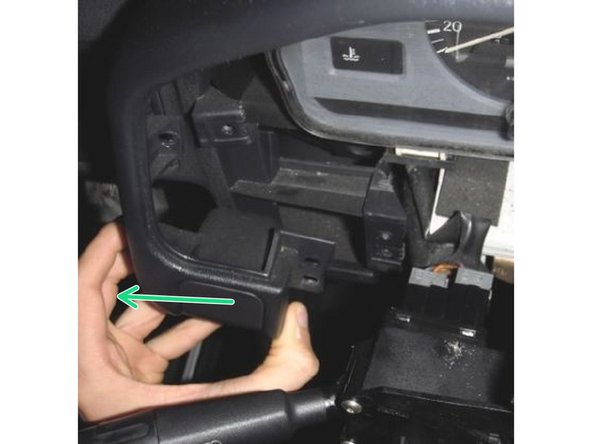
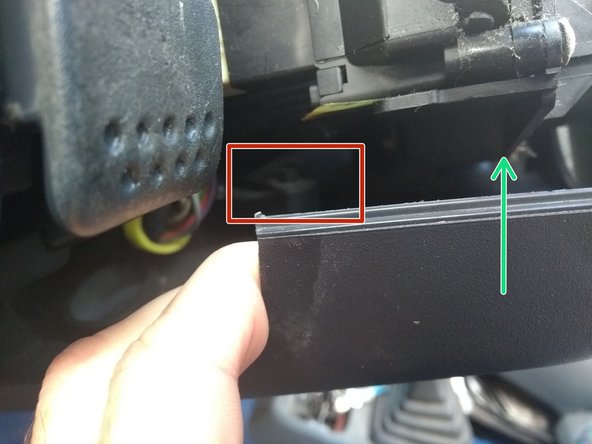
Tirer le carter vers le bas pour le déposer
-
Présence d'un ergot qui retient le carter. Aidez vous du tournevis plat pour le décaler et tirer vers le bas
-
-
-
Déposer la vis cerclée en bleu à gauche du volant à l'aide d'un tournevis cruciforme
-
Puis celle à droite
-
Déposer les vis supérieures (l'image présente celle de gauche, il y a la même à droite)
-
Déposer le cache plastique
-
-
-
Déposer les 2 vis à l'aide d'un tournevis à empreinte torx
-
Décaler le cache plastique vers la gauche pour libérer l'espace
-
tirer avec précaution pour ne pas casser le cache
-
Déposer les 2 vis à l'aide d'un tournevis à empreinte torx
-
-
-
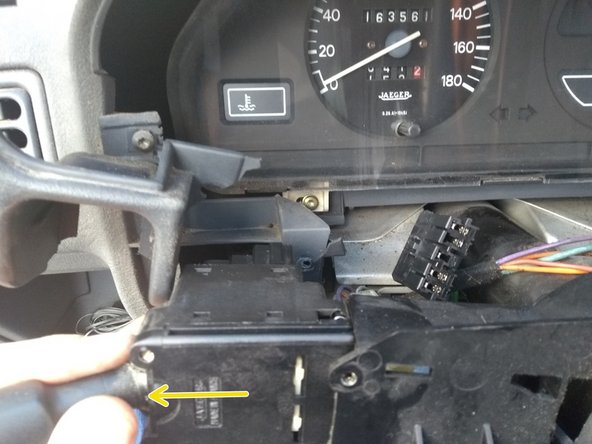
Tirer légèrement le comodo vers la gauche et dégraffer les prises
-
Faire coulisser sur le gauche et déposer
-
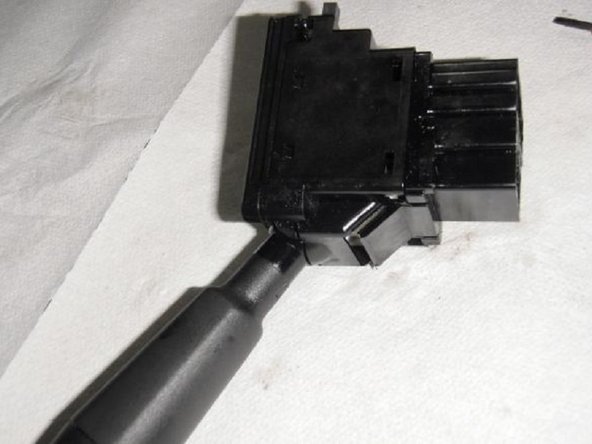
Contrôler le dimensionnel du nouveau comodo avant remontage
-
-
-
Agraffer les prises et faire coulisser le comodo
-
Resserrer les vis torx
-
Resserrer les vis torx
-


Simple mais il faut un peu de doigter
Simple mais il faut un peu de doigter
Annulation : je n'ai pas terminé ce tutoriel.
Une autre personne a terminé cette réparation.
3 commentaires
Merci pour votre tuto. Des photos et des textes simples. Moi qui n’y vois pas bien et donc pas trop adroit, j’y suis arrivé facilement. Merci encore. JM
jean-marc.sacarot - Résolu à la publication Réponse
Merci pour ce tuto hyper clair.
Facile à mettre en œuvre. Conseil également, avant de racheter un commodo en remplacement, tentez de le démonter (assez simple, trois grosses pièces s'emboîtent les unes dans les autres), car il n'y a rien d'électronique dedans. Mécanisme basique de contact électrique. Dans mon cas, il fallait nettoyer la graisse fondue avec le temps et passer un coup de chiffon sec sur le circuit pour que ça re fonctionne comme au premier jour.