


Introduction
Comment changer le radiateur (échangeur, intercooler) de turbocompresseur sur Peugeot 307 1.6HDi
Vidéo d'introduction
-
-
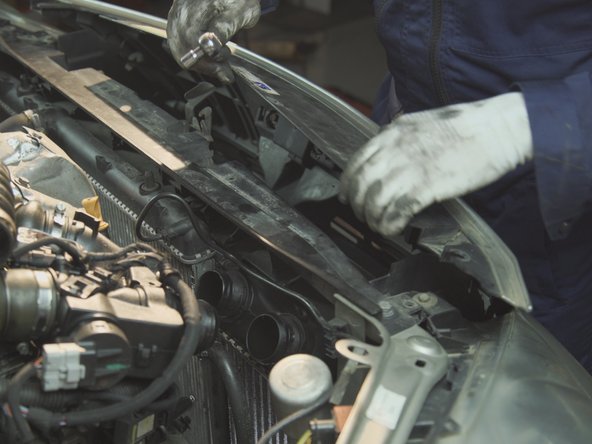
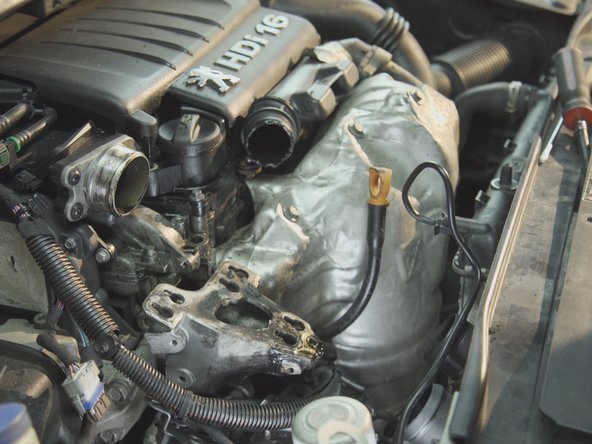
L'échangeur d'air se trouve à l'avant droit du véhicule, derrière le pare choc
-
Pour y accéder, retirer les 4 attaches présentent sur le haut du pare-choc
-
-
-
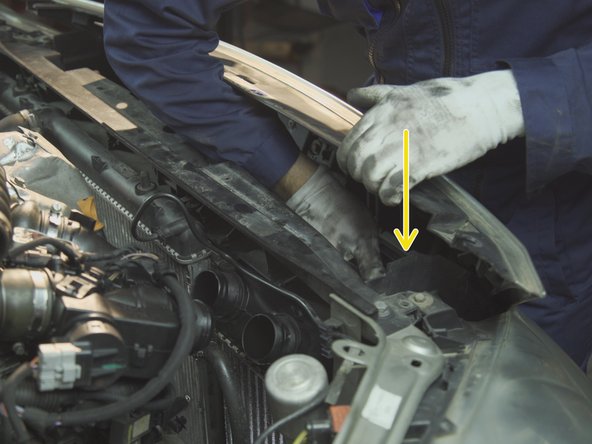
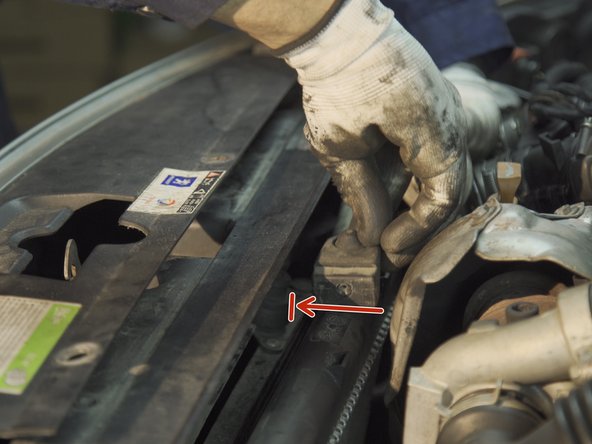
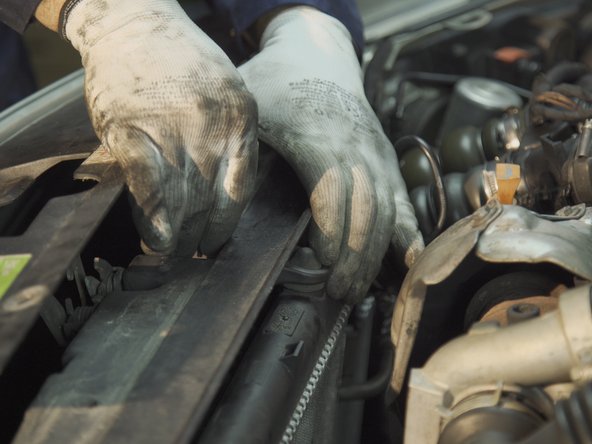
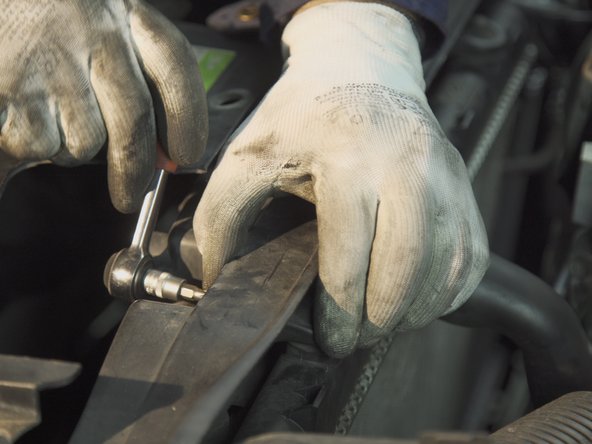
A l'aide d'un cliquet et d'un Torx de 30 desserrer et retirer la vis de maintient du radiateur moteur
-
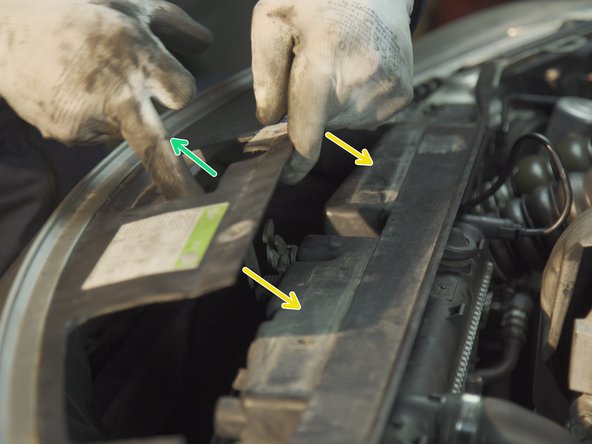
Retirer le support du radiateur en tirant dessus
-
-
-
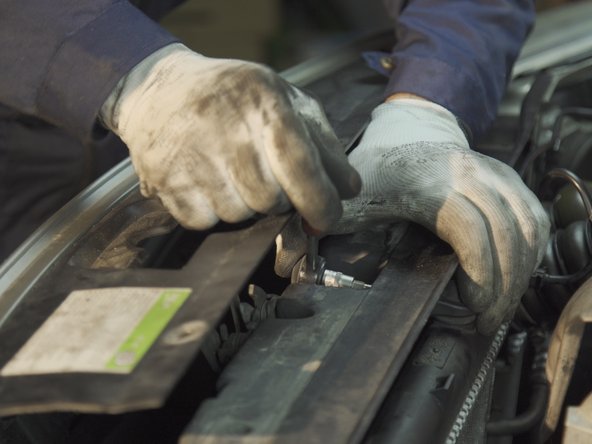
Répéter l'opération sur la seconde fixation du radiateur, placée derrière le système de verrouillage du capot
-
-
-
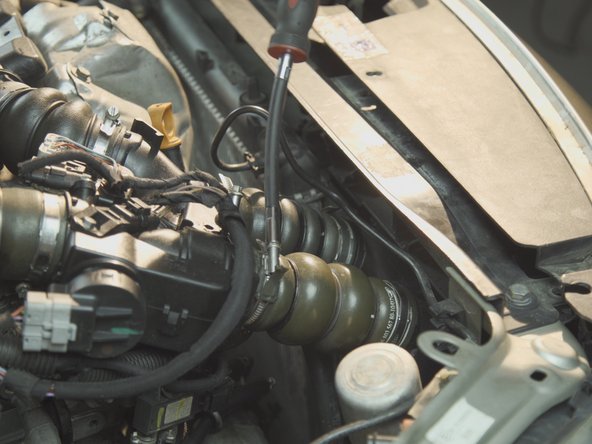
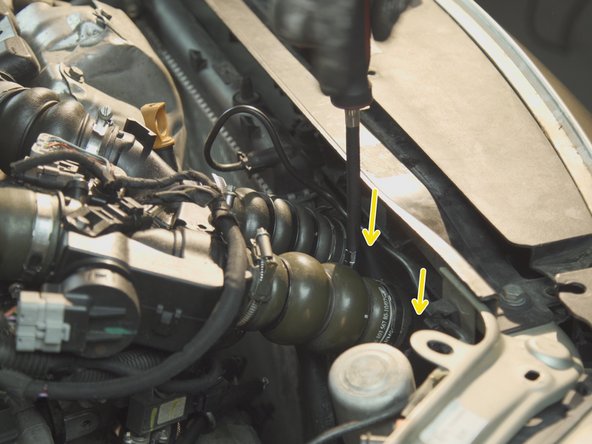
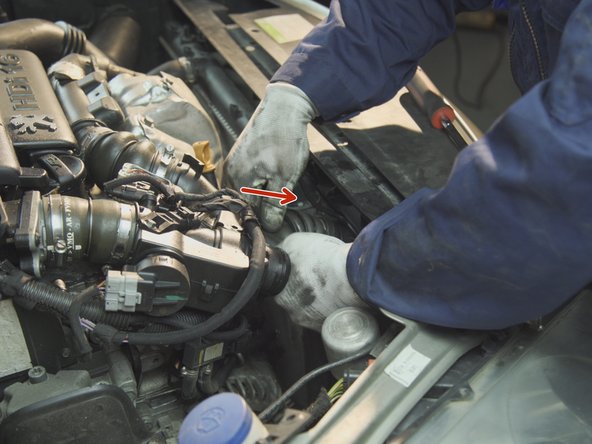
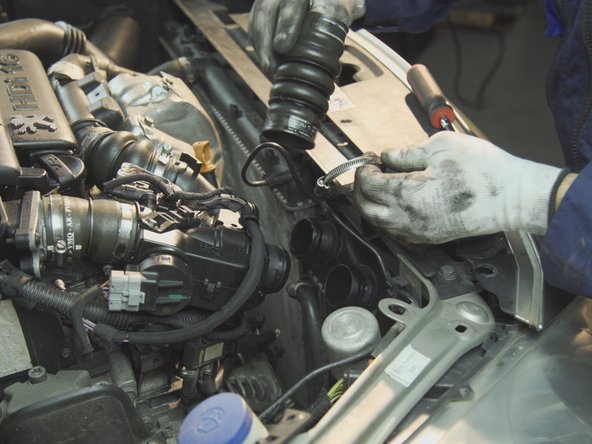
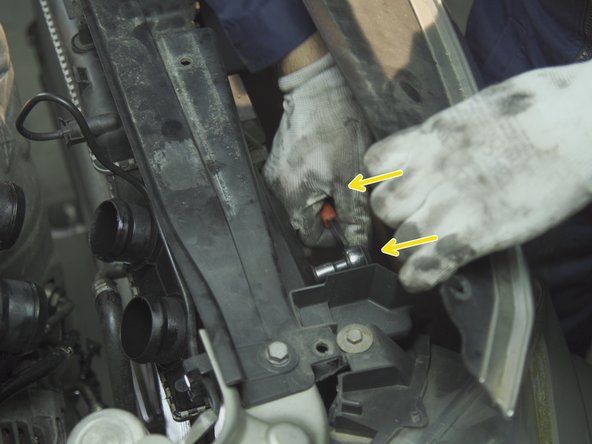
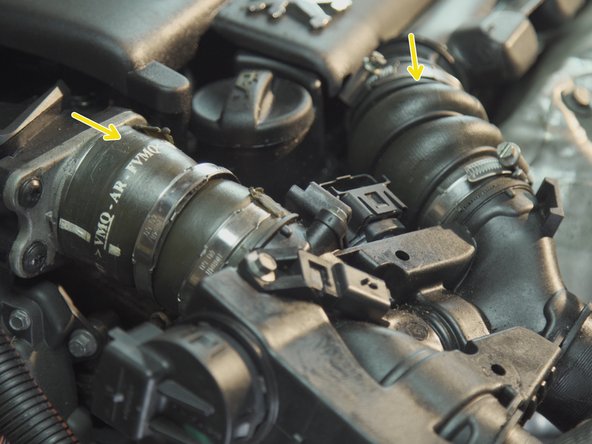
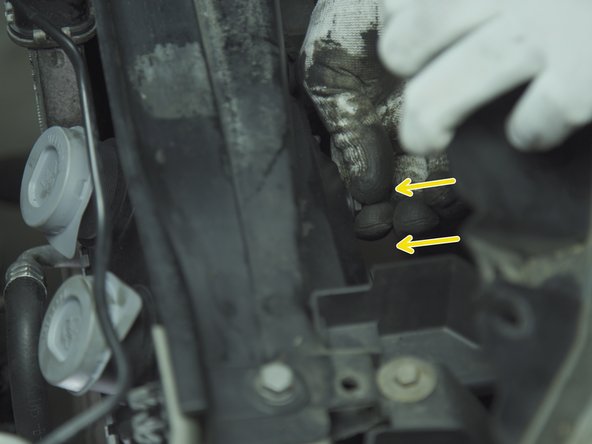
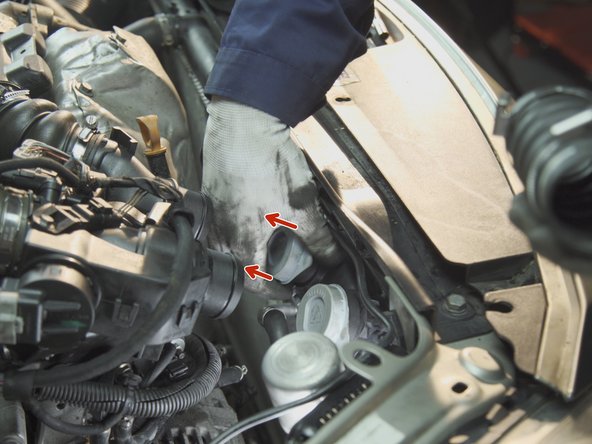
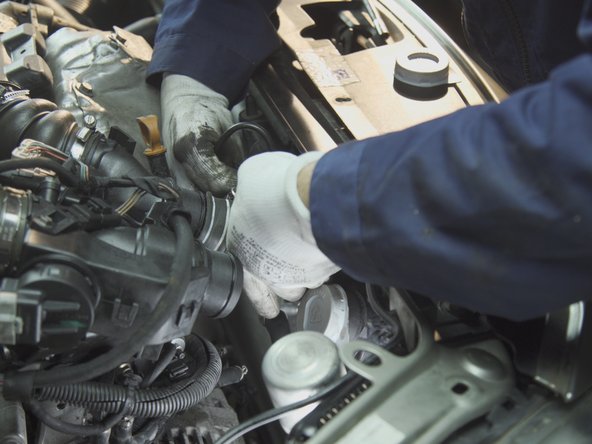
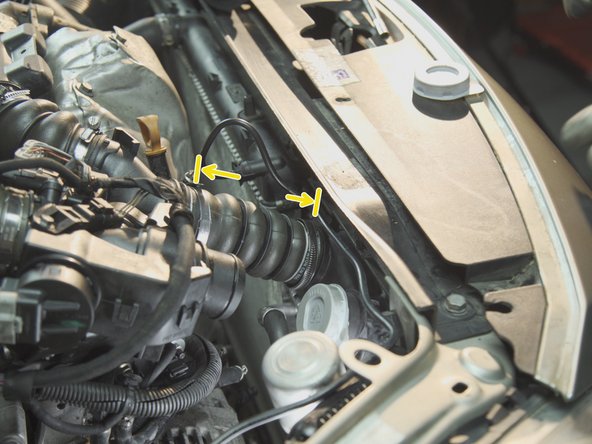
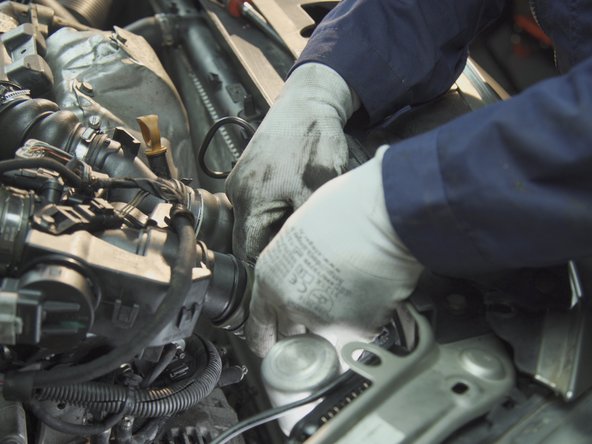
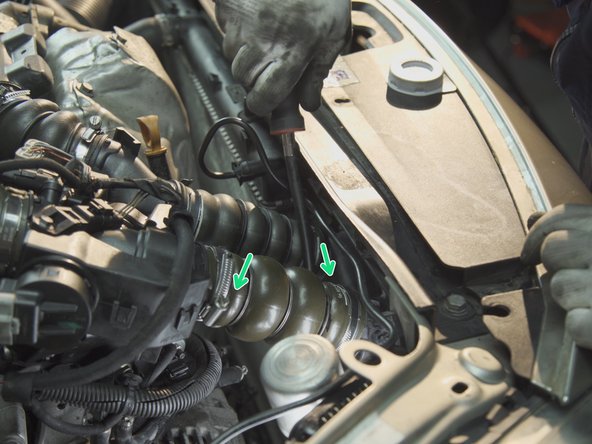
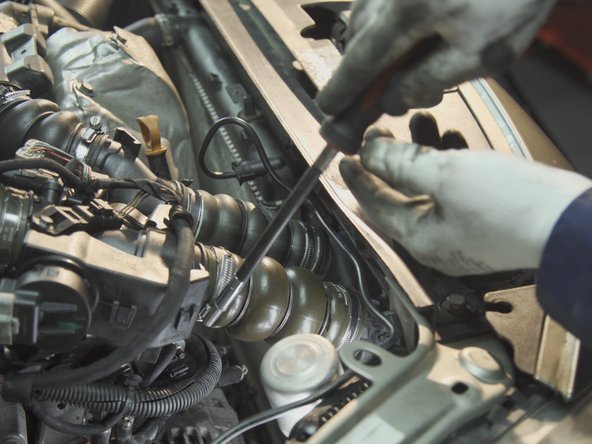
Desserrer les vis de collier des durites de l’échangeur avec un tournevis à collier de 7 ou un tournevis plat
-
-
-
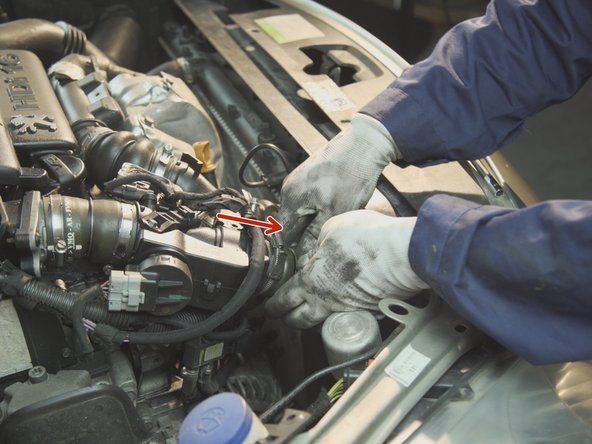
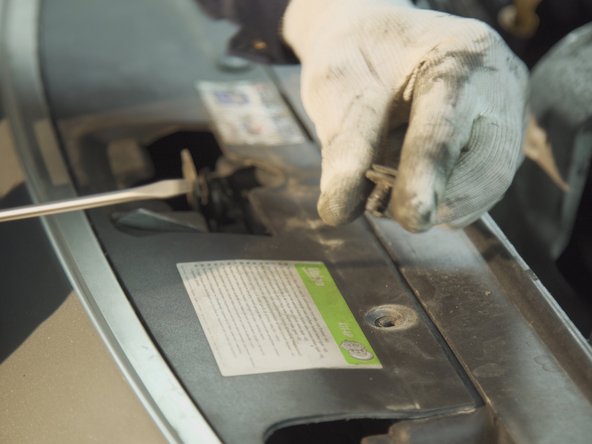
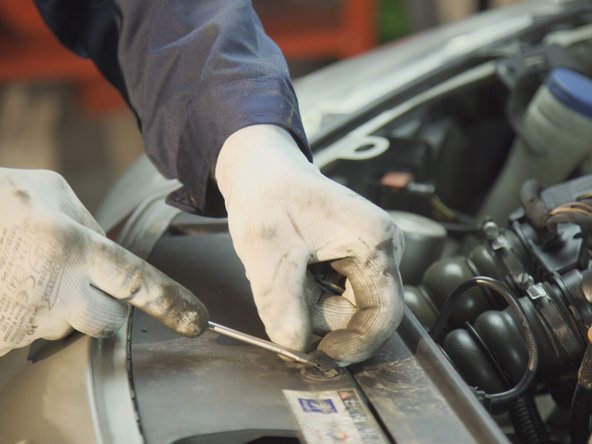
A l'aide d'un tournevis plat, faites levier sur l'agrafe de fixation du pare-choc pour la retirer
-
-
-
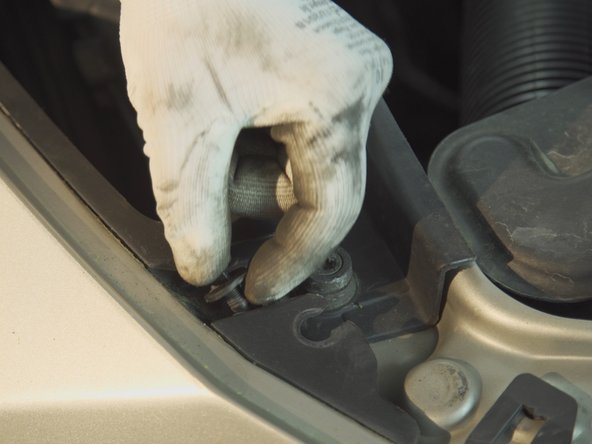
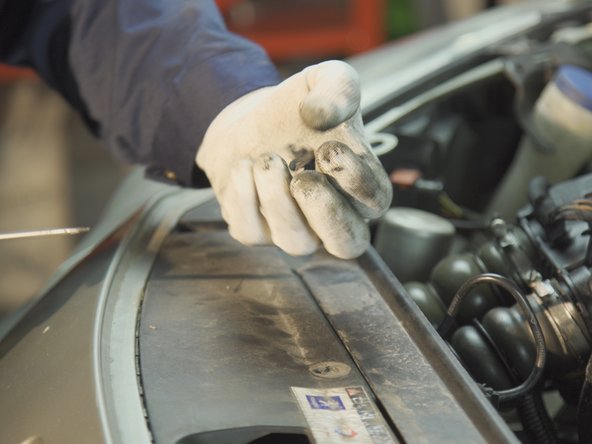
Retirer les agrafes restantes sur le pare-choc de la même manière
-
-
-
Retirer les agrafes restantes sur le pare-choc de la même manière
-
-
-
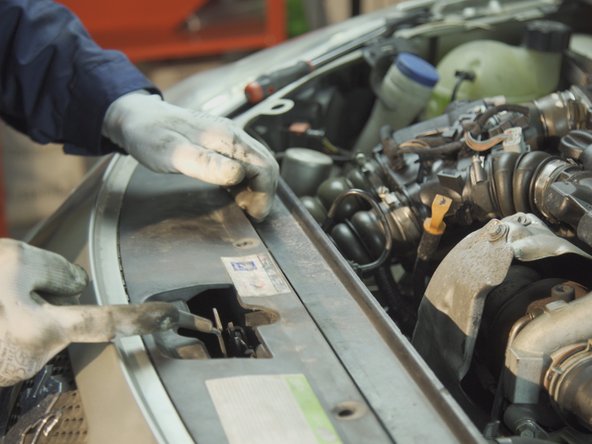
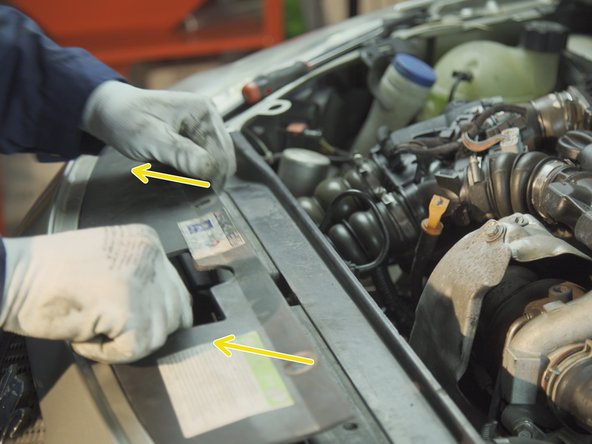
Une fois toutes les agrafes retirées, actionner le crochet d'ouverture du capot pour faire passer le pare-choc
-
Tirer le pare-choc vers l'avant
-
-
-
Une fois le pare-choc libre, l'accès aux vis du radiateur est maintenant possible
-
-
-
Le radiateur est retenu par deux vis, dévisser les avec une douille de 10
-
-
-
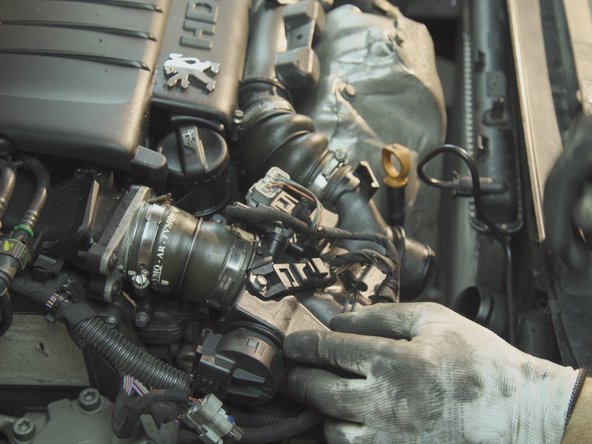
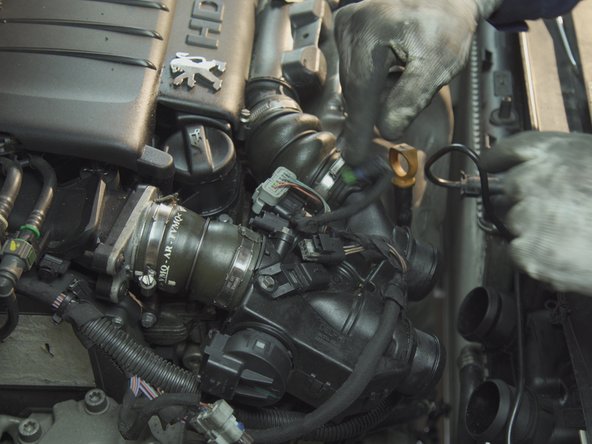
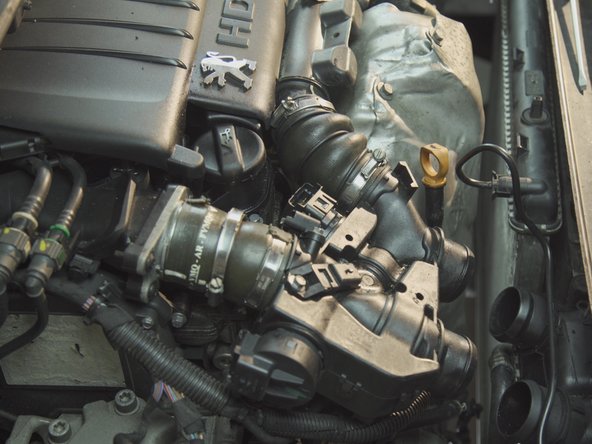
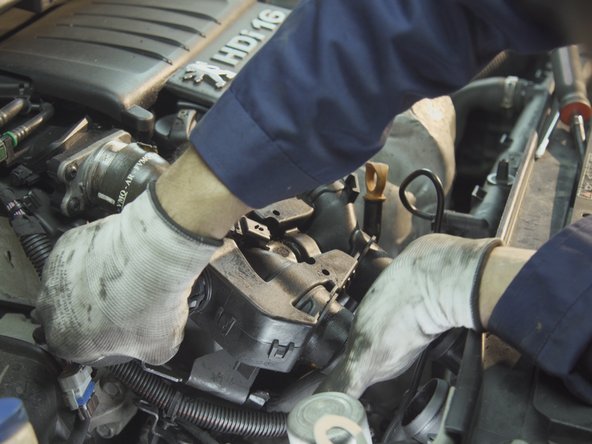
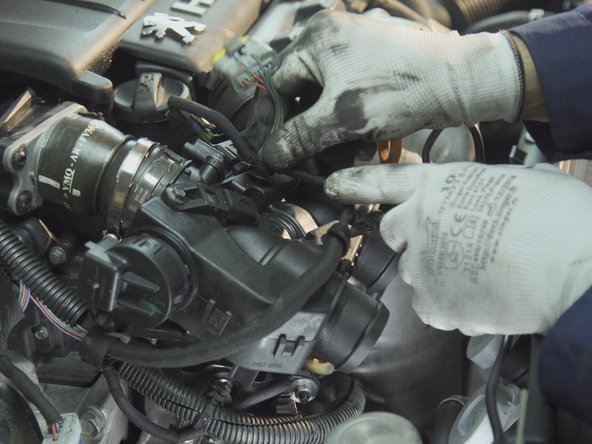
Débrancher les connecteurs branchés au boitier papillon en poussant dessus
-
-
-
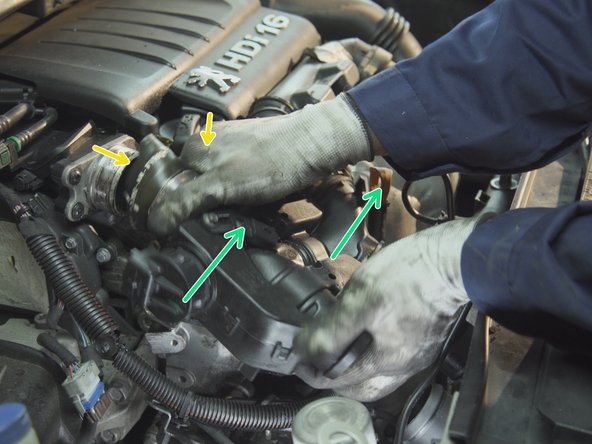
Débrancher le second connecteurs en pinçant tout en poussant dessus
-
-
-
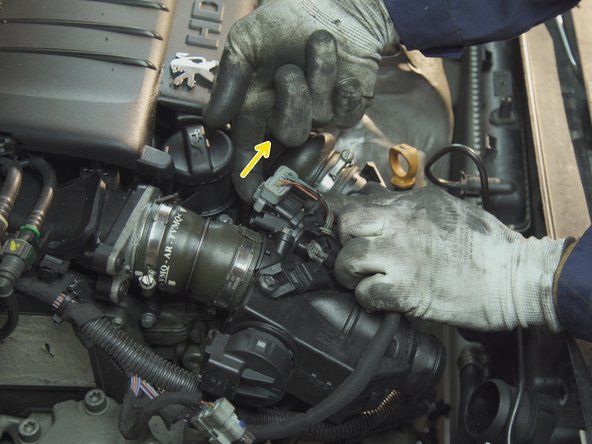
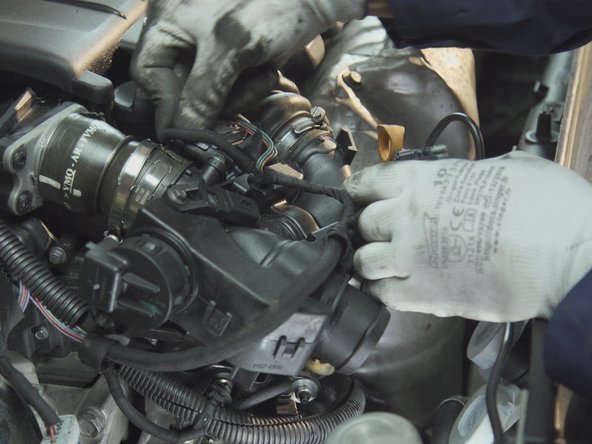
Desserrer les colliers des durites avec un tournevis à collier de 7 ou un tournevis plat
-
-
-
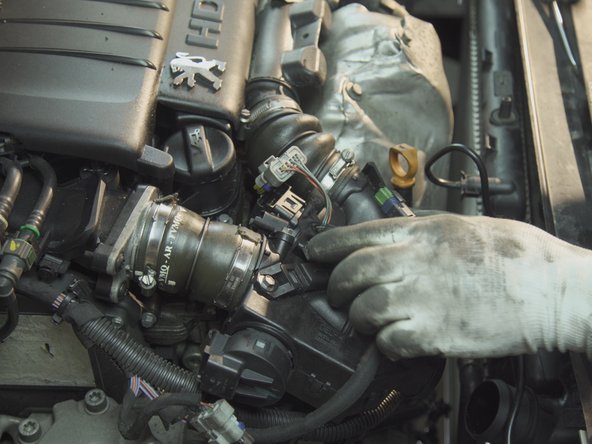
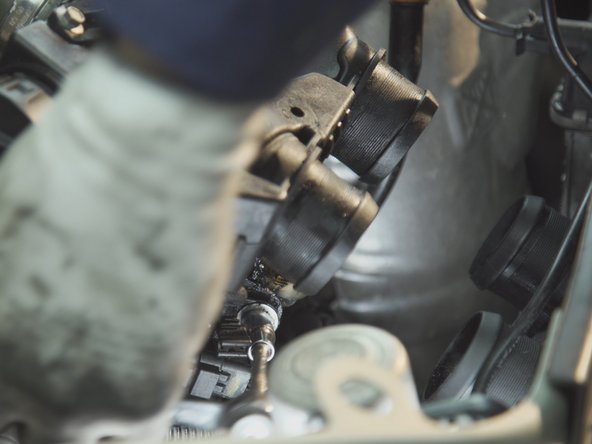
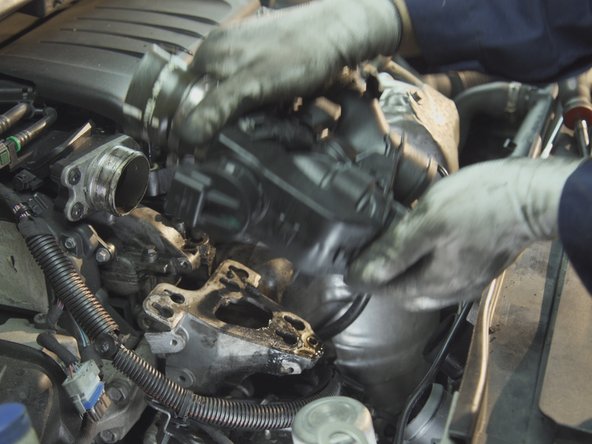
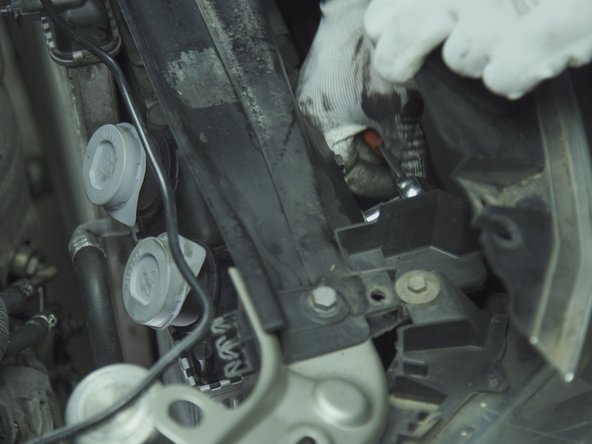
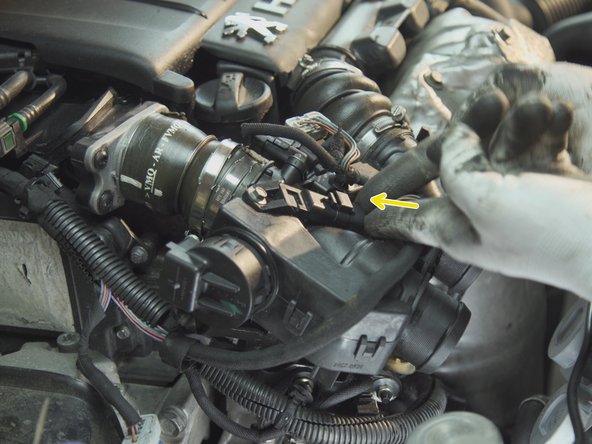
Desserrer la seconde vis du boitier papillon avec un cliquet, une rallonge et une douille de 10
-
-
-
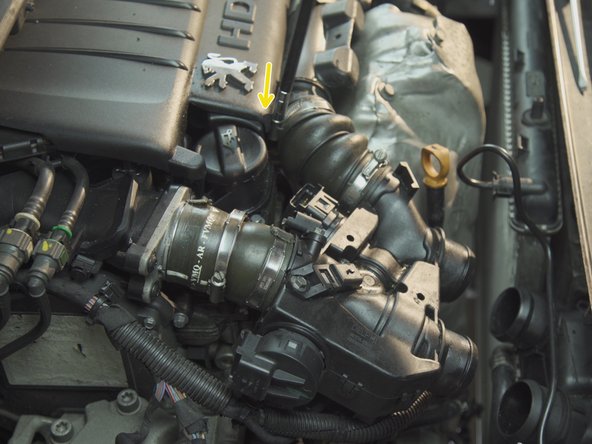
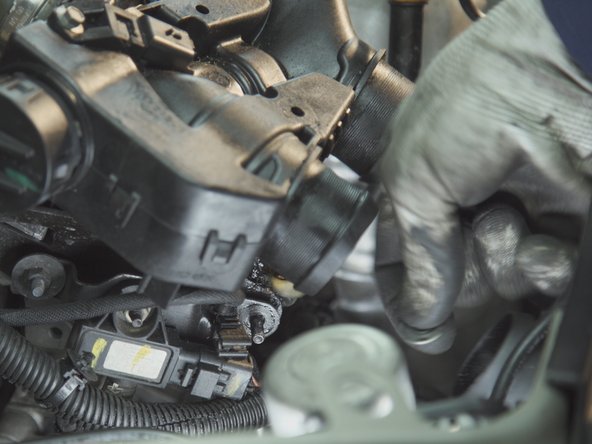
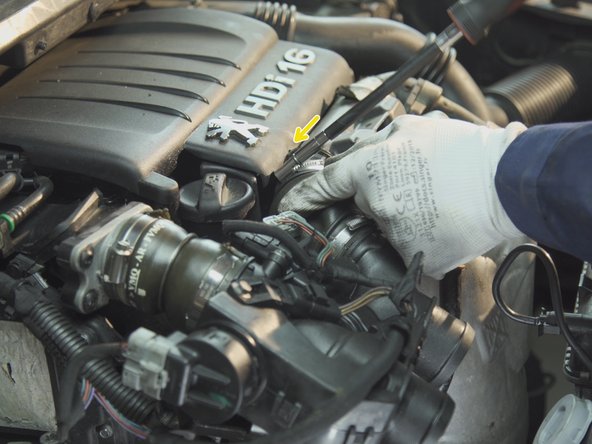
Dévisser la troisième vis, toujours avec la douille de 10
-
Retirer la plaque de support une fois libre
-
-
-
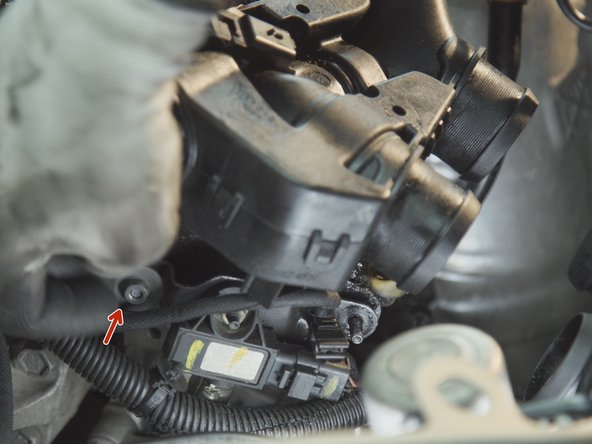
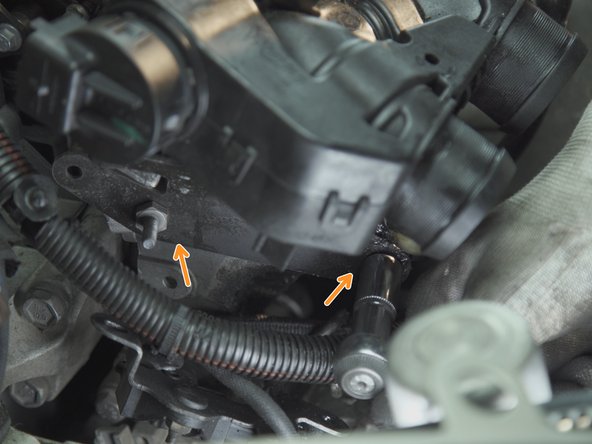
Dévisser les deux écrous présents sous la plaque précédemment retirée avec un cliquet et une douille de 13
-
-
-
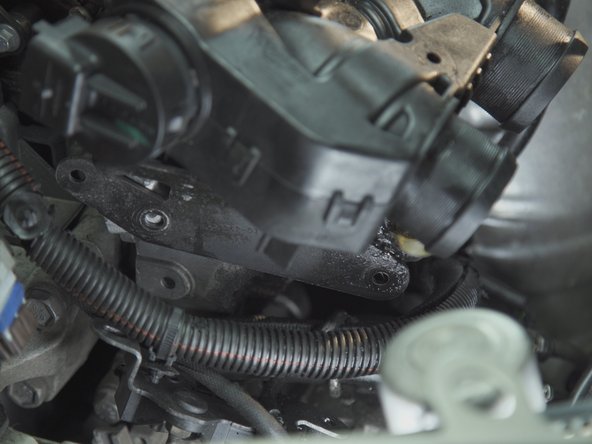
Une fois le boitier retiré, l'accès au radiateur est libéré
-
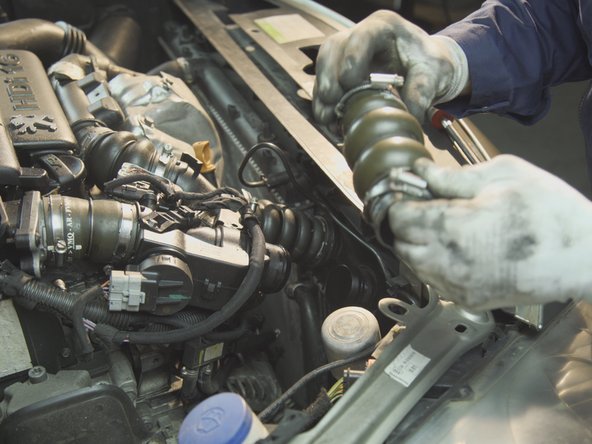
Tirer simplement le radiateur par le haut pour le sortir de son emplacement
-
-
-
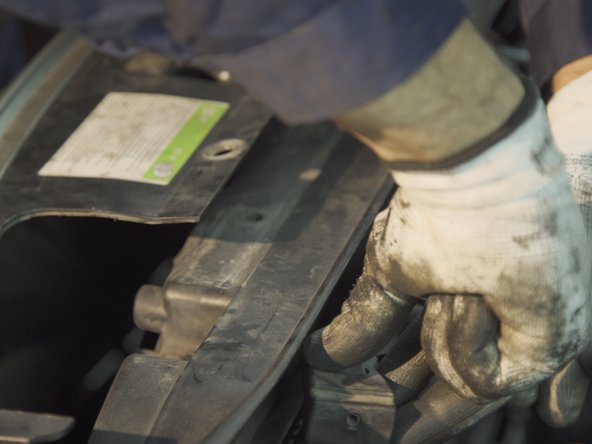
Vérifier la présence des deux guides en bas du radiateur
-
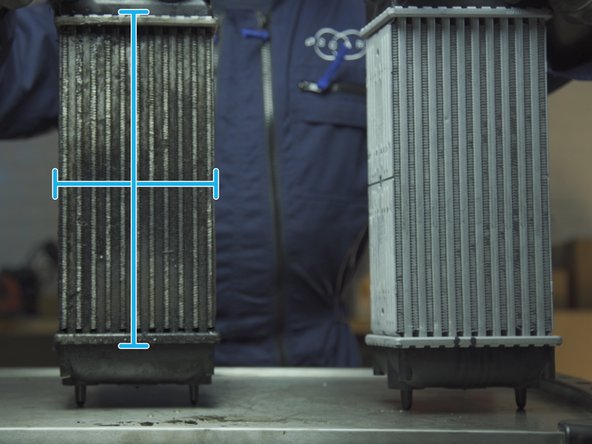
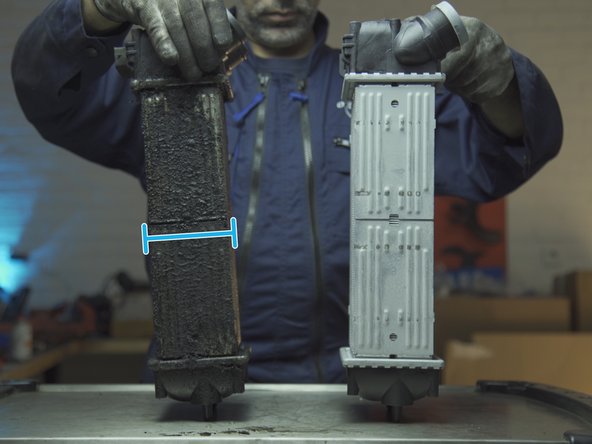
Comparer les dimensions de l'ancien radiateur avec le nouveau, hauteur, largeur et épaisseur
-
-
-
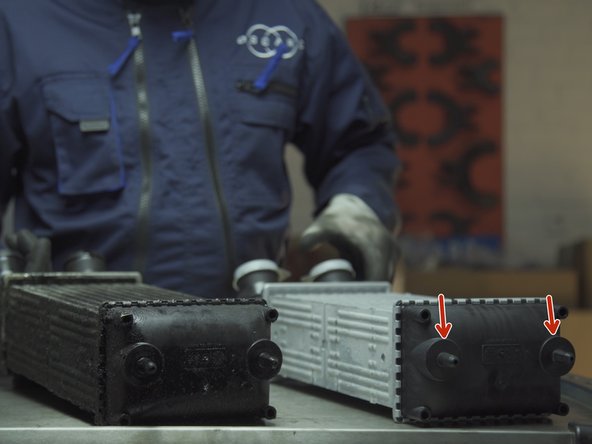
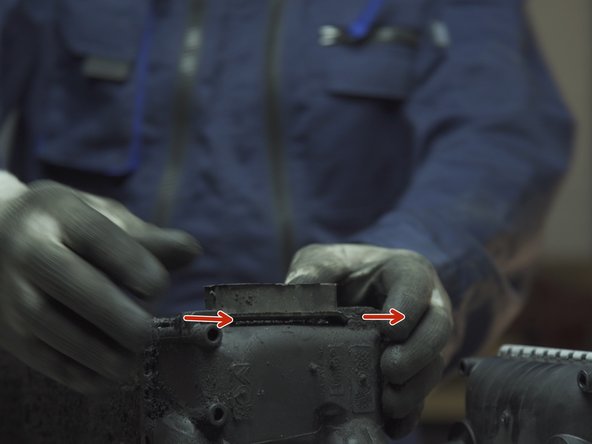
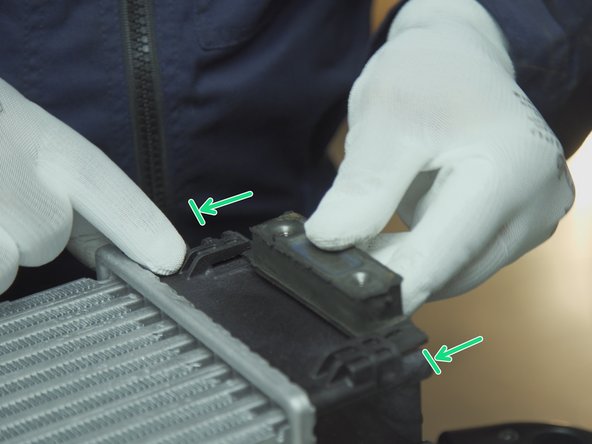
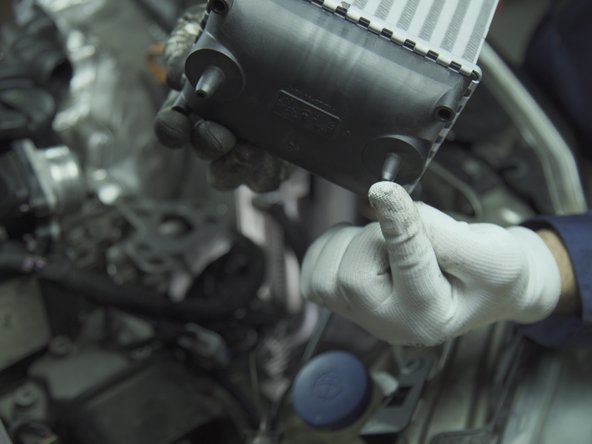
Récupérer la fixation présente sur l'ancien radiateur en la poussant dessus vers l'extérieur
-
-
-
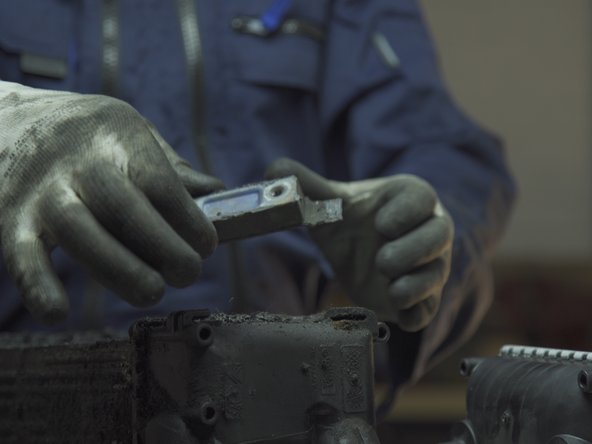
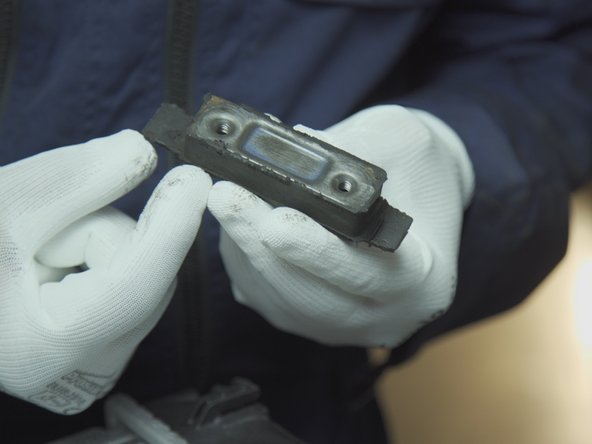
Nettoyer et replacer la fixation sur le nouveau radiateur en respectant la les pâtes courtes et longues
-
-
-
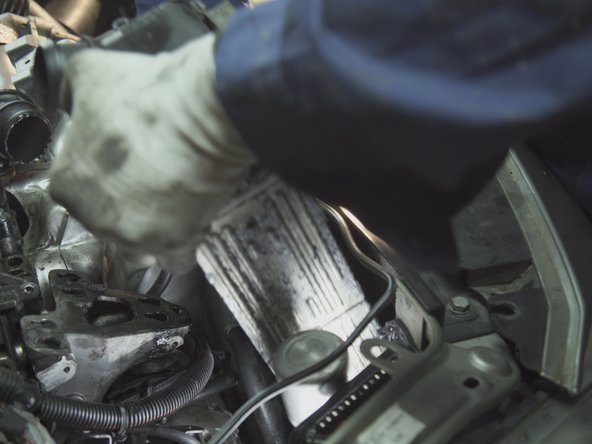
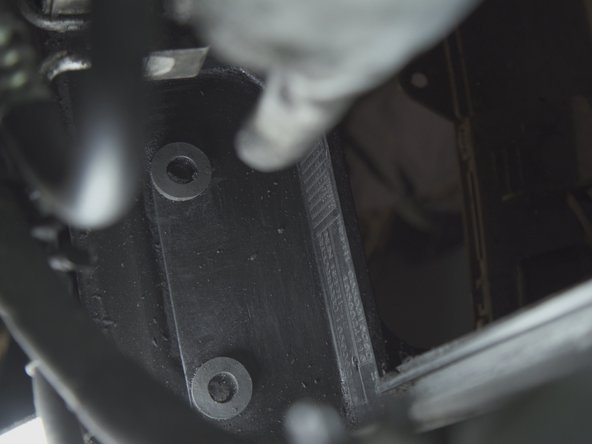
Nettoyer l'emplacement du radiateur avec du nettoyant frein et un chiffon
-
-
-
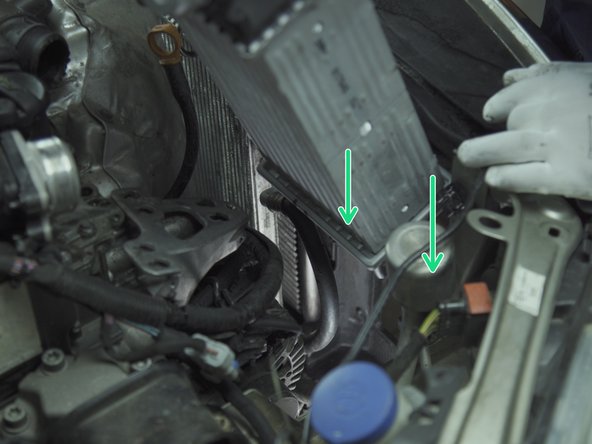
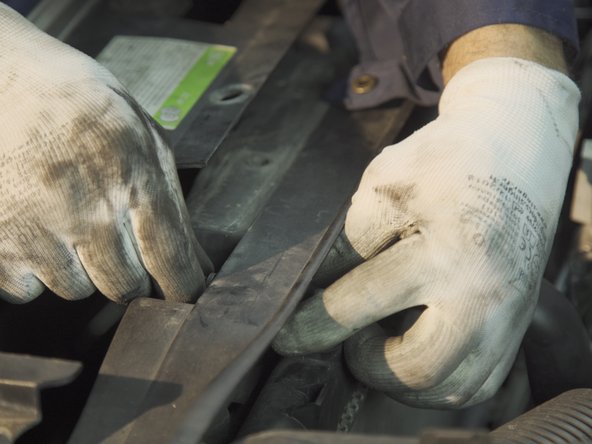
Repérer les deux guides sur le bas du radiateur et leurs logements dans l'emplacement
-
-
-
Replacer le radiateur dans son emplacement en emboîtant les deux guides
-
-
-
Replacer les deux vis de maintient du radiateur
-
Revisser les deux vis à l'aide d'une douille de 10
-
-
-
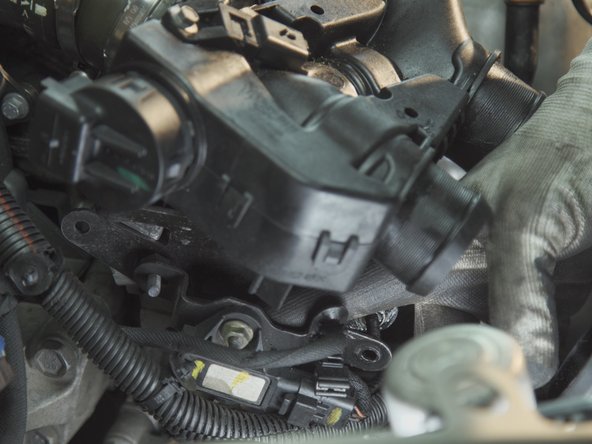
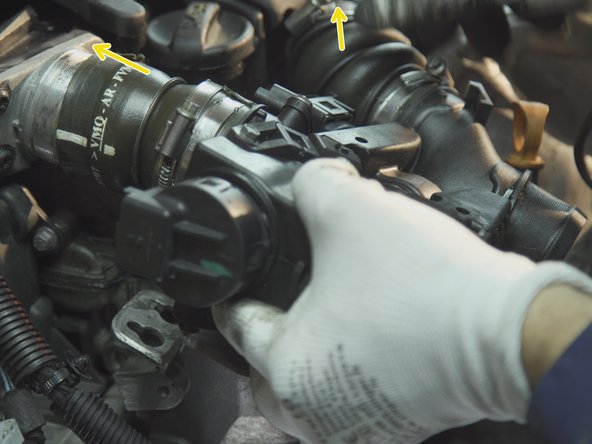
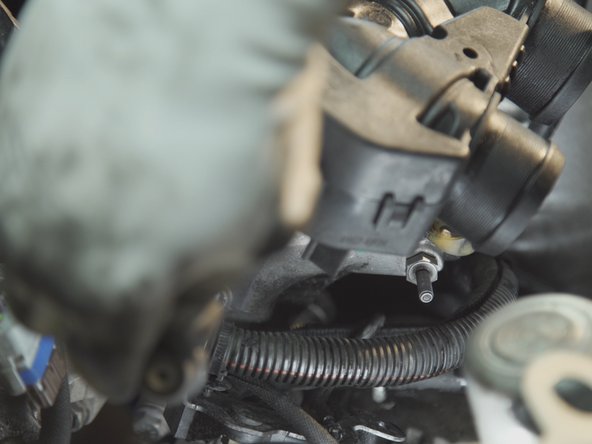
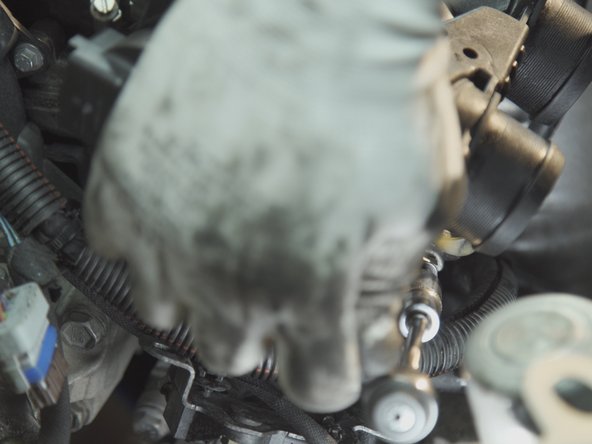
Placer le boitier papillon dans son emplacement en emboîtant les guides présents au dessous, 3 sont utilisés
-
Pousser le support pour emboîter les durites
-
-
-
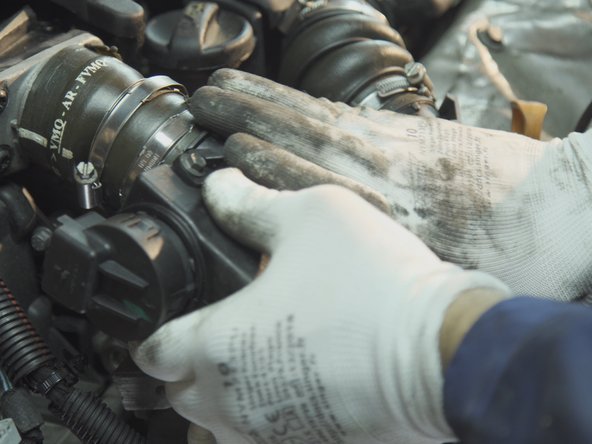
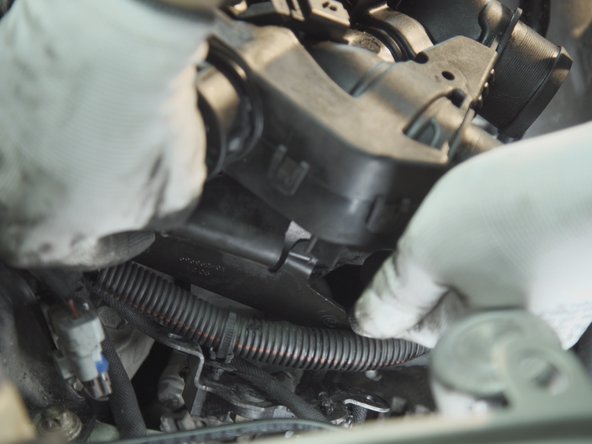
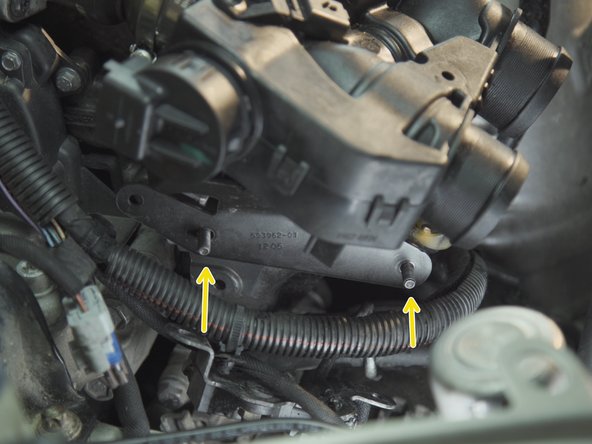
Replacer les deux vis du support et les resserrer à l'aide du cliquet et de la douille de 13
-
-
-
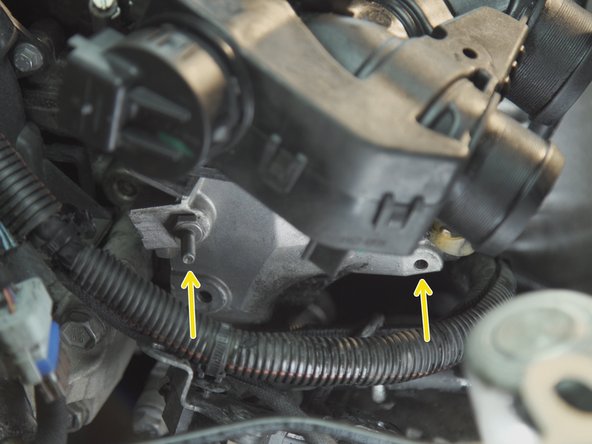
Ensuite, placer le support du faisceau sur les deux vis
-
Visser les deux écrous avec la douille de 10
-
-
-
Rebrancher les différents connecteur et agrafes sur le boitier papillon
-
-
-
Resserrer les deux colliers des durites avec un tournevis à collier de 7 ou un tournevis plat
-
-
-
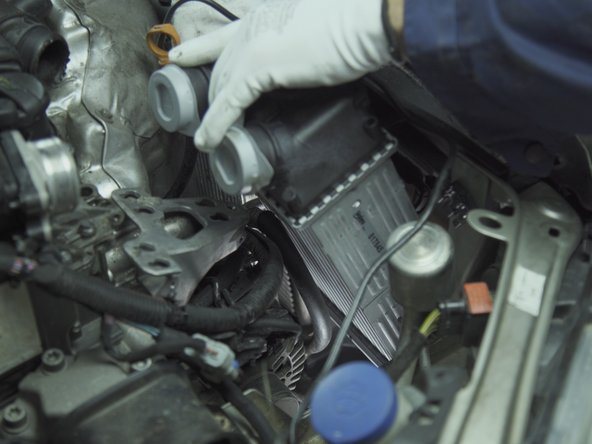
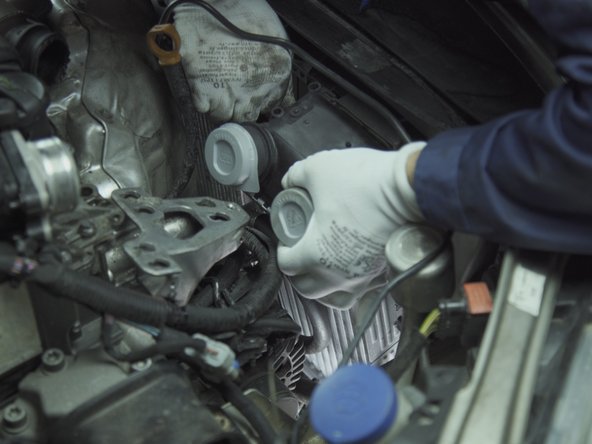
Retirer les capuchons de protection du radiateur
-
Replacer les durites en les emboîtant
-
-
-
Resserrer les deux colliers de la durite avec le tournevis à collier de 7 ou un tournevis plat
-
-
-
Replacer la seconde durite
-
Resserrer les deux colliers de la durite
-
-
-
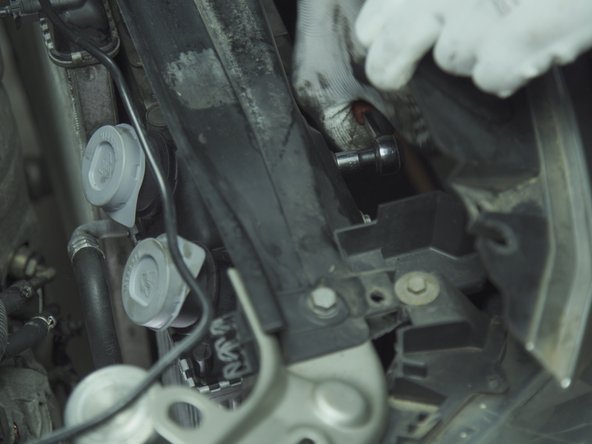
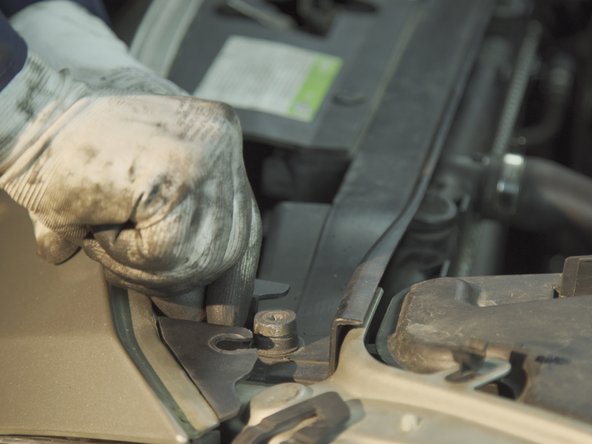
Replacer le support du radiateur d'eau avec sa vis
-
Resserrer la vis avec un Torx de 30
-
-
-
Replacer le dessus du pare-choc en faisant passer le système d'ouverture
-


Équipe
