


Introduction
Vous souhaitez changer vos ampoules qui se trouvent dans votre feu arrière de 207+ ? Ce tutoriel vous aidera à le faire facilement.
Tools
Non tools spécifié.
-
-
Pour démonter le feu arrière, vous n'avez pas besoin d'outil.
-
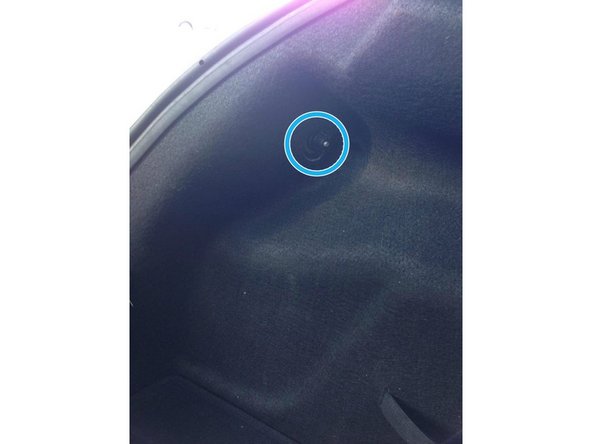
Ouvrez votre coffre puis regarder derrière le feu à l'intérieur, vous y trouverez une vis à dévisser à la main.
-
pUne fois l'écrou totalement enlevé, tirez le feu délicatement vers vous en faisant des va et vient de haut en bas pour le déclipser.
-
Un seul clips est présent sur le feu.''
-
-
-
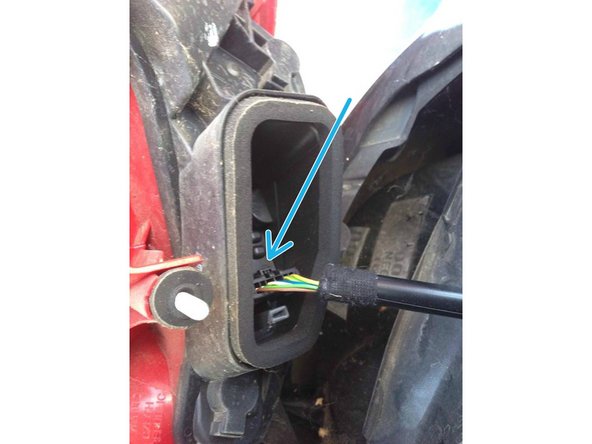
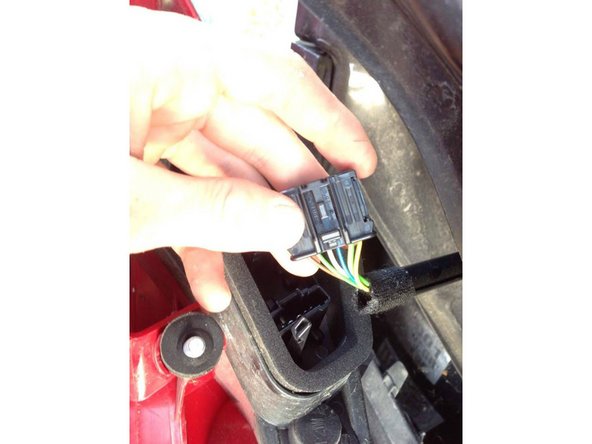
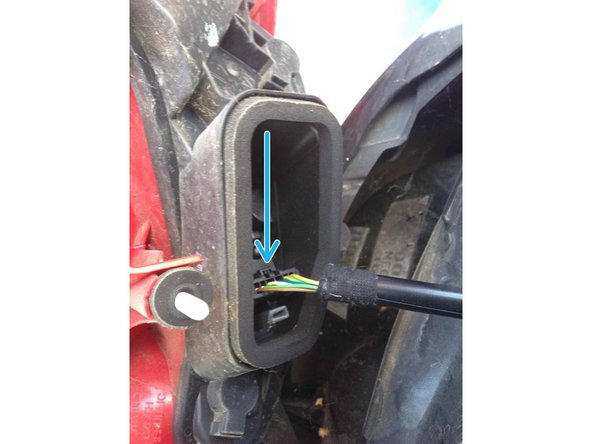
Vous devrez ensuite pincer la petite languette de la prise et tirer vers vous pour l'enlever totalement.
-
-
-
Pour déclipser la platine du feu, vous devez déjà repérer les 4 clips.
-
Appuyez sur les clips un par un et tirer vers vous pour l'enlever.
-
Faites attention à ne pas casser les clips donc soyez délicat.
-
-
-
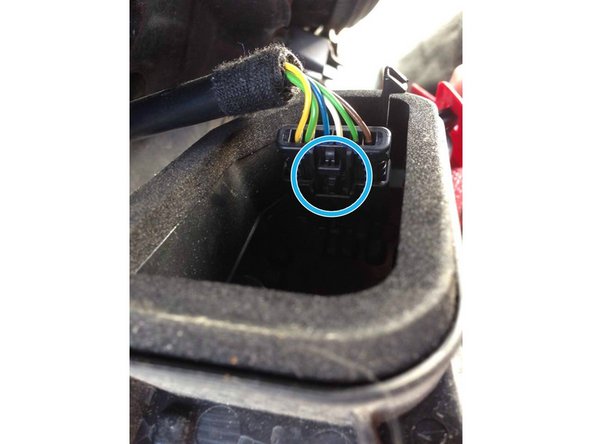
- Rouge : Feu stop / Position.
-
- Vert : Feu anti brouillard.
-
- Orange : Clignontant
-
- Violet : Feux de recul
-
-
-
Pour changer une ampoule, rien de plus simple :
-
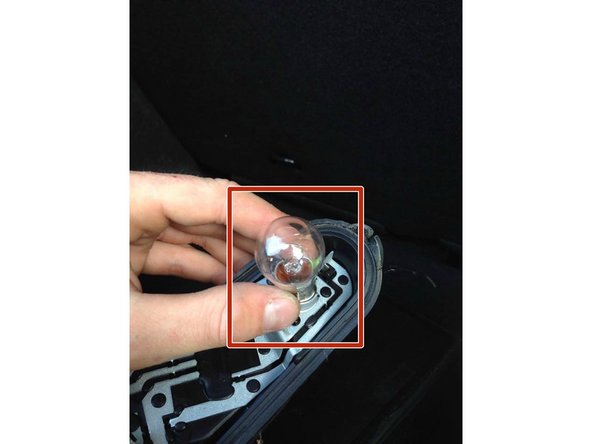
Appuyer sur l'ampoule puis faites la pivoter d'un côté puis tirer vers vous.
-
Pour en mettre une nouvelle, vous positionnez l'ampoule dans l'endroit prévu à cet effet puis appuyez dessus et faites la pivoter d'un côté.
-
-
-
Représentez la platine sur votre feu, les clips doivent être en face des leviers qui servent à le clipser.
-
Appuyez fortement sur la platine pour la clipser.
-
Si certain clips ne rentre pas, tirer la languette rouge puis appuyer sur la platine pour qu'il se clips.
-
-
-
Pour remettre le connectique du feu, remettez la prise en respectant son sens grâce à la petit languette puis appuyez fortement pour la clipser.
-
-
-
Remettez le feu en respectant son sens, une fois en place, appuyez fortement dessus pour le clipsser.
-
Visser l'écrou qui se trouve dans le coffre de la voiture derrière le feu arrière.
-
Vous pouvez le serré au maximum pour qu'il ne bouge plus.
-


Annulation : je n'ai pas terminé ce tutoriel.
8 autres ont terminé cette réparation.
