


Difficulté
Modérée
Étapes
10
Temps nécessaire
00:45:00

Ce tutoriel a été créé par la communauté
User contributed
Introduction
Ce tutoriel montre comment changer une rotule de direction d'un renault trafic 2 phase 2.
-
-
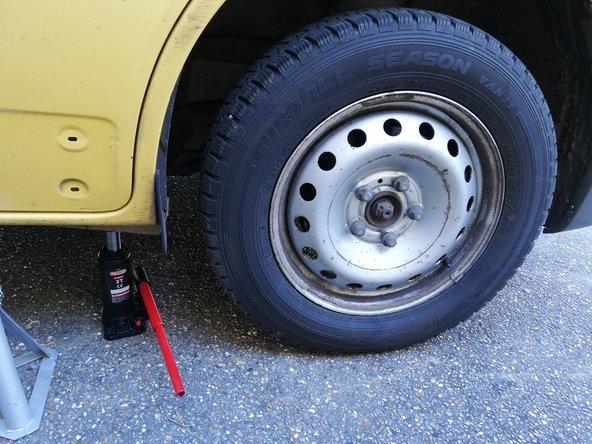
Lever le véhicule à l'aide d'un cric ou pont
-
Mettre le véhicule en sécurité à l'aide des chandelles
-
-
-
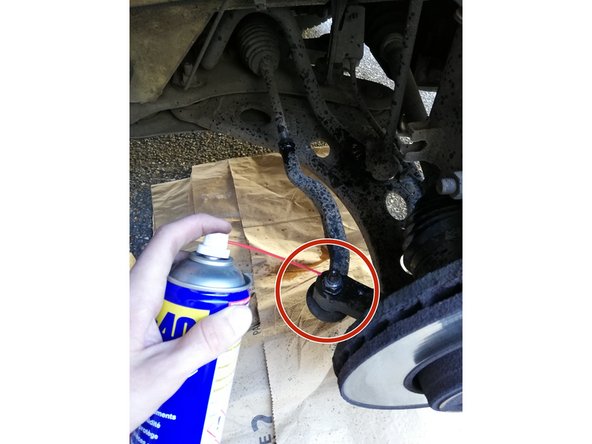
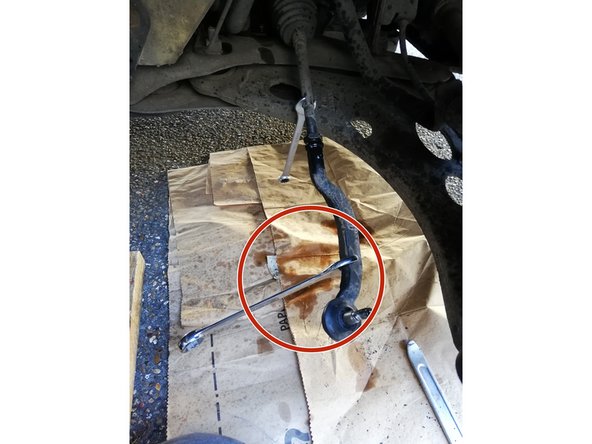
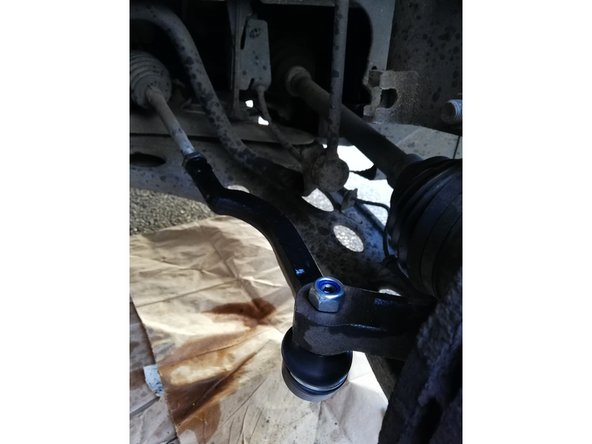
Repérer la rotule de direction
-
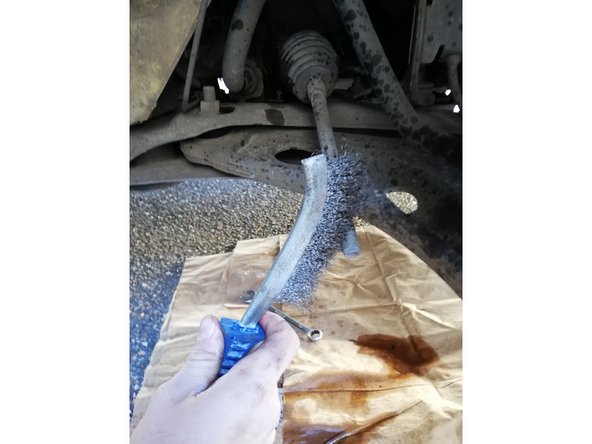
Brosser à l'aide d'une brosse métallique le filetage et les écrous de l'axe de la rotule de direction
-
Cette étape facilite le démontage pour la suite
-
-
-
Utiliser du dégrippant pour facilité le démontage
-
Laisser agir le dégrippant et ne pas hésiter à en ajouter encore si besoin
-
-
-
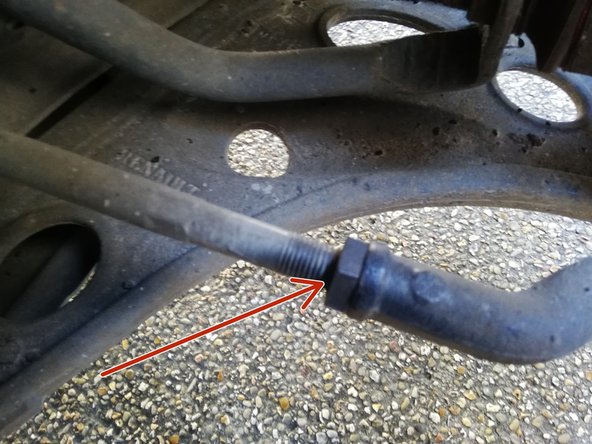
Après le changement d'un organe de direction, il est important de faire un réglage du parallélisme ! si vous souhaitez néanmoins réduire l'impact de ce changement de rotule, il est important de mesurer la longueur du filage visible, et compter le nombre de tours de démontage.
-
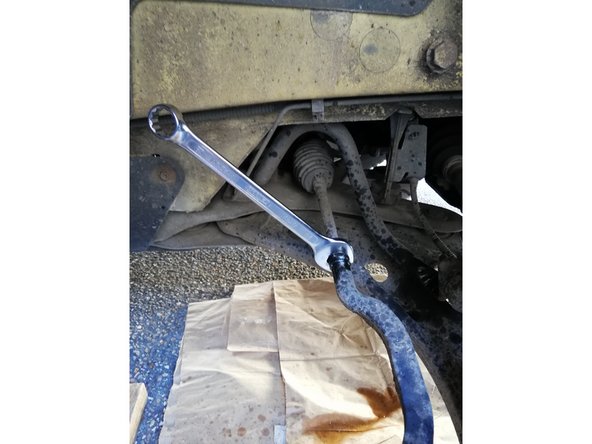
Commencer le desserrage du contre écrou, en 1er
-
-
-
Desserrer le second écrou
-
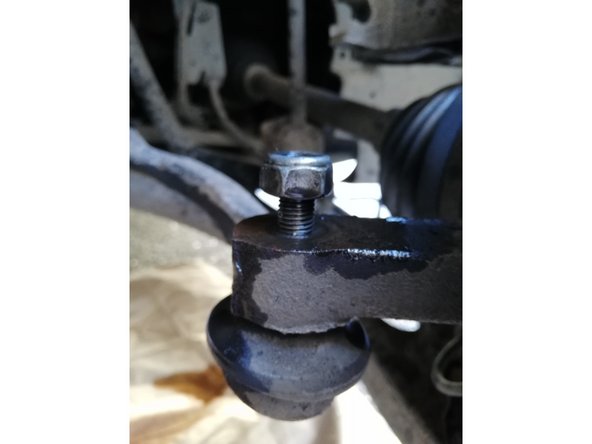
Il se peut que la rotule ne sorte pas de son logement, comme sur l'image. Aider la à sortir en tapant légèrement dessus, mais ne taper pas directement sur le filetage si vous souhaitez réutiliser la rotule de direction
-
-
-
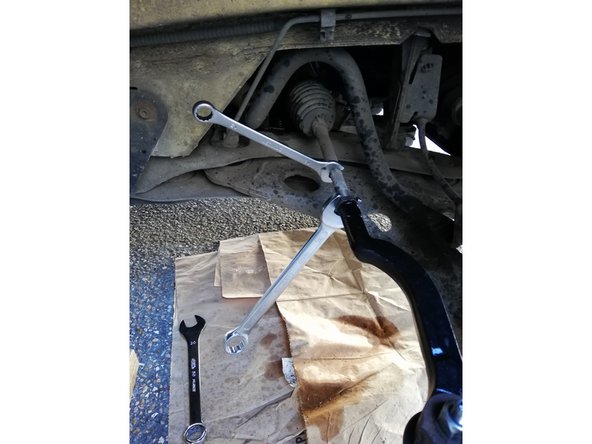
Placer une clef plate au niveau de l'axe sur l'emplacement prévu à cet effet.
-
Utiliser une autre clef plate et commencer le desserrage,
-
L'axe de direction tourne sur lui-même c'est pour cela qu'il est important de le maintenir à l'aide de la 1ère clef plate
-
Notez le nombre de tours de démontage, si vous souhaitez conserver le parallélisme
-
-
-
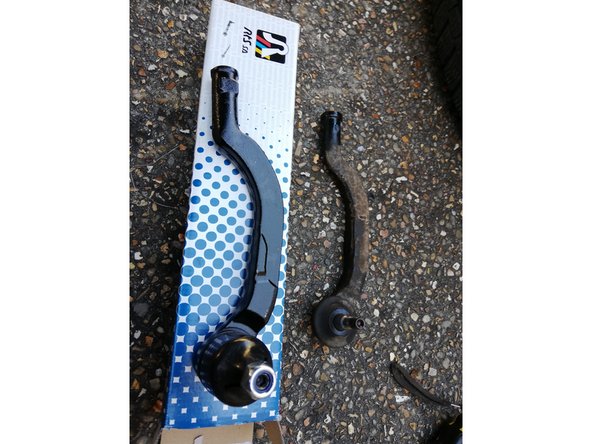
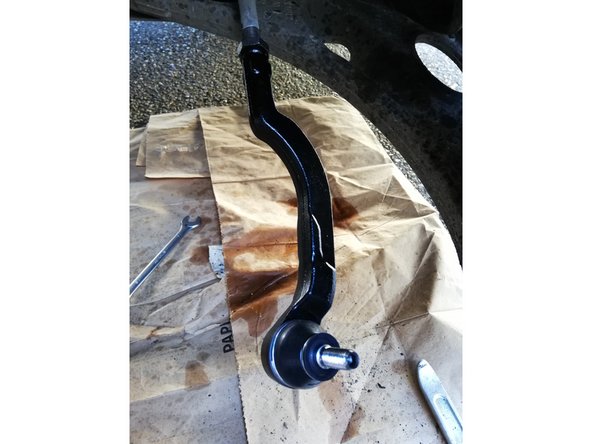
Comparer l'ancienne et la nouvelle rotule de direction
-
-
-
Brosser l'axe fileté à l'aide de la brosse métallique
-
Monter la nouvelle rotule en prenant soin de visser le même nombre de tours qu'au démontage de l'ancienne rotule
-
Mettre en place la rotule dans son logement et commencer le serrage
-
il est conseillé de changer l'écrou
-
-
-
Serrer l'écrou au couple préconisé
-
Serrer ensuite le contre écrou sur l'axe
-
Après le changement d'un organe de direction, il est vivement conseillé de faire un réglage du parallélisme
-


Le changement d'une rotule de direction n'est pas une opération compliquée. Il est cependant conseillé de faire un réglage du parallélisme à l'issue du changement.
Le changement d'une rotule de direction n'est pas une opération compliquée. Il est cependant conseillé de faire un réglage du parallélisme à l'issue du changement.
Annulation : je n'ai pas terminé ce tutoriel.
5 autres ont terminé cette réparation.