


Difficulté
Modérée
Étapes
10
Temps nécessaire
00:45:00

Ce tutoriel a été créé par la communauté
User contributed
Introduction
Cette opération est accessible et rapide. Il est conseillé de changer les 2 biellettes de barre stabilisatrice car leur usure sera presque identique.
-
-
Lever le véhicule à l'aide d'un cric
-
Mettre en position de sécurité le véhicule avec des chandelles
-
Il est préférable de lever l'avant du véhicule dans son ensemble (roue droite et gauche), pour libérer la tension dans la barre stabilisatrice et faciliter le démontage
-
Retirer les 2 roues avants
-
-
-
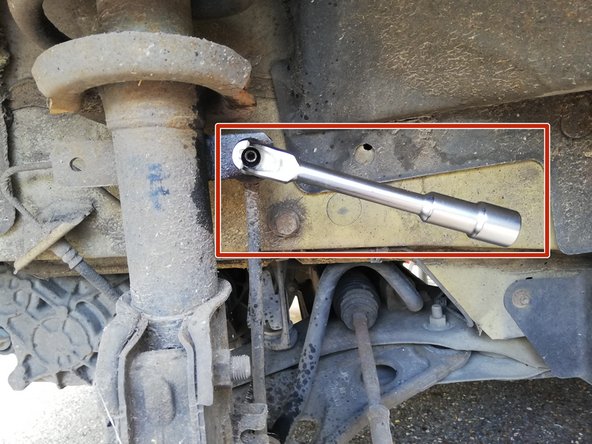
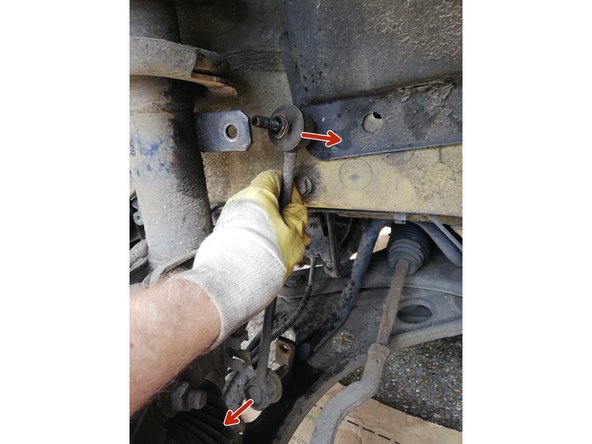
Repérer les biellettes de barre stabilisatrice (cadre rouge)
-
-
-
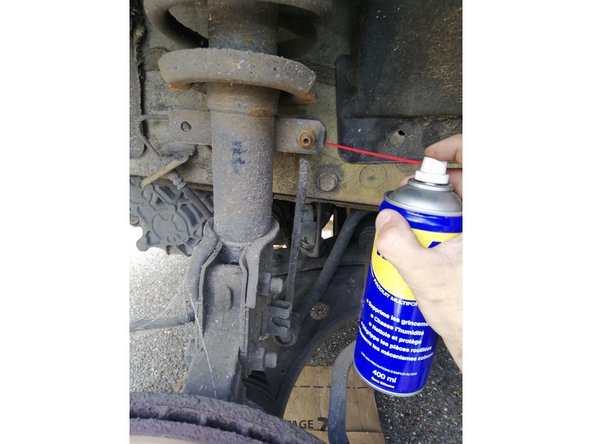
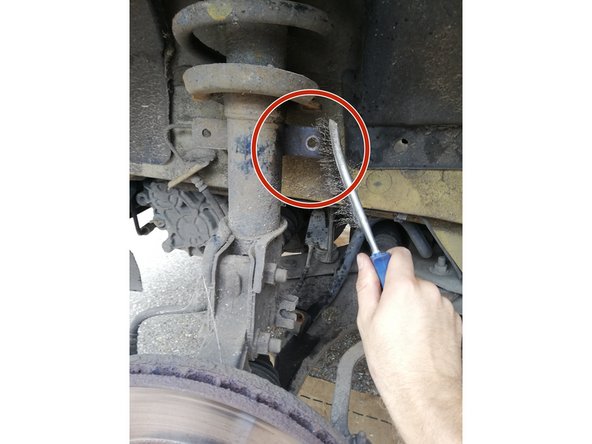
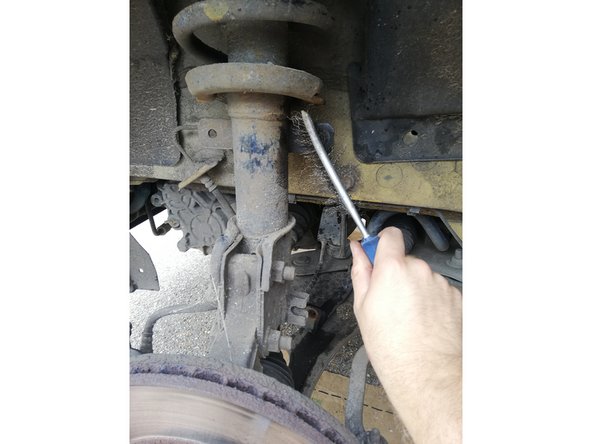
Pour faciliter le démontage pensez à brosser à l'aide d'une brosse métallique le filetage et les écrous
-
Vous pouvez également ajouter du dégrippant et le laisser agir pour faciliter le démontage
-
-
-
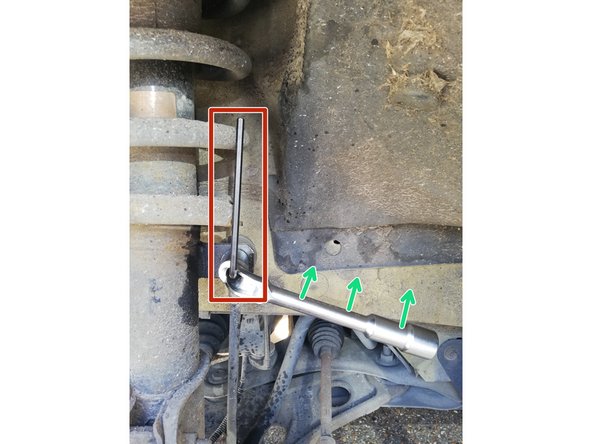
Commencer par placer une clef (ici à pipe)
-
Ensuite venir bloquer le boulon à l'aide d'une clef Allen.
-
Bloquer le boulon à l'aide d'une clef Allen permet d'éviter que celui-ci tourne dans le vide.
-
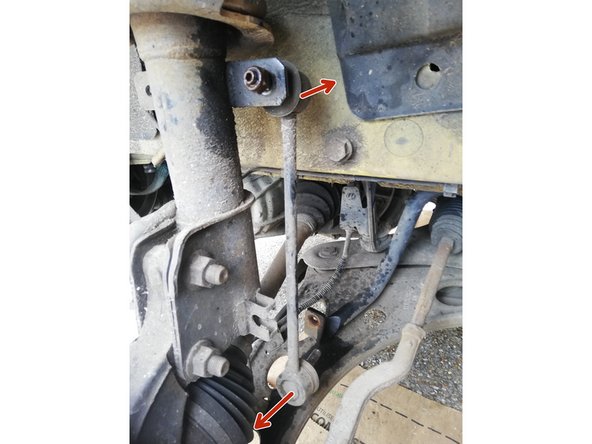
Réaliser la même opération avec le boulon et l'écrou du bas de la biellette.
-
-
-
Apres que les écrou soient retirer, retirer l'ancienne biellette en dégagent les extrémités.
-
-
-
Comparer l'ancienne et la nouvelle biellette (longueur, forme...)
-
-
-
Le brossage est conseillé, il permet de placer et serrer correctement la nouvelle biellette.
-
-
-
Mettre en place la biellette de la même manière qu'elle a été extraite.
-
Ne pas inverser la pose.
-
Placer les écrous.
-
-
-
Serrer les écrous (1 en haut et 1 en bas)
-
Effectuer la même opération sur l'autre coté du véhicule.
-
Il est conseillé de changer la biellette des 2 cotés du véhicule, car leur usure est similaire.
-
-
-
Vous pouvez à ce stade remonter la roue du véhicule, et descendre le véhicule.
-


Il est conseillé de changer les 2 cotés du véhicule car l'usure des biellette est quasiment similaire.
Il est conseillé de changer les 2 cotés du véhicule car l'usure des biellette est quasiment similaire.
Annulation : je n'ai pas terminé ce tutoriel.
Une autre personne a terminé cette réparation.