


Difficulté
Modérée
Étapes
10
Temps nécessaire
00:50:00

Ce tutoriel a été créé par la communauté
User contributed
Introduction
Pensez à changer les 2 biellettes (droite et gauche) car leur usure sera équivalente. Pensez également à lever l'avant entier du véhicule (roue droite et gauche) pour libérer la tension dans la barre stabilisatrice.
-
-
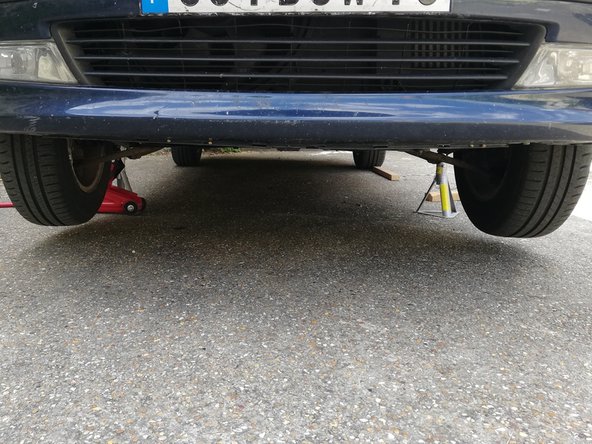
Lever le véhicule à l'aide d'un cric
-
Mettre en sécurité le véhicule en sécurité avec les chandelles
-
Pour changer les biellettes de barre stabilisatrice, il est nécessaire de lever les 2 roues avant du véhicule. Ceci à pour effet de libérer la tension dans la barre stabilisatrice.
-
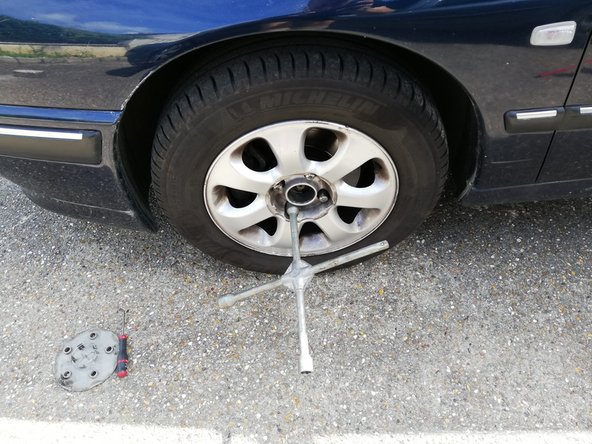
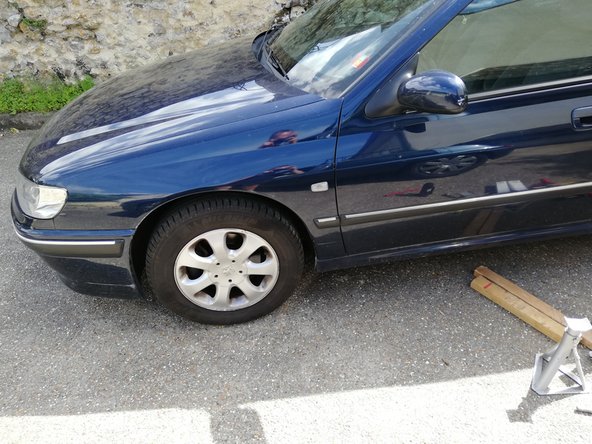
Retirer les roues avants
-
-
-
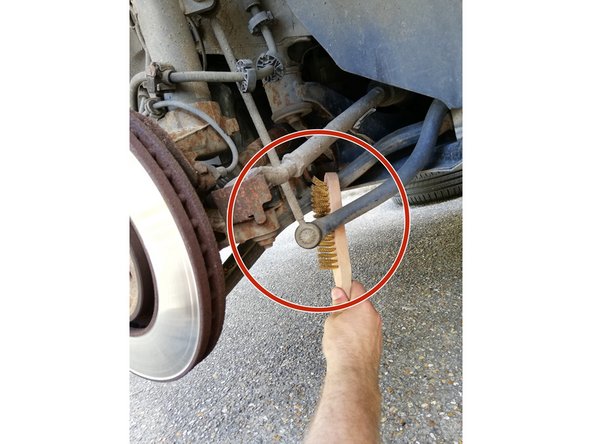
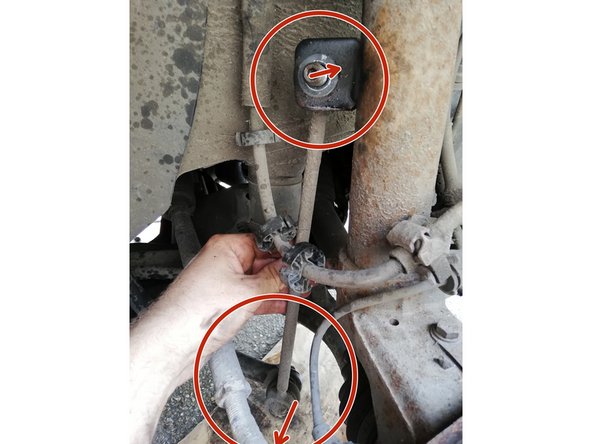
Repérer la biellette de barre stabilisatrice (cadre rouge)
-
-
-
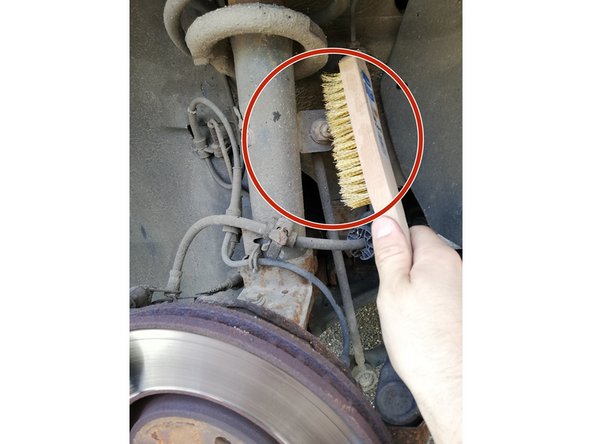
Brosser à l'aide d'une brosse métallique le filetage des boulons.
-
Vous pouvez à cette étape utiliser du dégrippant et laisser agir, pour faciliter le démontage.
-
-
-
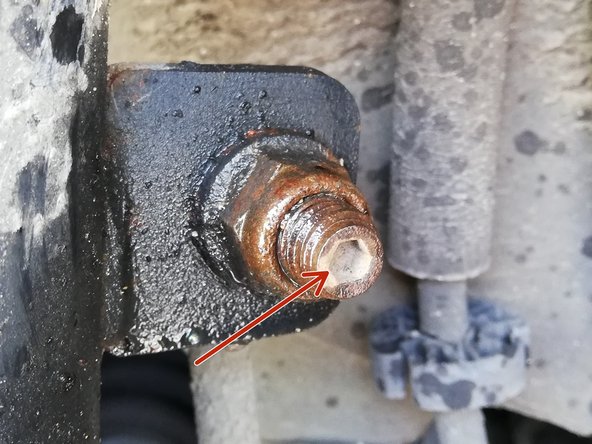
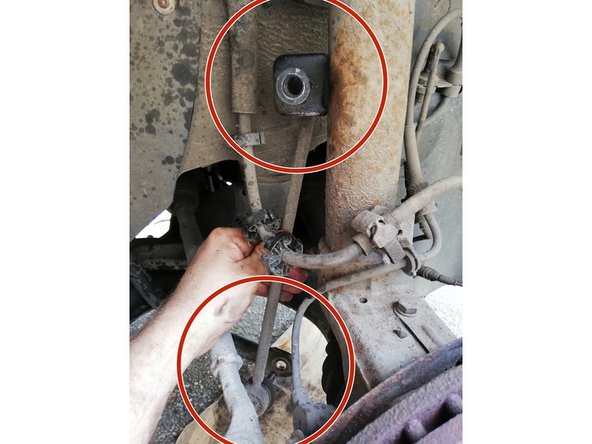
Le boulon est composé d'un orifice permettant le blocage lors du desserrage de l'écrou (ici clef allen)
-
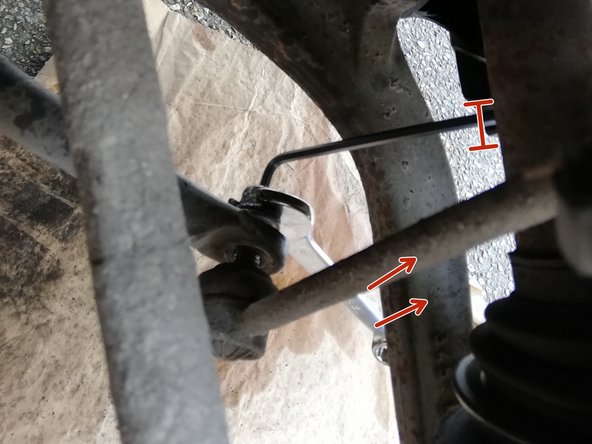
Maintenez la clef Allen fixe fermement pendant le desserrage de l'écrou.
-
Faite de même pour l'écrou en partie basse.
-
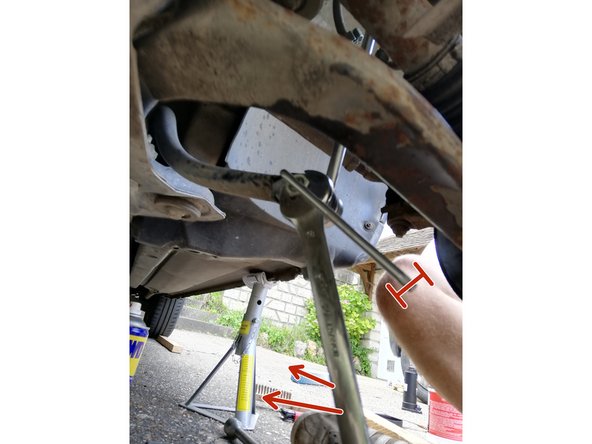
Pour faciliter le démontage il est préférable de lever les 2 roues avants du véhicule (libérant ainsi les contraintes)
-
-
-
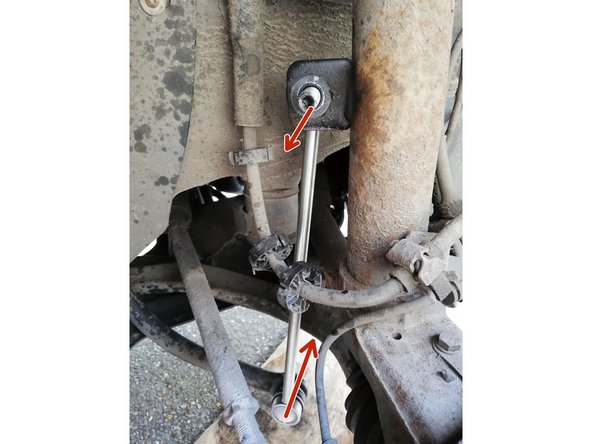
Une fois les écrous sortis, il suffit uniquement de sortir la billette en dégageant les extrémités.
-
-
-
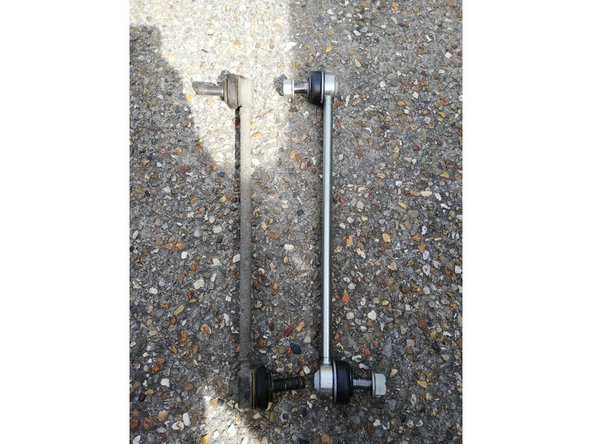
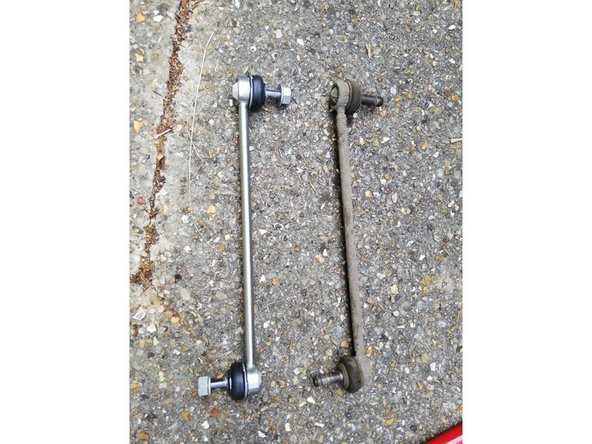
Comparer l'ancienne et la nouvelle biellette, (dimension, forme, longueur...)
-
-
-
Mettre en place la nouvelle biellette de la même manière que vous avez extrait l'ancienne
-
Mettre en place les écrous de serrage à la main.
-
-
-
Sur les nouveaux modèles de biellette, il est nécessaire d'utiliser une clef Torx au lieu d'une Clef Allen, pour empêcher la rotation pendant le serrage.
-
Serrer l'écrou en haut et en bas en maintenant la rotation à l'aide d'une clef Torx.
-
-
-
Répéter la même opération sur la roue opposée
-
il est conseillé de changer la biellette droite et gauche, en même temps, car elles auront quasiment la même usure.
-
-
-
Remonter les roues du véhicule
-
Serrer les boulons des roues
-
Descendre le véhicule des chandelles
-


Il est préférable de changer les 2 biellettes (droite et gauche) car leur usage sera équivalente. Pensez à lever les 2 roues avants du véhicule pour libérer la tension dans la barre stabilisatrice.
Il est préférable de changer les 2 biellettes (droite et gauche) car leur usage sera équivalente. Pensez à lever les 2 roues avants du véhicule pour libérer la tension dans la barre stabilisatrice.
Annulation : je n'ai pas terminé ce tutoriel.
3 autres ont terminé cette réparation.