


Introduction
Motorisation du véhicule 1.6 HDi FAP 16V 110 cv
-
-
Le capteur se trouve à gauche du moteur, coté passager.
-
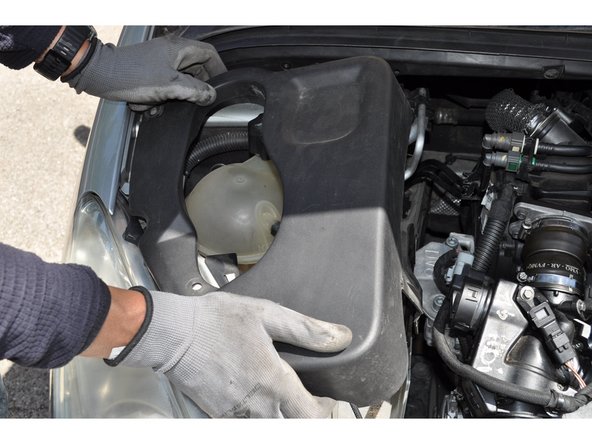
Il est nécessaire d’ôter au préalable le cache plastique du réservoir de lave glace, phare avant et vase d'expansion de liquide de refroidissement.
-
Déposer les deux clips de fixation et retirer le cache.
-
-
-
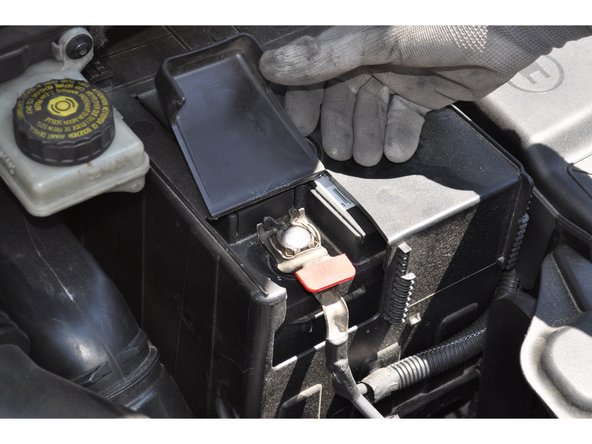
Avant de débuter l'intervention sur le capteur, débrancher la batterie du véhicule.
-
-
-
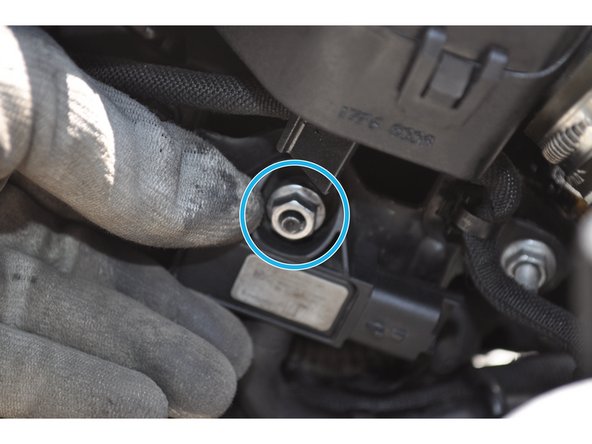
Le capteur se trouve sous le résonateur
-
Il est fixé par un écrou (jaune) et branché sur deux durites d'air (bleu) et un connecteur électrique (violet).
-
Débrancher le connecteur électrique
-
-
-
Effectuer un repérage des positions des durites d'entrée et de sortie de gaz d’échappement avant de les démonter.
-
Utiliser un tournevis plat pour ouvrir les colliers des durites
-
Dévisser l'écrou avec une douille de 10 mm
-
Retirer le capteur.
-
-
-
Comparer les capteurs.
-
Rebrancher correctement les durites de gaz d'échappement.
-
Mettre les colliers de serrage en place.
-
-
-
Le capteur possède au dos un pion de centrage qui doit se positionner sur la patte de fixation.
-
Remettre l'écrou et serrer avec une douille de 10 mm.
-
-
-
Brancher le connecteur électrique du capteur.
-
Remettre en place le cache en plastique.
-
Rebrancher la batterie.
-


Annulation : je n'ai pas terminé ce tutoriel.
2 autres ont terminé cette réparation.

2 commentaires
Bonjour sauriez vous me dire ce qui se passerait si les tuyaux ont été inversés svp?
Avez vous ou sauriez vous ou je peux trouver le schéma ou vu éclaté partant du FAP durite et capteur afin que je puisse vérifier si cela a été inversés ou pas? Merci d'avance
doudou_virus_puis - Résolu à la publication Réponse
Bonjour je recherche l’emplacement de ce capteur sur sur une xsara Picasso 1,6 hdi de 2004. Mon adresse mail est locationsajaxlauragais@yahoo.fr
locationsajaxlauragais - Résolu à la publication Réponse