


Difficulté
Modérée
Étapes
13
Temps nécessaire
01:00:00

Ce tutoriel a été créé par la communauté
User contributed
Introduction
L'alternateur contient tout un tas de pièces en mouvement qui s'usent au fil du temps. Charbons de régulateur, bagues collectrices, roulements... C'est souvent plus simple et plus économique de remplacer l'alternateur plutôt que de le réparer.
Sur cette voiture, les voyants et les phares vacillaient lorsqu'ils étaient allumés et le voyant batterie clignotait de temps en temps.
J'ai retiré la roue avant droite, le pare-boue, la patte de la durite radiateur ainsi que la tôle du collecteur d'échappement dans le seul but d'avoir des photos plus claires pour ce tutoriel. On peut très bien faire cette opération sans démonter tout cela en passant par le haut et le bas sous la voiture.
Tools
Parts
-
-
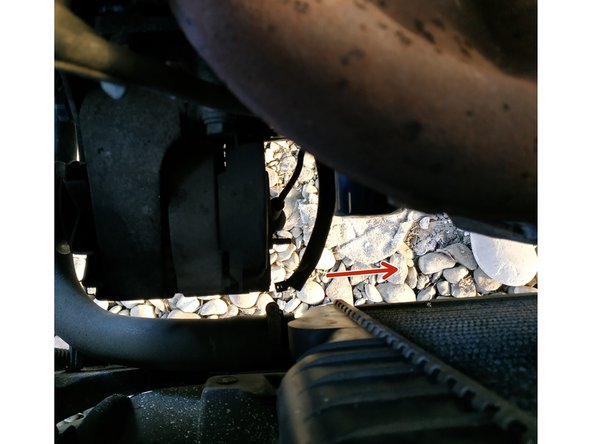
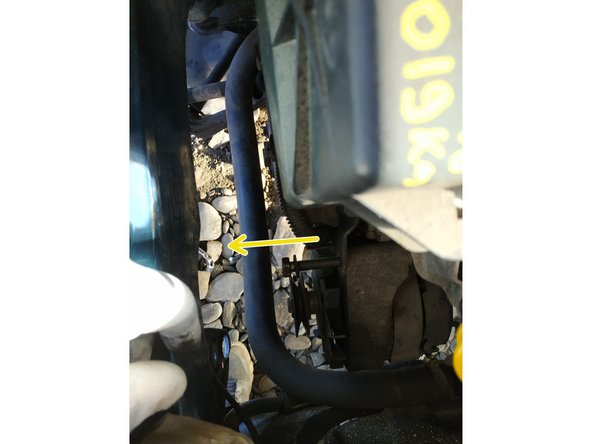
l'alternateur se situe côté distribution
-
en bas, sous le collecteur d'échappement
-
-
-
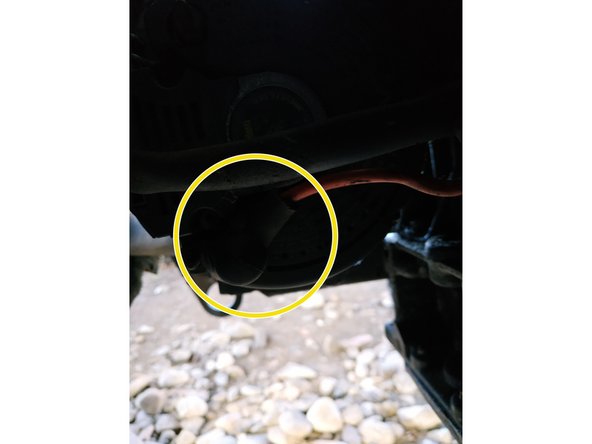
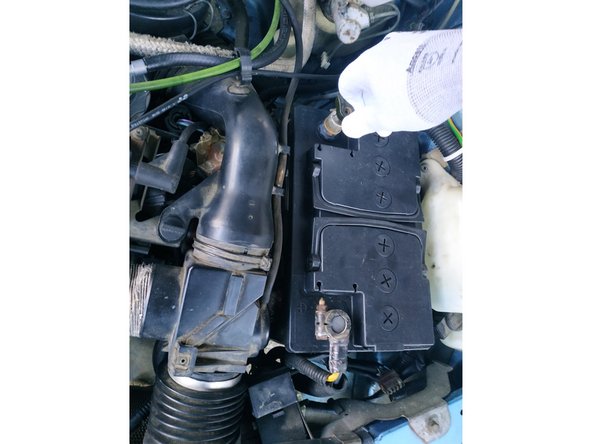
repérer la cosse négative de la batterie
-
la débrancher
-
et la mettre à l'écart
-
-
-
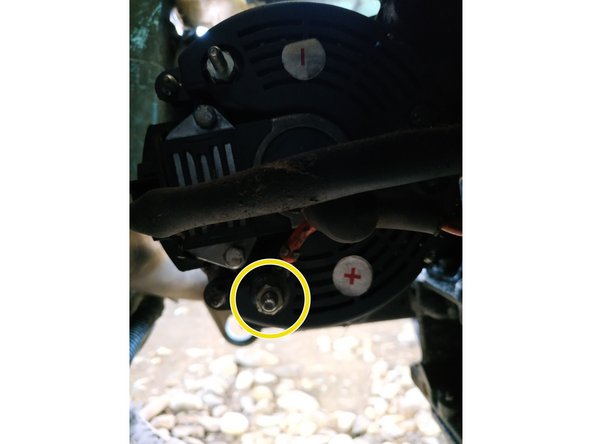
retirer la fiche du régulateur d'alternateur
-
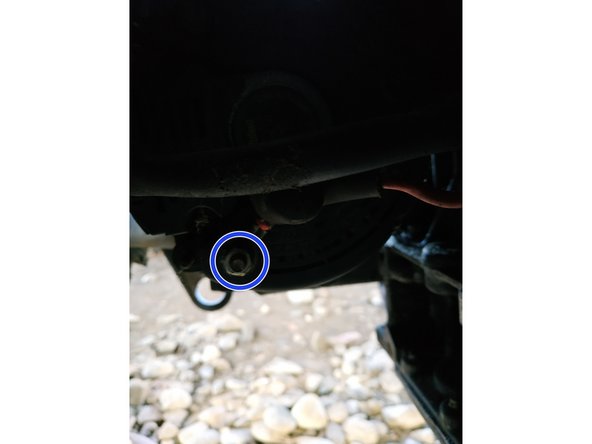
écarter le capuchon de protection du fil rouge (c'est le + batterie)
-
dévisser l'écrou du fil rouge à l'aide de la clé à pipe de 10mm et le déconnecter
-
-
-
L'alternateur a 2 points de fixation.
-
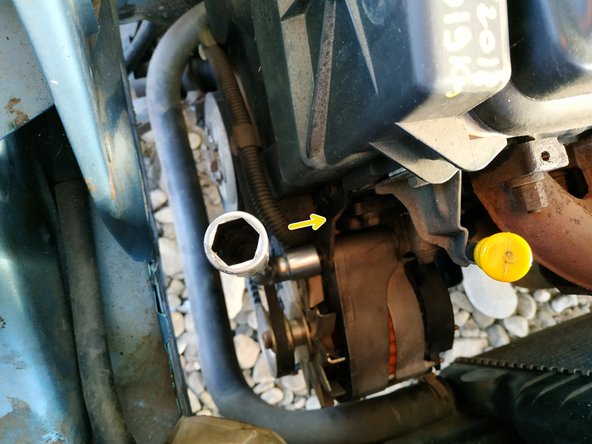
débloquer la vis du haut, clé de 16mm
-
débloquer la vis du bas, clé de 13mm
-
-
-
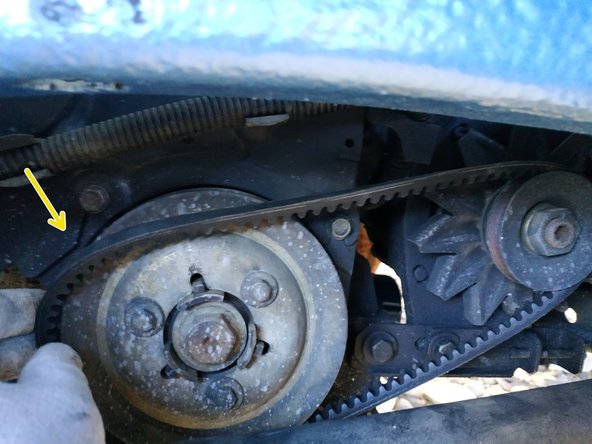
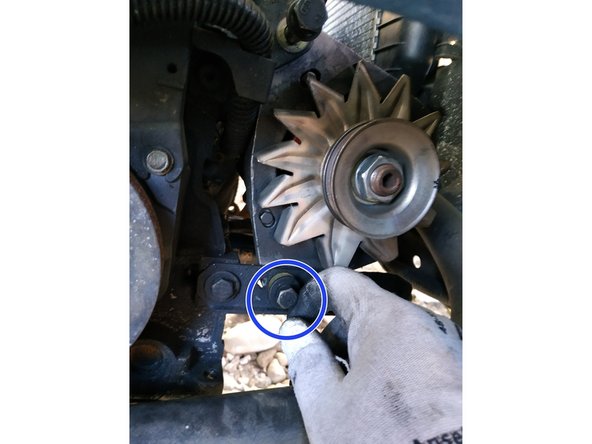
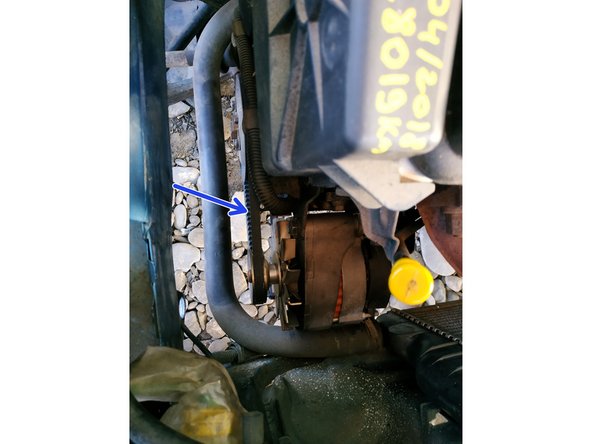
dévisser à fond (sans l'enlever) la vis du tendeur, clé de 10mm
-
et retirer la courroie
-
-
-
retirer la vis du bas, clé de 13mm
-
puis la vis du haut, clé de 16mm
-
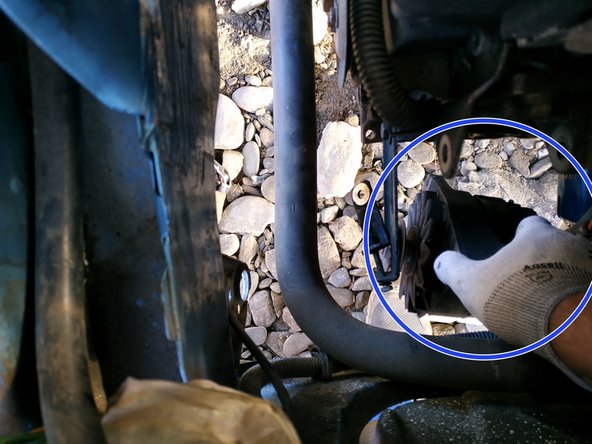
sortir l'alternateur par le bas
-
-
-
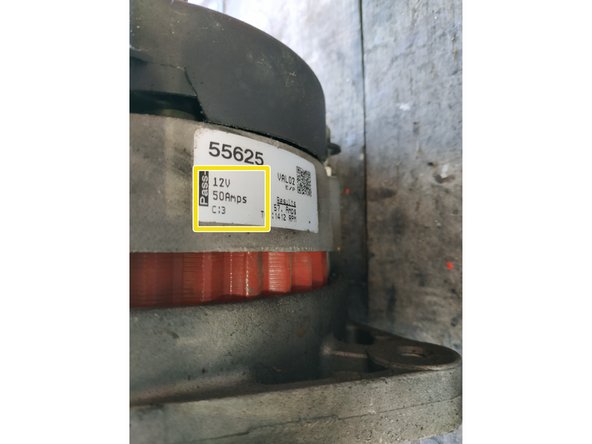
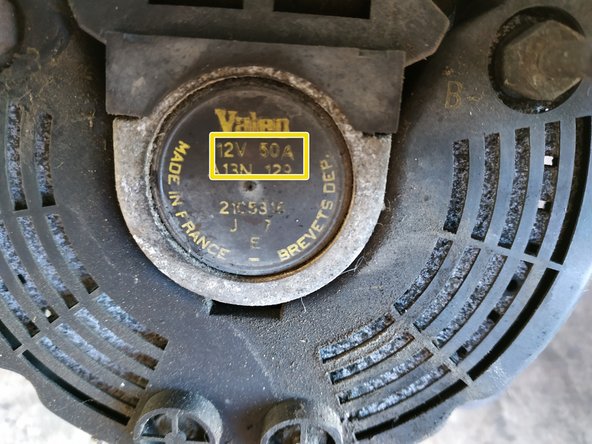
On va faire un contrôle visuel assez rapide ; on se sera assuré de la compatibilité avant de démonter (faire appel à un pro en cas de doute).
-
contrôler que les points d'attache et les connectiques sont identiques
-
ainsi que les valeurs
-
-
-
présenter l'alternateur par le bas
-
mettre en place la vis du haut et l'avancer à l'aide de la clé de 16mm (ne pas la visser à fond)
-
mettre en place la vis du tendeur et l'avancer à l'aide de la clé de 13mm (ne pas la visser à fond)
-
-
-
poser la courroie
-
J'ai réutilisé la courroie car je l'ai changée très récemment.
-
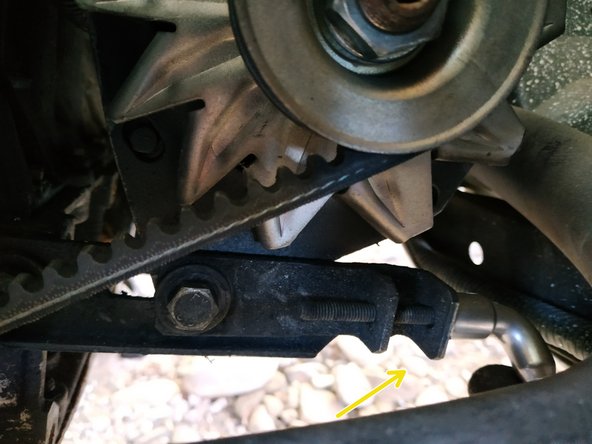
agir sur la vis de tendeur pour tendre la courroie
-
-
-
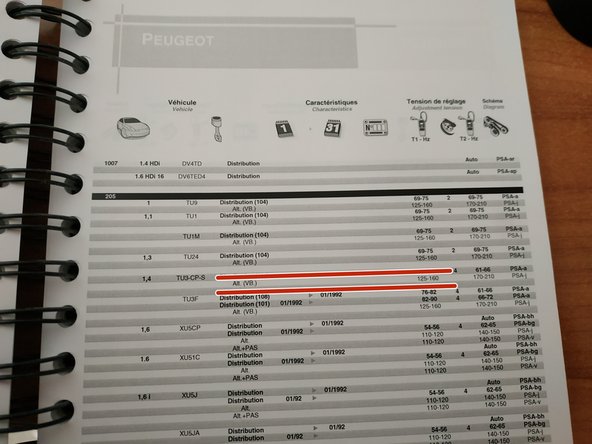
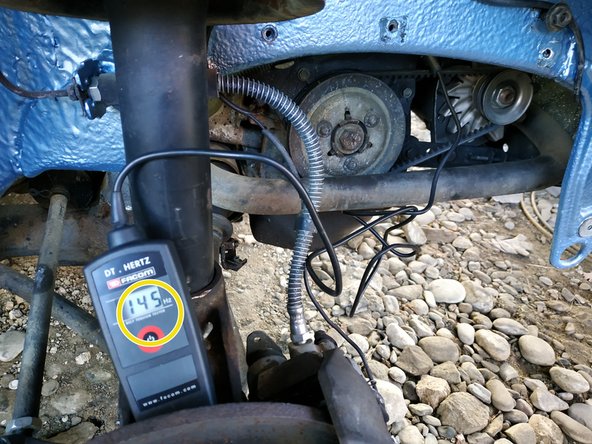
il existe une procédure pour tendre la courroie
-
elle requiert un tensiomètre, un appareil qui coûte assez cher
-
mais les TU sont des moteurs très solides et pas aussi pointus que des mécaniques modernes, on peut faire la tension au jugé : pas trop tendue mais assez quand même, on cherche à avoir un peu plus d'1cm de déflexion sur la courroie
-
-
-
bloquer la vis de tendeur à l'aide de la clé de 13mm
-
et la vis du haut à l'aide de la clé de 16mm
-
vérifier à nouveau la tension de la courroie
-
Une courroie trop tendue mettra l'alternateur sous contrainte et usera ses roulements. Une courroie pas assez tendue risque de sauter ou de ne pas entraîner correctement l'alternateur.
-
-
-
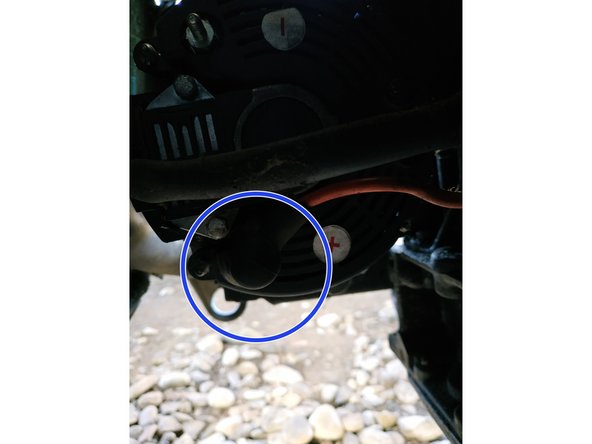
rebrancher la fiche du régulateur
-
rebrancher le fil rouge et visser l'écrou, clé de 10mm
-
remettre le capuchon de protection
-
-
-
rebrancher la batterie
-
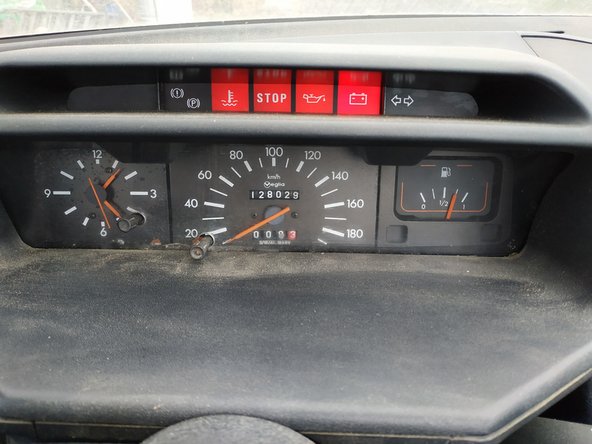
démarrer la voiture et vérifier que tout fonctionne, on peut tester au multimètre (en marche, on doit avoir plus de 14 volts à la batterie)
-
On contrôlera à nouveau la tension de la courroie après quelques kilomètres pour s'assurer que tout va bien.
-


Annulation : je n'ai pas terminé ce tutoriel.
Une autre personne a terminé cette réparation.