


Difficulté
Modérée
Étapes
9
Temps nécessaire
00:45:00

Ce tutoriel a été créé par la communauté
User contributed
Introduction
La biellette de direction est un ensemble qui se compose d'une rotule intérieure (connectée à la crémaillère) et d'une rotule extérieure plus souvent appelée rotule de direction.
Nous changerons ici la rotule extérieure droite mais la procédure est strictement identique pour la rotule gauche.
-
-
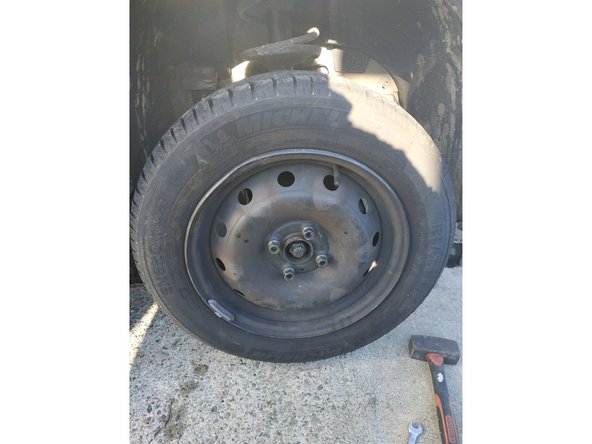
lever la voiture côté avant droit à l'aide du cric et placer une chandelle sous le longeron
-
et dévisser les 4 goujons à l'aide d'une clé de 19mm (ou de la manivelle fournie avec le cric) pour retirer la roue
-
On aura préalablement débloqué les goujons avant de lever la voiture, à moins d'avoir une clé à choc comme c'est le cas ici.
-
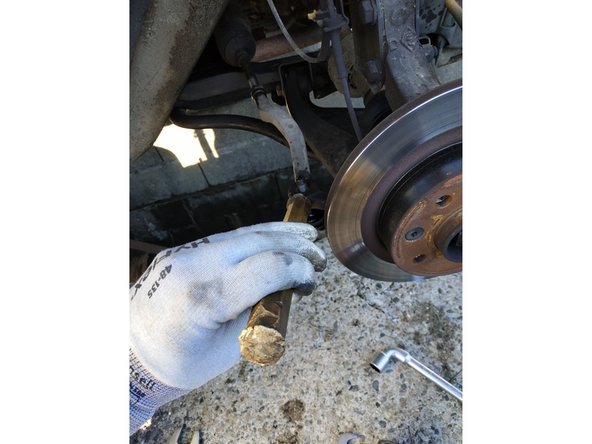
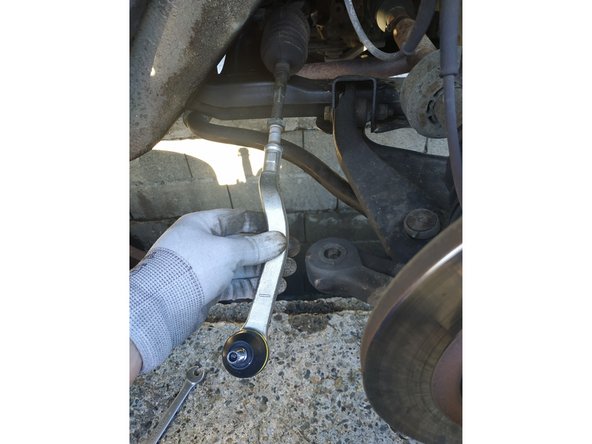
passer du dégrippant sur les deux extrémités de la rotule extérieure
-
-
-
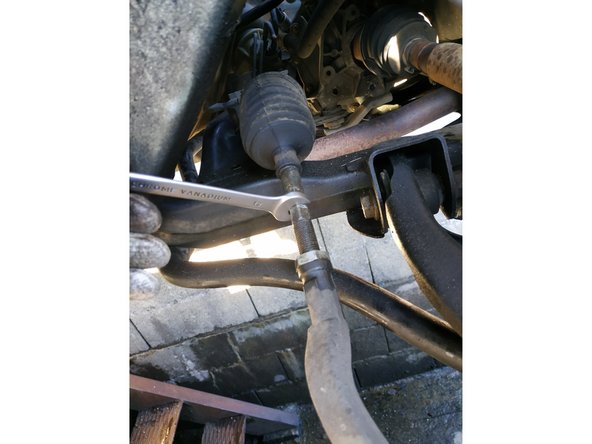
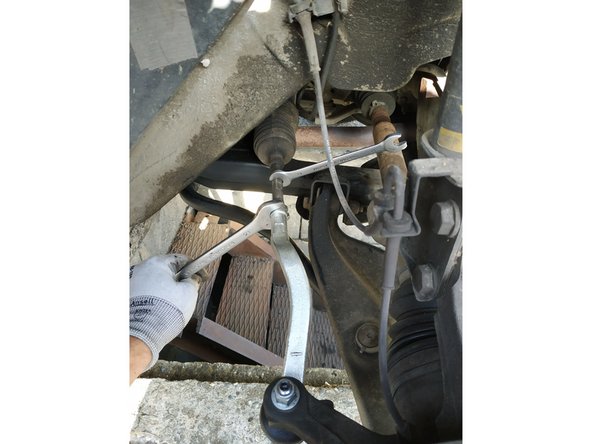
débloquer l'écrou de verrouillage de la rotule extérieure à l'aide d'une clé plate de 21mm (on peut utiliser une clé plate de 13mm pour immobiliser la rotule intérieure si nécessaire)
-
On ne fait que le débloquer. Une fois qu'il est libre, on le remet dans sa position initiale, bien à fleur de la rotule extérieure.
-
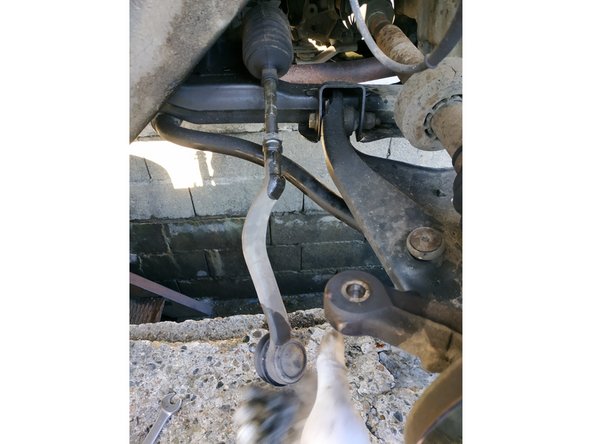
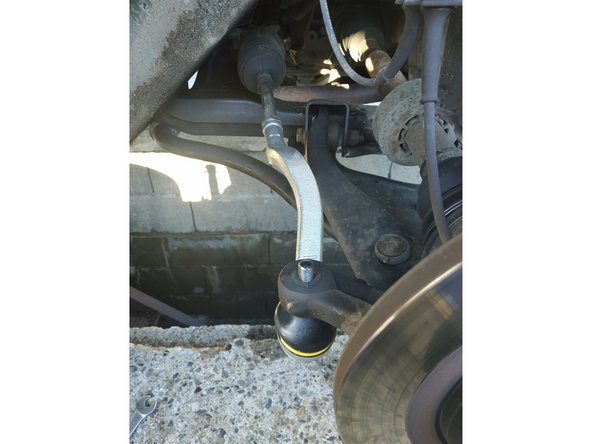
dévisser l'écrou de la rotule extérieure à l'aide d'une clé de 16mm
-
taper sur le côté à l'aide d'une massette pour libérer la rotule du cône
-
-
-
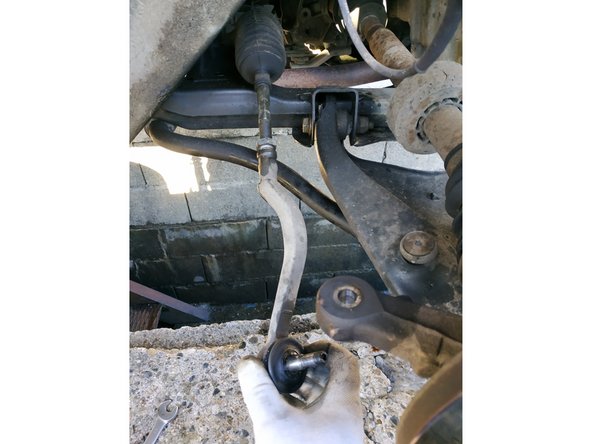
si la rotule ne vient pas, on peut repositionner l'écrou à fleur et taper sur celui-ci avec la massette
-
La plupart du temps, le fait de taper sur le côté suffit. On peut se servir d'un jet en bronze pour plus de précision.
-
-
-
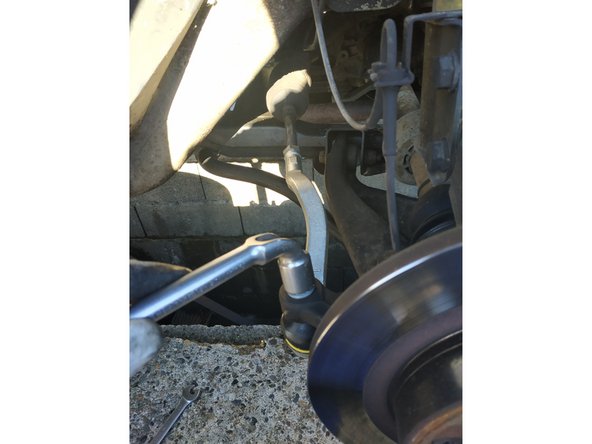
tenir la rotule intérieure à l'aide d'une clé plate de 13mm si la rotule extérieure n'est pas déjà libre
-
et dévisser la rotule extérieure
-
en prenant soin de compter le nombre de tours (17 tours et demi dans mon cas, ceci à titre purement informatif)
-
-
-
comparer les rotules (forme, longueur)
-
Il y a un côté gauche et un côté droit.
-
-
-
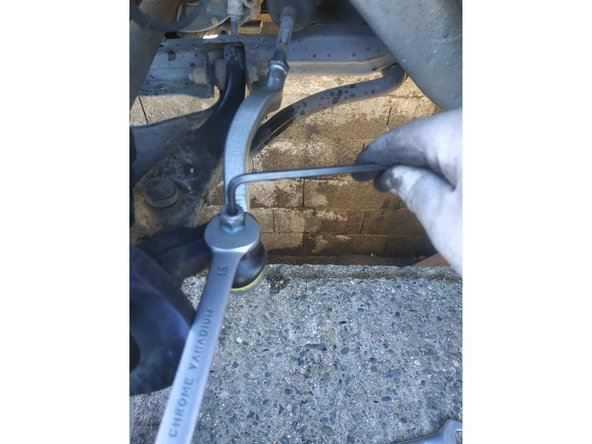
visser la rotule extérieure sur la rotule intérieure en respectant le nombre de tours, on doit à nouveau arriver à fleur de l'écrou de verrouillage de 21mm
-
insérer la rotule extérieure dans son logement dans le porte-moyeu
-
et serrer à l'aide d'une clé de 15mm (couple de serrage 37N.m)
-
L'écrou de la rotule d'origine se desserrait avec une clé de 16mm, le nouvel écrou avec une clé de 15mm. Ce genre de chose arrive très fréquemment, ça ne signifie en aucun cas que les pièces ne sont pas compatibles.
-
-
-
si l'écrou tourne dans le vide, on peut bloquer la rotule en insérant une clé Allen de 5mm à son extrémité
-
ou en bloquant l'ensemble à l'aide d'une grande pince multiprise
-
-
-
serrer l'écrou de verrouillage de la rotule extérieure à l'aide de la clé plate de 21mm
-
Encore une fois, on peut immobiliser la rotule intérieure avec une clé plate de 13mm si nécessaire.
-
remonter la roue (couple de serrage des goujons 105N.m) et retirer la chandelle et le cric
-
-
-
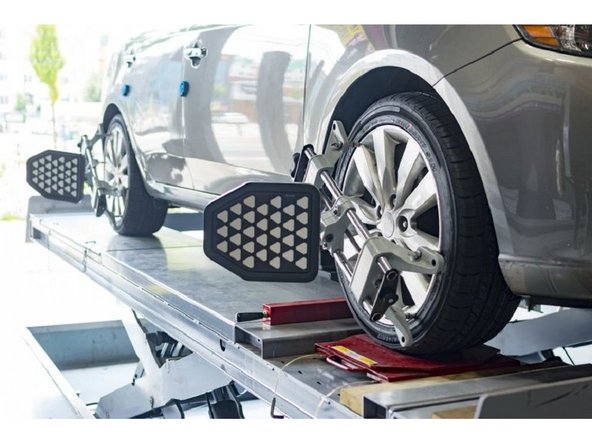
Même si on a fait le maximum pour monter les rotules comme à l'origine, il faut impérativement faire régler le parallélisme chez un professionnel. Le réglage que l'on a fait lors du montage est provisoire uniquement, le temps de se rendre au garage en faisant attention.
-


Annulation : je n'ai pas terminé ce tutoriel.
Une autre personne a terminé cette réparation.
Un commentaire
comment bien mesurer la longueur de la rotule de direction ils donne 2 modèles diffèrent
yannick.jourdain42 - Résolu à la publication Réponse