


Difficulté
Facile
Étapes
9
Temps nécessaire
00:30:00

Ce tutoriel a été créé par la communauté
User contributed
Introduction
Cette pièce est souvent appelée biellette mais dans le cas présent il s'agit plus d'un silentbloc en réalité. Elle est souvent en mauvais état après quelques années de service et peut engendrer des bruits de cognement au niveau du train avant.
-
-
lever chaque côté de la voiture à l'aide du cric et poser une chandelle sous chaque longeron
-
On peut utiliser des cales en bois à la place des chandelles.
-
retirer la roue gauche
-
et la roue droite
-
Voiture levée, la barre stabilisatrice n'est plus sous contrainte.
-
-
-
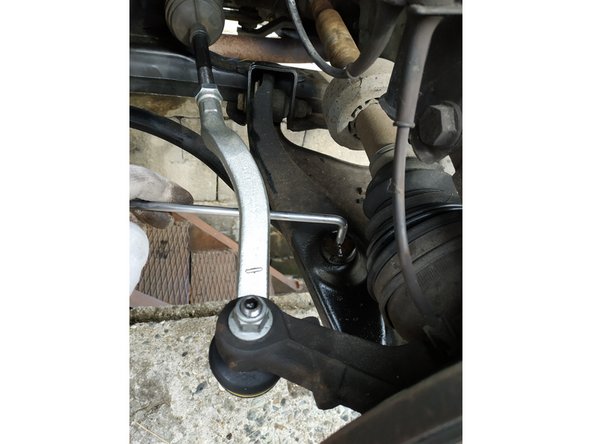
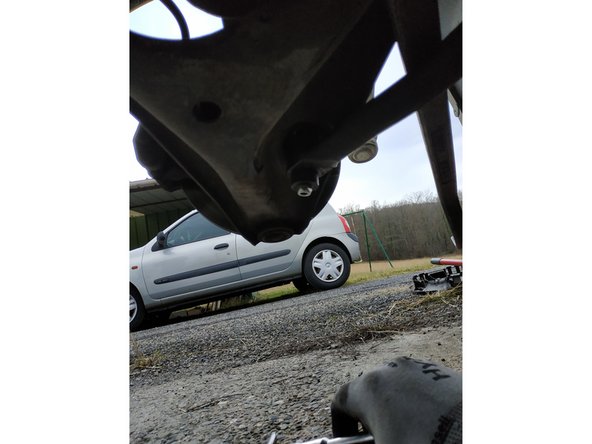
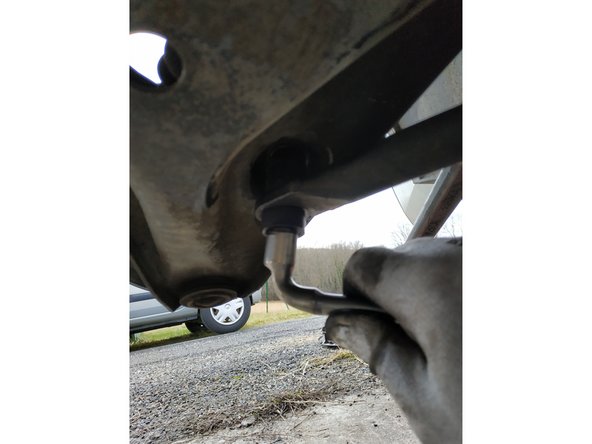
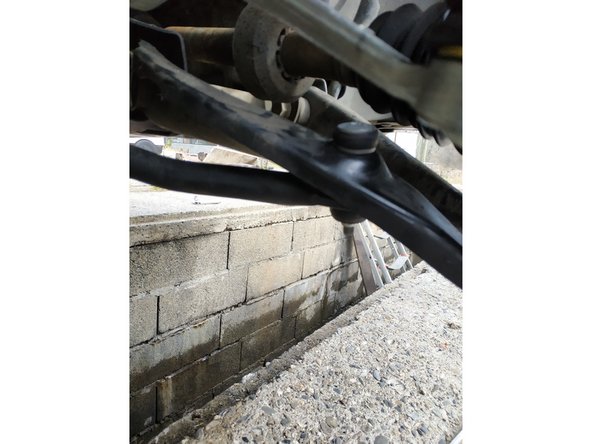
les biellettes sont situées au niveau des triangles de suspension
-
la tête est une empreinte torx T40
-
-
-
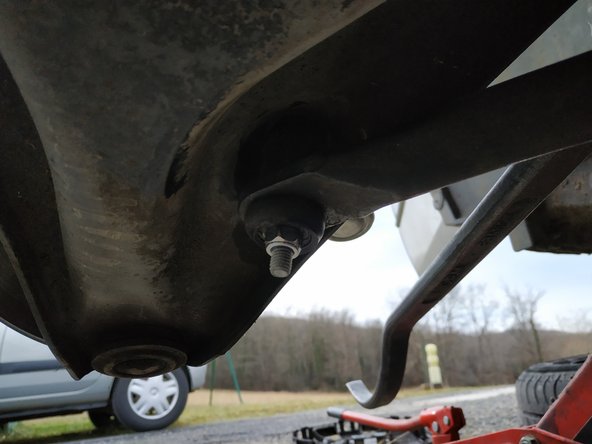
passer du dégrippant sur la biellette de barre stabilisatrice
-
bloquer la vis de la biellette à l'aide de la clé torx T40
-
et dévisser l'écrou à l'aide de la clé de 10mm
-
Si tout est grippé, il faudra utiliser une disqueuse et couper la vis en faisant attention de ne pas endommager la barre stabilisatrice.
-
-
-
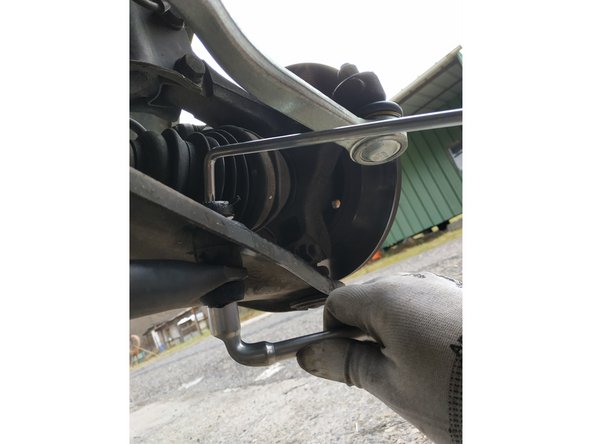
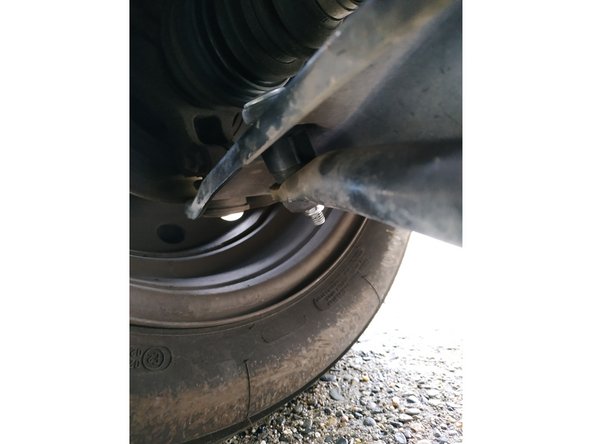
insérer un levier entre la barre stabilisatrice et le berceau moteur et appuyer vers le bas
-
J'utilise ici un démonte-pneu.
-
le silentbloc du bas doit tomber
-
on peut retirer la vis avec son silentbloc ainsi que le silentbloc du milieu (il est pris en sandwich entre le triangle et la barre stabilisatrice)
-
-
-
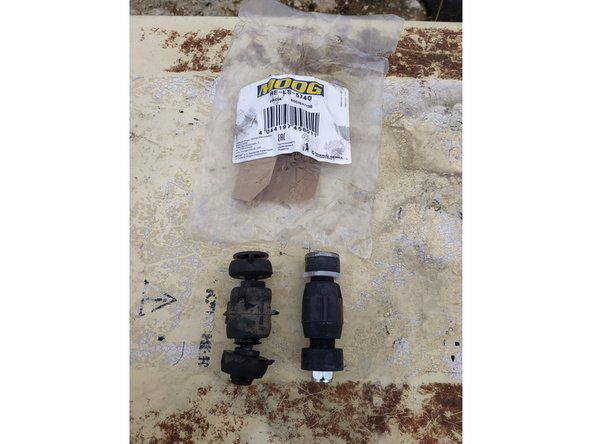
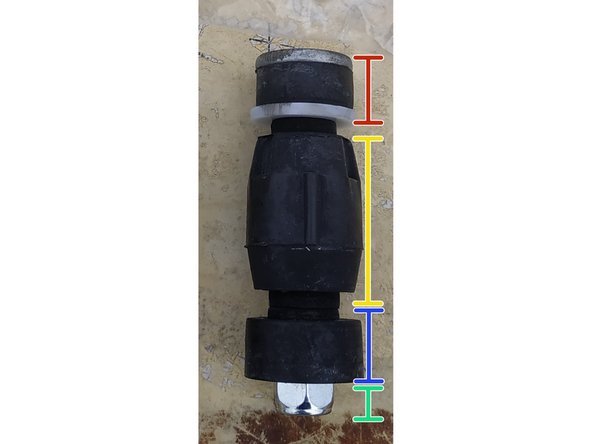
récupérer le tout et comparer avec la pièce neuve
-
il faut désassembler la pièce neuve, on doit avoir:
-
la vis avec son silentbloc et l'entretoise en plastique
-
le silentbloc du milieu
-
le silentbloc du bas
-
l'écrou
-
-
-
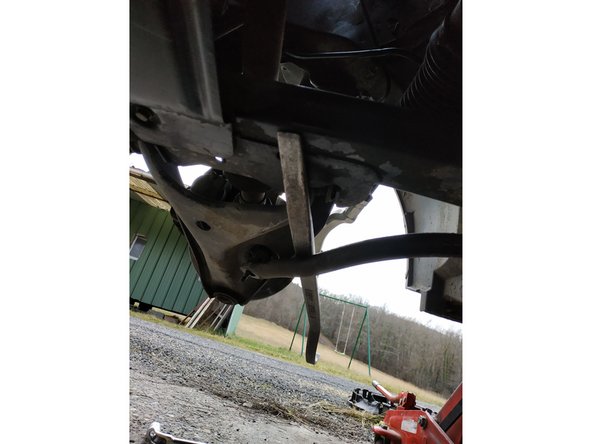
utiliser le levier et insérer le silentbloc central entre le triangle et la barre stabilisatrice
-
On veillera à bien le positionner, le silentbloc possède 2 ergots qui s'insèrent parfaitement dans la barre stabilisatrice et le triangle.
-
insérer la vis avec son silentbloc et son entretoise
-
insérer le silentbloc du bas
-
-
-
présenter l'écrou et le serrer à la main
-
On peut compresser le triangle et la barre stabilisatrice à la main pour mettre au jour les filets de la vis.
-
serrer de quelques tours l'écrou à l'aide de la clé de 10mm
-
il n'y a pas vraiment d'indication quant au serrage, pour ma part j'essaie de serrer l'écrou pour avoir à peu près le même nombre de filets qu'à l'origine
-
-
-
remonter les roues, retirer les chandelles et le(s) cric(s)
-
contrôler que tout est correctement en place
-


Annulation : je n'ai pas terminé ce tutoriel.
Une autre personne a terminé cette réparation.