


Introduction
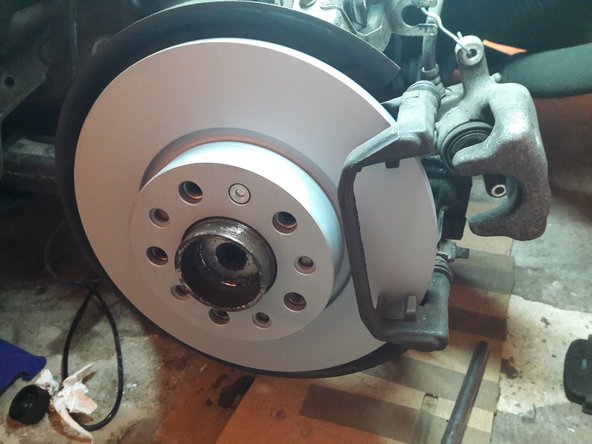
'''Remplacement Disques + Plaquettes Arrieres
Alfa Rome 159 JTDm 120 année 2007'''
Ce tutoriel est un ensemble de bonnes pratiques, de conseils et de recommandations afin de remplacer ses freins. L'auteur de ce post ne pourra en aucun cas être responsable de toute panne mécanique ou accident corporel survenu a la suite de l’opération
Tools
-
-
Caler la roue avant du coté opposé à celui sur lequel vous allez travailler avec 2 cales. Une à l'avant et une autre à l’arrière.
-
Passer la 1er vitesse et desserrer le frein à main.
-
Desserrer les vis de la roue arrière du côté ou vous allez travailler a l'aide d'une croix ou clé adapte. Diamètre 17
-
Lever l’arrière du véhicule au niveau du point de levage. Puis positionner la chandelle.
-
Ne jamais travailler sur le véhicule en utilisant seulement le cric.
-
Ici j'ai utilisé un cric rouleur mais vous pouvez aussi utiliser celui du véhicule.
-
Desserre complètement les écrous de la roue puis la déposer.
-
Mise en sécurité du véhicule : démontage et remontage de la roue
-
-
-
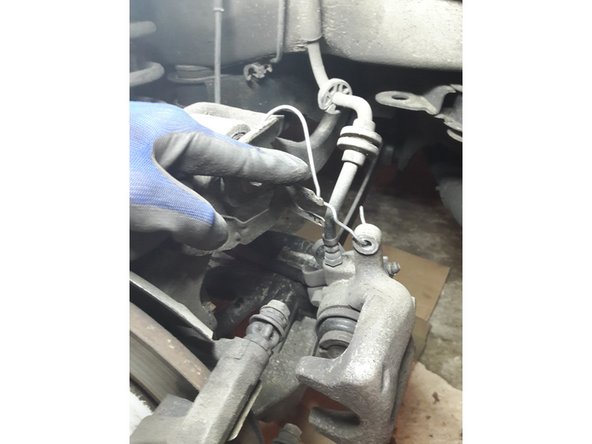
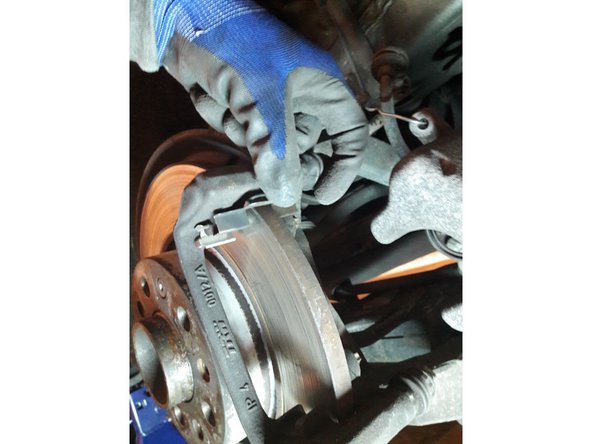
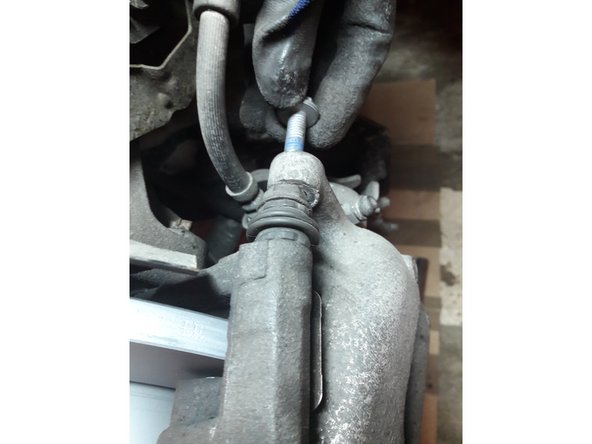
Enlever la goupille qui maintien le flexible a l'aide d'une pince et la mettre de côté afin qu'elle ne se perde pas.
-
Enlever le flexible de son support
-
-
-
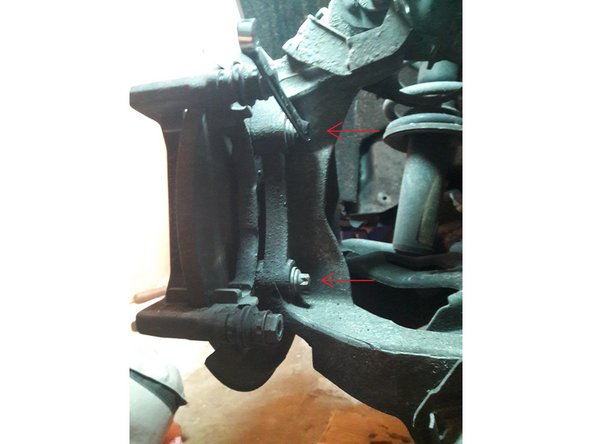
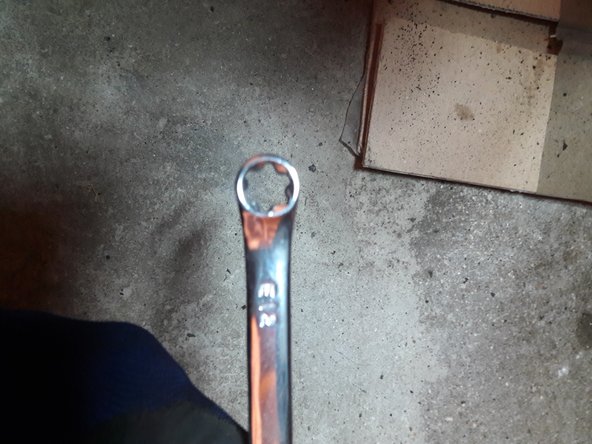
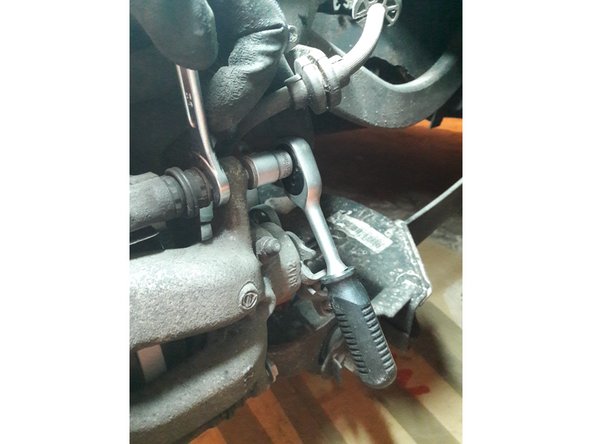
A l'aide dune clé plate 15 et d'une autre clé ou douille (ici un cliquet avec douille) dévisser les 2 vis qui maintiennent l'etrier.
-
Il faut maintenir la clé plate 15 afin que que l'axe ne tourne pas et dévisser avec la clé 13
-
Enlever l’étrier a l'aide du tournevis en faisant levier une fois en haut une fois en bas.
-
En principe il n'est pas necessaire de forcer.
-
-
-
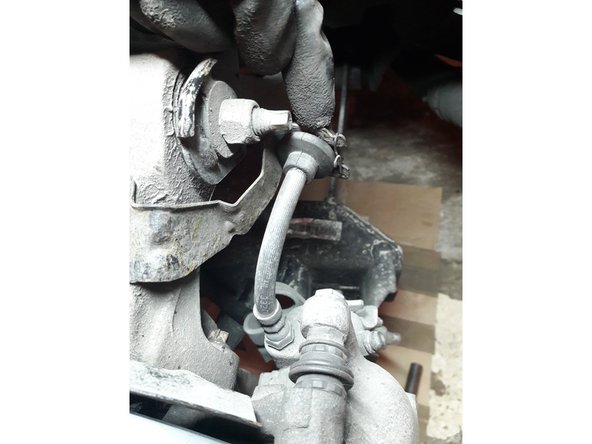
Durant le travail maintenir l’étrier à l'aide d'un câble ou fil de fer. Ici j'ai utilisé un bout d'un vieux cintre que j'ai coupe avec une pince coupante.
-
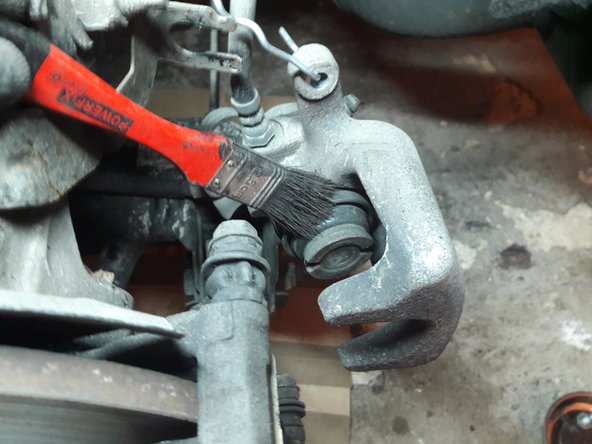
Vérifier l’état des caches poussière. S'ils sont percés ou deteriorés il sera nécessaire de les remplacer
-
-
-
Ouvrir le bocal contenant le liquide de frein sous le capot
-
Durant la repousse du piston de frein le niveau va monter dans le bocal. Il faut vérifier régulièrement afin que ce dernier ne déborde pas. En cas de besoin utilisez une seringue ou une poire pour retirer le surplus.
-
-
-
Dépoussiérer le cache poussiere
-
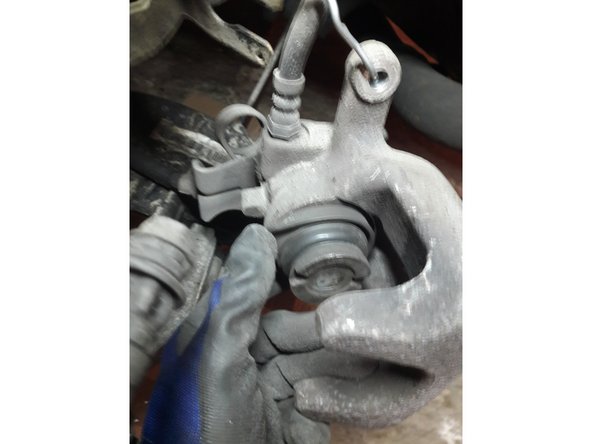
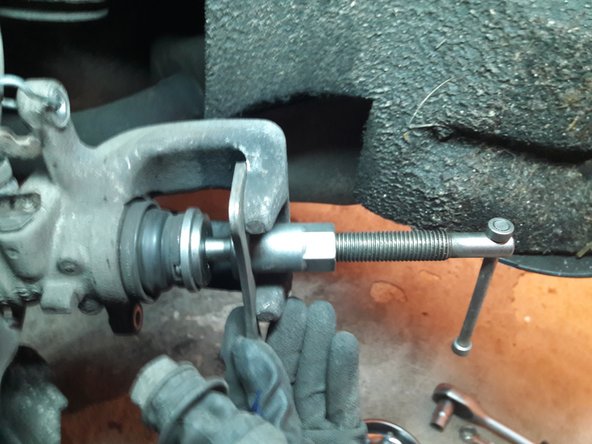
Repousser le piston a l'aide du repousse piston qui doit tourner et pousser le piston simultanément.
-
Le piston doit être tourné dans le sense horaire durant la repousse (même sense des 2 cotés du véhicule)
-
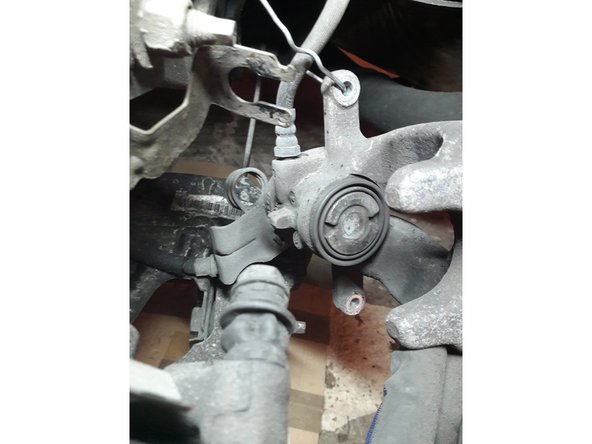
Une fois le piston repoussé les encoches du piston doivent êtres positionnes a la même position qu'avant la repousse. Voir Photo 3
-
-
-
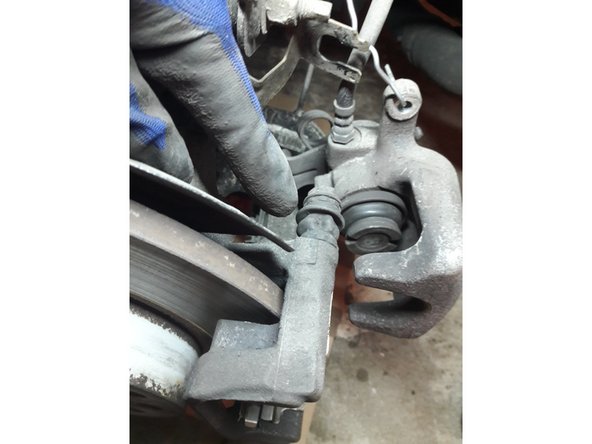
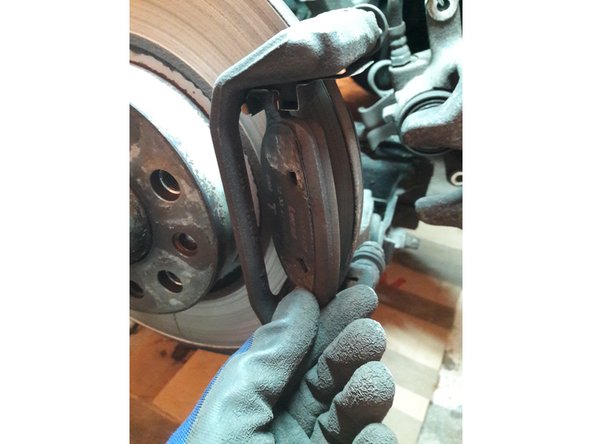
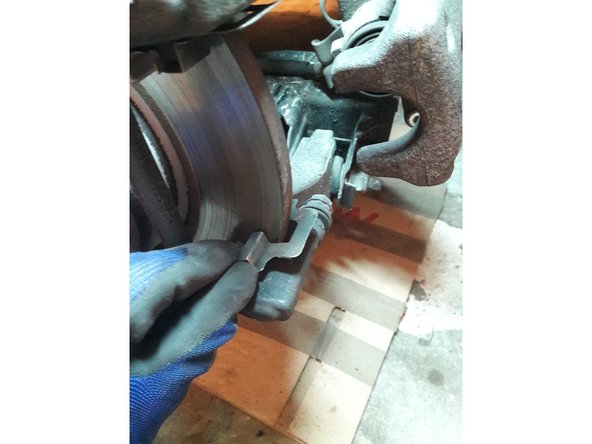
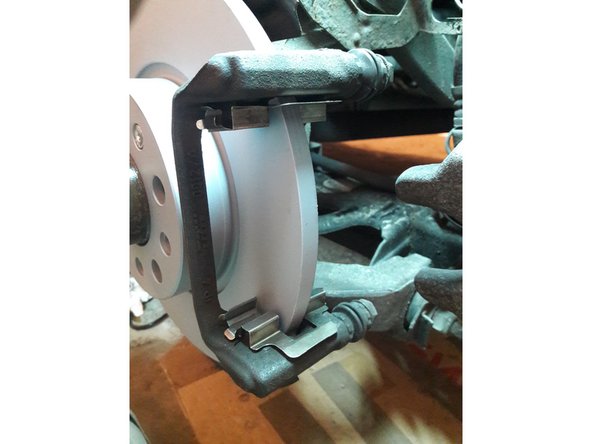
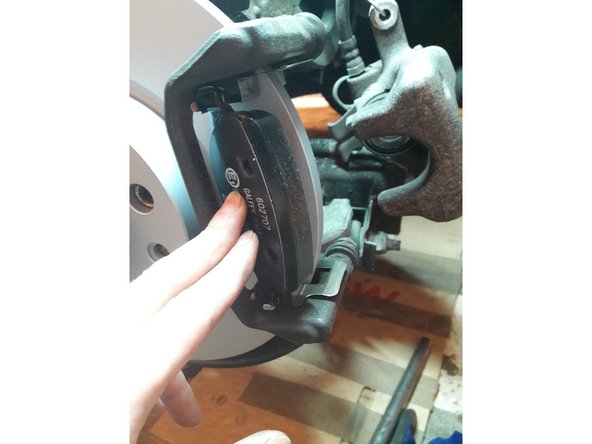
Déposer les anciennes plaquettes en les basculant
-
Enlever les ressorts de maintien des plaquettes et les mettre de côté
-
-
-
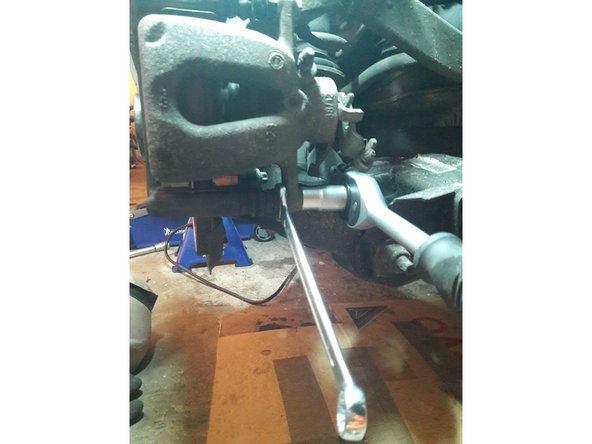
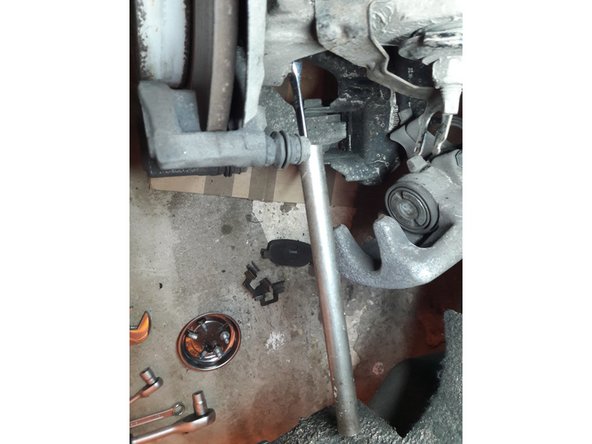
Deviser les 2 vis qui maintiennent le support d’étrier de frein. Ce n'est pas évident car elles sont montées avec du frein filet et leur extrémité se trouvant sous le disque est rouillé
-
Utiliser une clé ou douille E12
-
Un tube en guise de rallonge est indispensable pour avoir la force nécessaire au desserrage.
-
Attention que la clé ne glisse pas de la vis durant le dévissage. vous risquez de l’abîmer et d'avoir de très gros problèmes pour la démonter par la suite.
-
-
-
Dévisser la vis qui maintient le disque a l'aide d'une clé Allen 5mm
-
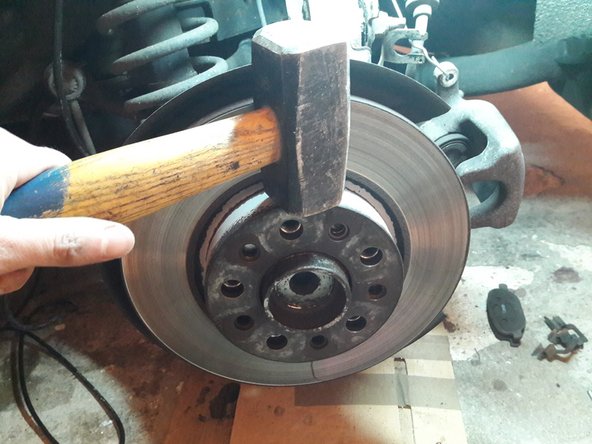
Si le disque ne viens pas il faudra tapoter sur tout le tour avec une masette.
-
Si le disque pose vraiment problème. Vous pouvez aussi utiliser du dégrippant afin de désolidariser le disque du moyeu. Asperger tous les trous du disque ainsi que par l'arriere du disque la partie en contact disque/moyeu
-
-
-
Nettoyer le moyeu a l'aide d'une brosse métallique et/ou papier abrasif
-
Appliquer une très fine couche de graisse sur le moyeu afin de simplifier un éventuel futur démontage.
-
Mettre vraiment très très peu de graisse sur le moyeu afin que cette dernière ne se retrouve pas sur le disque.
-
Nettoyer le support d’étrier à la brosse métallique, particulierement les parties en contact avec les ressorts de plaquettes de frein.
-
Faire très attention a ne pas abîmer les cache poussières !
-
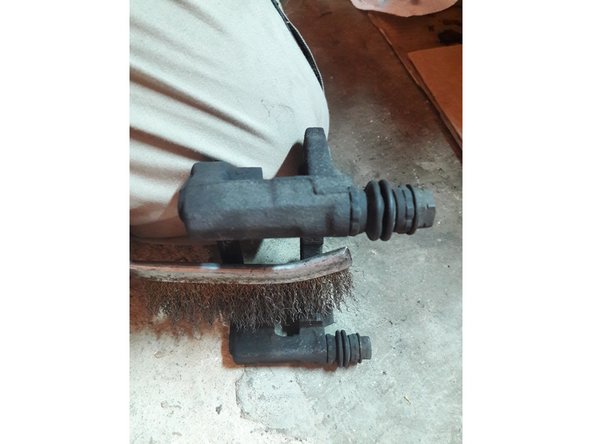
Nettoyer les ressorts de plaquettes. Aspergez les de dégrippant puis frottez avec un chiffon. Enlever les imperfections avec du papier abrasif grain 600. La surface en contact avec les plaquettes doit être parfaitement lisse!
-
Nettoyez Egalement la protection en métal du disque a l'aide du nettoyant/dégraissant freins
-
-
-
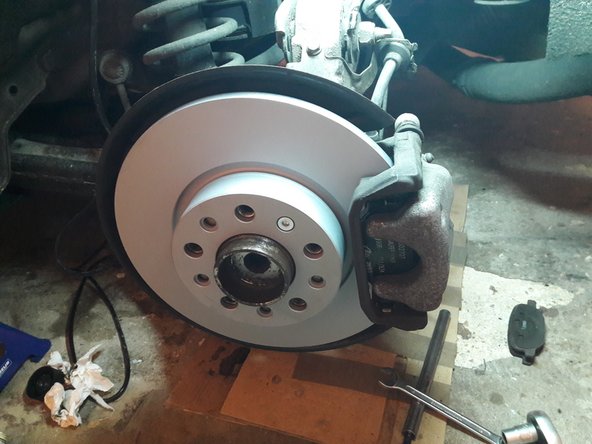
Montez le nouveau disque après l'avoir dégraissé avec le dégraissant frein en bombe.
-
Vissez la vis maintenant le disque au moyeu. En principe des vis neuves sont fournies avec les disques
-
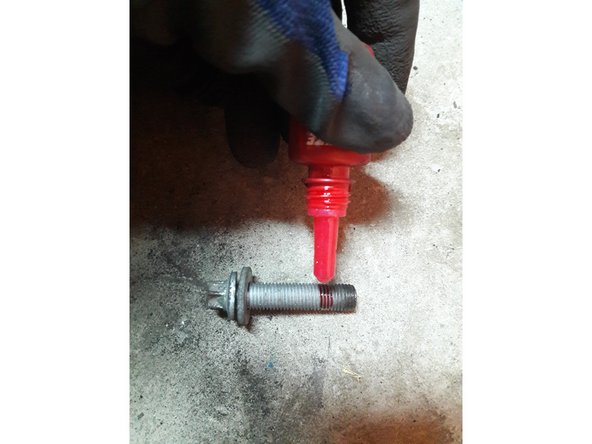
Nettoyer le filetage des vis du support d’étrier avec une brosse métallique (enlever la rouille sur le bout)
-
Appliquer du frein filet sur les vis du support d’étrier. Puis vissez le support d’étrier en serrant bien.
-
Ne pas mettre trop de frein filet sous peine de problèmes lors du prochain démontage.
-
-
-
Remontez les ressorts de plaquettes
-
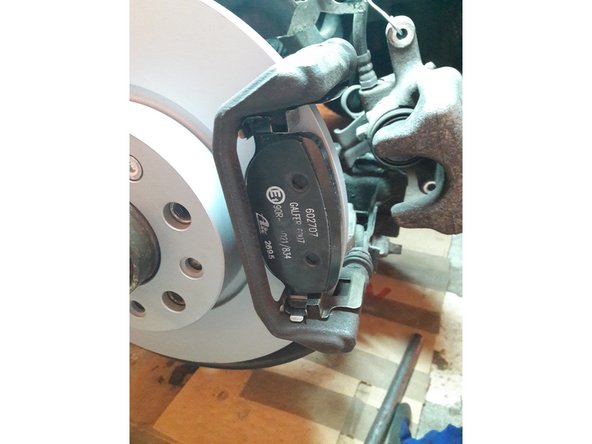
Posez les nouvelles plaquettes en les introduisant en biais et poussant très légèrement.
-
-
-
Remettre en place l’étrier puis le visser avec les 2 nouvelles vis fournies avec les plaquettes.
-
Pas besoin de mettre du frein filet ici. comme vous pouvez le voir les vis neuves sont deja enduites d'une colle blue sur le bout.
-
Pour le revissage de l’étrier on procède comme pour le démontage. On maintien avec la clef plate de 15 et on visse avec la clé de 13
-
Emboîter le flexible sur son support de maintien et remettre la goupille
-
-
-
Remonter la roue, serrer les écrous en suivant l'ordre de la photo 2
-
Reposer le véhicule a terre puis bien reserrer les écrous de la roue.
-
Procéder de la même manière pour faire le second côté
-
Ne pas oublier les cales sous la roue avant
-
Une fois les 2 cotés terminés pomper plusieurs fois sur la pédale de frein jusqu’à ce qu'elle devienne dure. vérifier le niveau du liquide de frein et refermez le bocal.
-
Pensez également a vérifier le bon fonctionnement du frein a main. Si nécessaire vous pouvez le régler en agissant sur l’écrou se trouvant au niveau du levier du frein a main dans l'habitacle.
-
Il faudra être très doux avec les freins afin d'assurer un bon rodage des plaquettes les 200 a 300 premiers Km. Évitez toute surchauffe potentielle des freins au risque de "glacer" les plaquettes et de devoir les remplacer à nouveau.
-
Attention les premiers freinages peuvent être très mauvais! Restez prudents
-


Annulation : je n'ai pas terminé ce tutoriel.
11 autres ont terminé cette réparation.
Un commentaire
Bonjour.
J'ai changer plaquettes arrières et disques plaquettes avant sur mon alfa 159 jtdm 120cv année 2006 et au bout de 3kms j'ai le voyant hill holder et voyant des freins qui se sont allumés. Ma pédale de frein est molle puis devient dure si on pompe plusieurs fois pour redevenir molle par la suite et les freins sont faibles. Savez vous d'où cela peut provenir et si c'est normal idem pour les voyants.? Merci bien
Patrice Mantione - Résolu à la publication Réponse