


Vidéo d'introduction
-
-
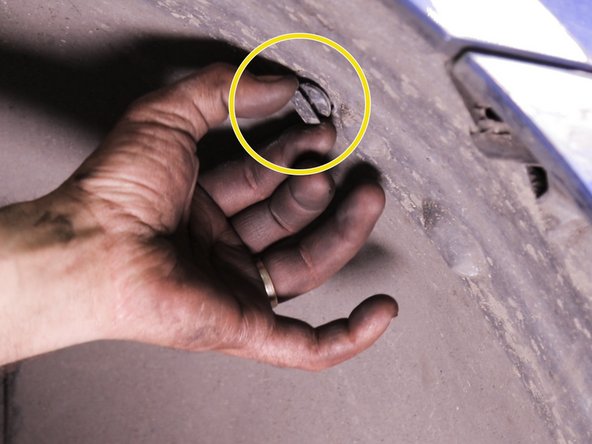
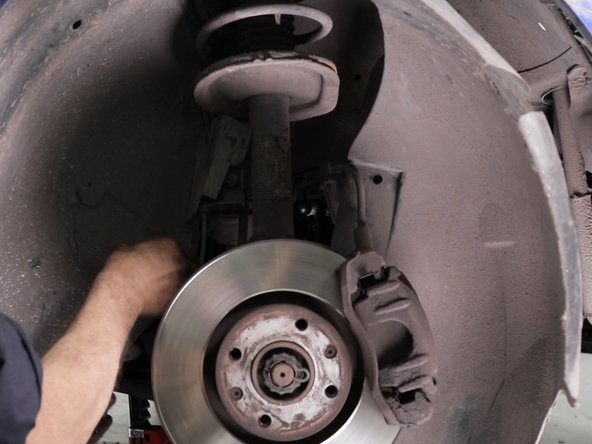
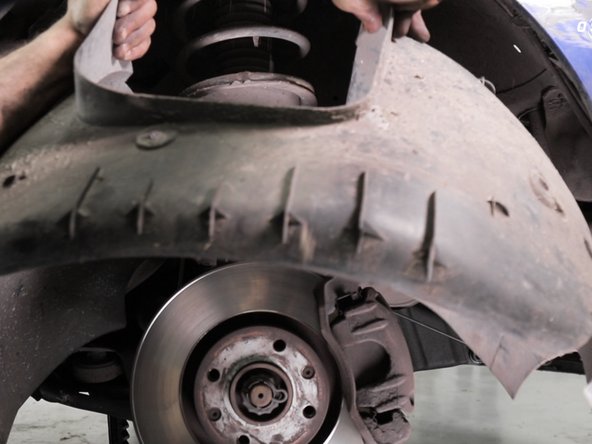
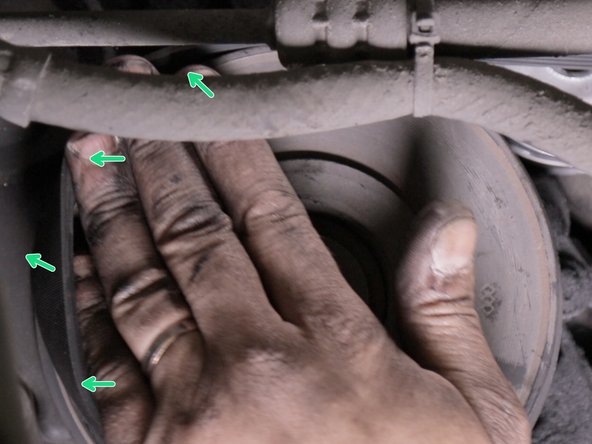
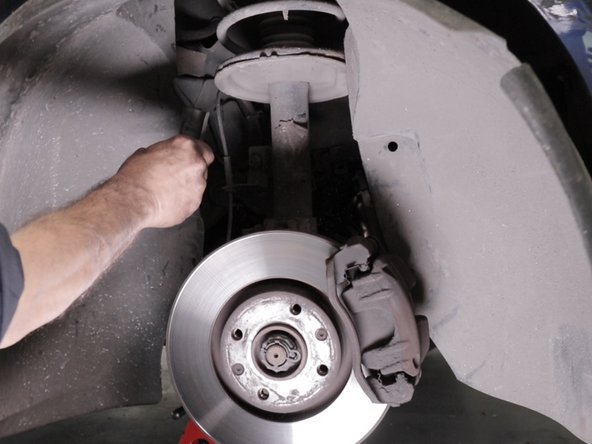
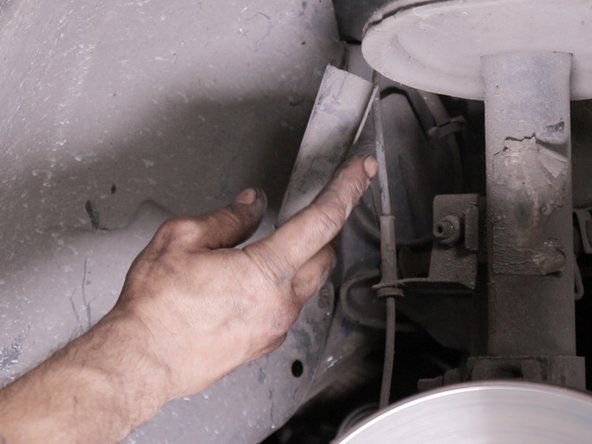
Une fois toutes las attaches retirées, extraire le pare boue en tirant délicatement vers vous
-
-
-
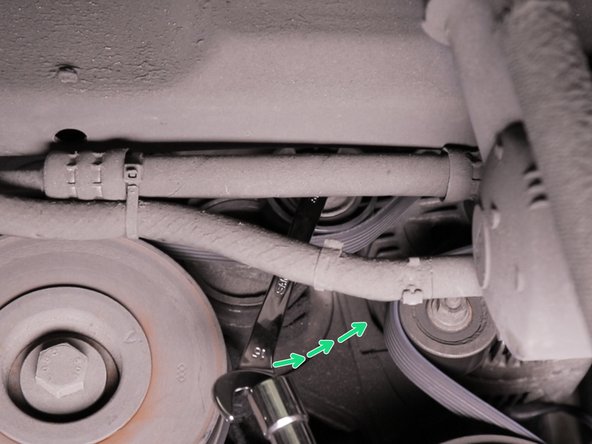
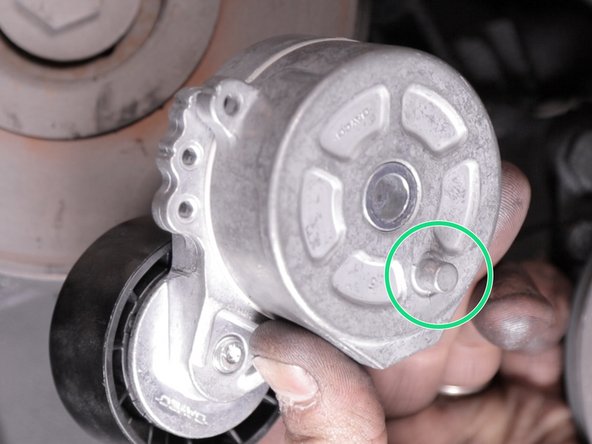
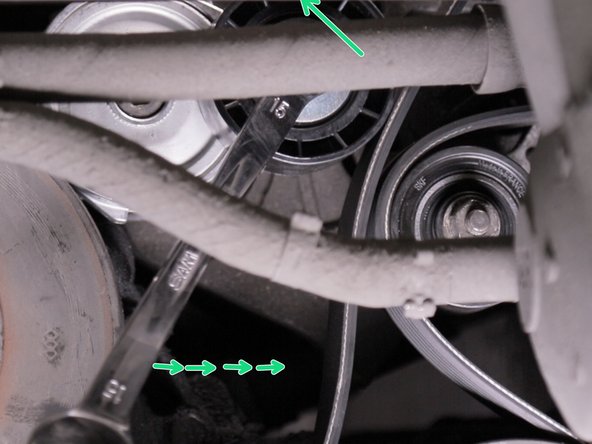
Positionner la clé de 15 sur le galet tendeur et faites du levier pour détendre la courroie
-
-
-
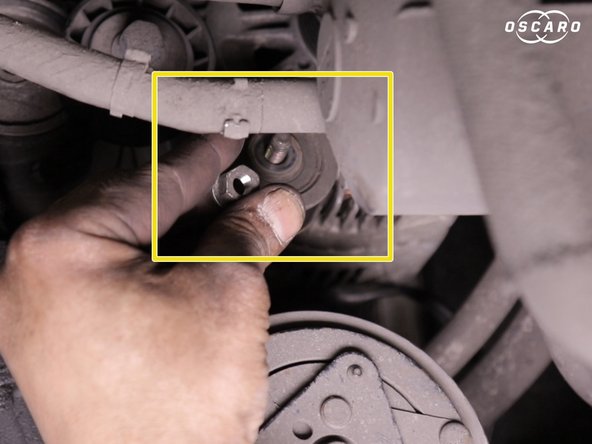
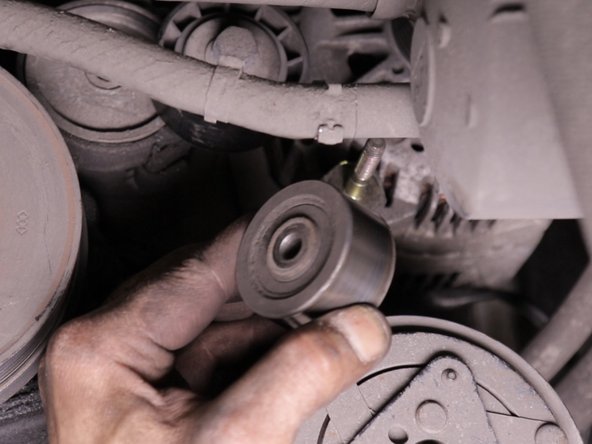
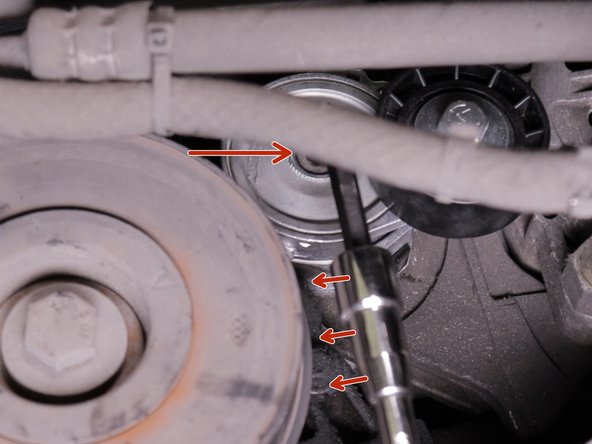
A l'aide de la clé de 13 dévisser l'ecrou du galet enrouleur et retirer le
-
-
-
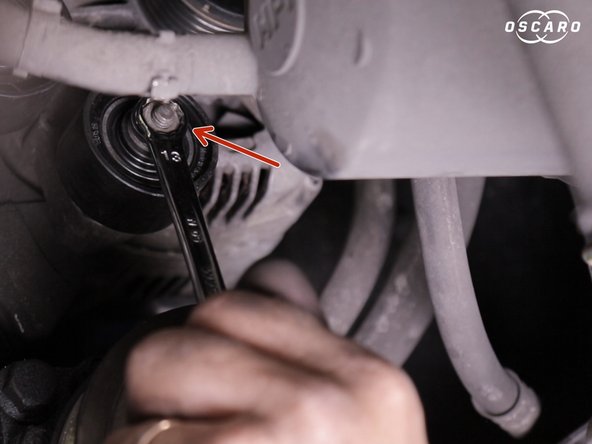
Dévisser avec la clé allen de 8 la vis du galet tendeur et retirer la
-
-
-
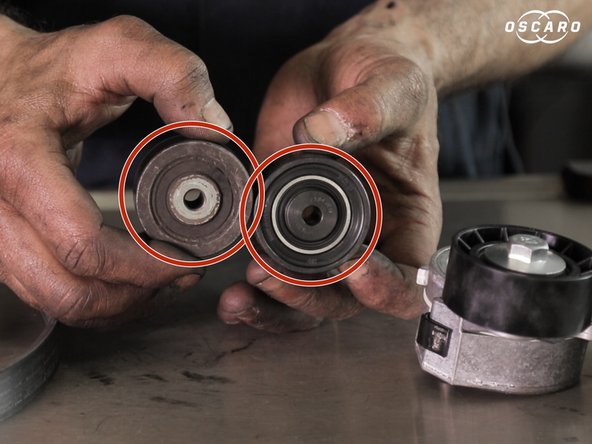
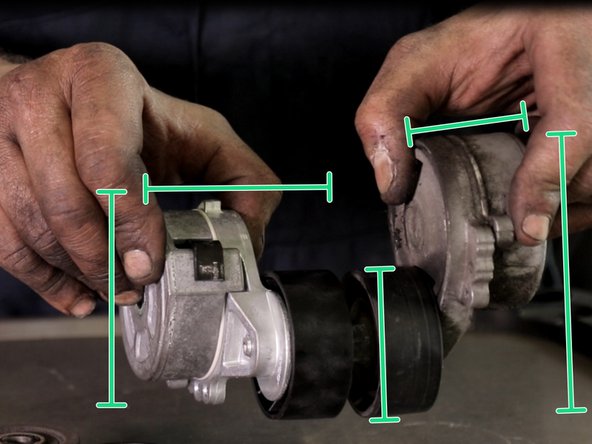
Comparer les dimensions entre l'ancien et le nouveau galet enrouleur
-
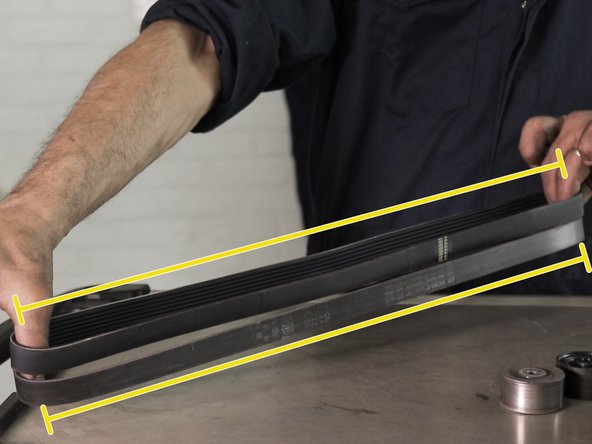
Comparer les dimensions entre l’ancienne et la nouvelle courroie d'accessoire
-
Comparer l'ancien et le nouveau galet tendeur
-
-
-
Reposer le galet denteur a son emplacement à l'aide du guide
-
Resserrer la vis du galet avec la clé allen de 8
-
-
-
Reposer le nouveau galet enrouleur
-
Revisser et serrer l’écrou du galet enrouleur avec la clé de 13
-
-
-
Insérer la courroie sur la poulie d'alternateur
-
Insérer ensuite la courroie sur le le galet enrouleur
-
Généralement on place la courroie dans le sens de la lecture des inscriptions qui sont dessus
-
-
-
Insérer ensuite la courroie sur le compresseur de climatisation
-
Maintenir le tendeur détendu pour finir de placer la courroie sur la poulie d’ampère
-


Annulation : je n'ai pas terminé ce tutoriel.
12 autres ont terminé cette réparation.

Équipe

3 commentaires
veuillez m’envoyer un tuto pour remplacer une courroie accessoire sur mercedes diesel 312 de 1998 2L9 turbo
Merci
bernard adiveze - Résolu à la publication Réponse